April 2001 • Volume 85 • Number 4


Technique for quick conversion of an obturator into a hollow bulb

Eric S. Asher, MAMSa [MEDLINE LOOKUP]
Jason J. Psillakis, DDS, MSb [MEDLINE LOOKUP]
John D. Piro, DDSc [MEDLINE LOOKUP]
Robert F. Wright, DDSd [MEDLINE LOOKUP]
School of Dental and Oral Surgery, Columbia University, New York, and Veterans Affairs Medical Center, Bronx, N.Y.


Sections


A maxillary obturator for the edentulous patient must be as lightweight as possible and provide for retention, stability, patient comfort, and cleanliness. The weight of a maxillary obturator is often a dislocating factor. Patients who have hollow obturators may complain of food, fluid, and mucous accumulations that result in bad odors and altered taste sensation. This tip describes a simple, quick technique for using an autopolymerizing resin to convert an existing hollow obturator into a hollow bulb (Fig. 1).

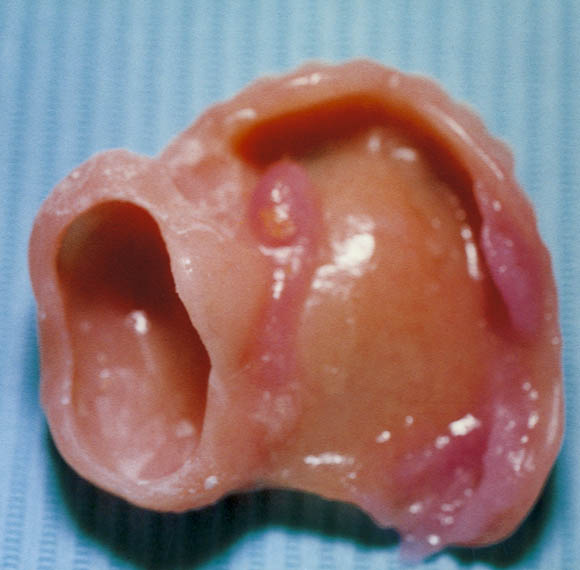
Fig. 1. Hollowed obturator.
f114276001
Click on Image to view full size


   Procedure  TOP 

  1. Use utility wax to fill in and shape the bulb portion of the obturator (Fig. 2).
  2. Use impression plaster to fabricate a matrix of the obturator bulb (Fig. 3).
  3. Remove the utility wax, and relieve the area where bonding with autopolymerizing resin will take place. Make dovetail groves with an inverted cone bur for added retention. Wet the obturator area with fresh monomer.
  4. Place mixed autopolymerizing acrylic resin into the matrix, making sure the acrylic touches and coats all surfaces of the matrix (Fig. 4).
  5. Firmly place the prosthesis into the matrix, keeping the lid side down. Allow ample time for it to cure with a rubber band wrapped firmly around the prosthesis and matrix (Fig. 5). Use the unused portion of the autopolymerizing acrylic as a gauge for determining when the acrylic has set. It is crucial that the obturator not be placed in warm water or a pressure pot during curing. Heat will cause the gas inside the bulb to expand and push through the seal, creating a hole; a pressure pot will cause the gas to shrink, creating a suck-in defect that will disrupt the bulb's seal.
  6. On curing, remove the prosthesis and trim the flash. Pumish, polish, and deliver the prosthesis (Fig. 6).

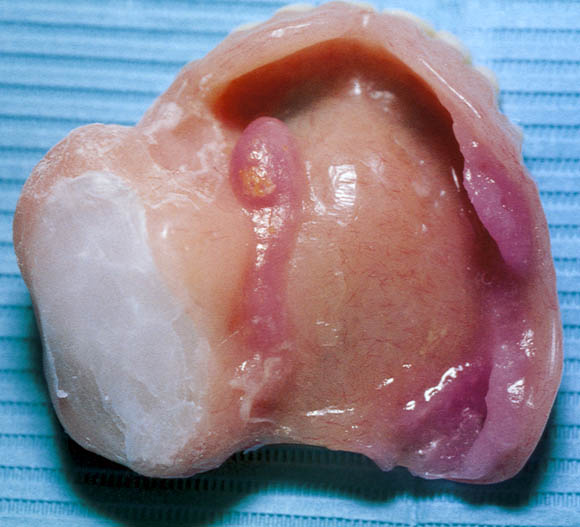
Fig. 2. Wax contoured to bulb shape.
f114276002
Click on Image to view full size

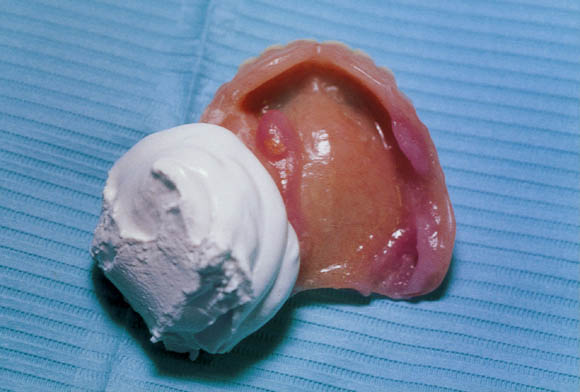
Fig. 3. Plaster matrix.
f114276003
Click on Image to view full size

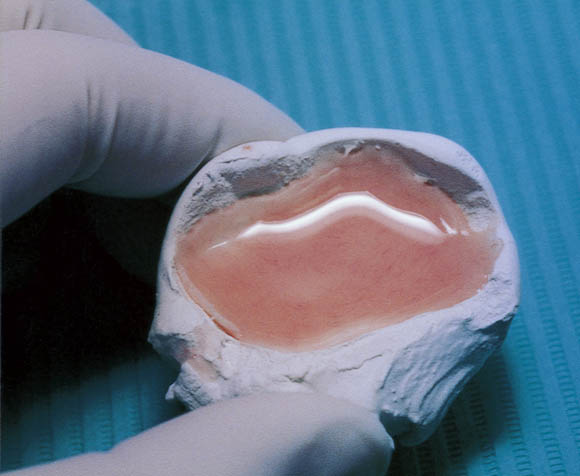
Fig. 4. Acrylic resin poured into matrix.
f114276004
Click on Image to view full size

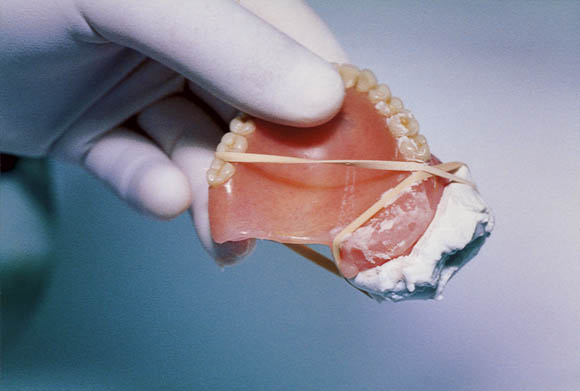
Fig. 5. Matrix held in place with rubber band while resin cures. Slight rotation and rocking used to evenly coat matrix while acrylic is fluid.
f114276005
Click on Image to view full size

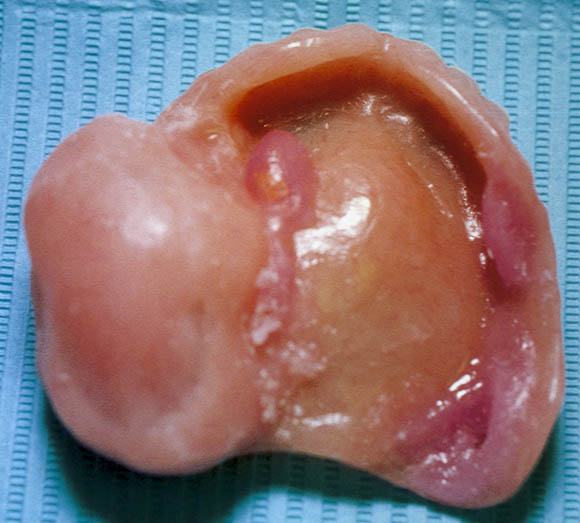
Fig. 6. Finished bulb.
f114276006
Click on Image to view full size


   Summary  TOP 

A technique for the quick fabrication of a hollow obturator bulb for patients with maxillary resection has been described. The prosthesis is simple to construct, lightweight, and easy to clean; it has no direct junction between the oral, nasal, or antral environments and the interior of the obturator. This technique eliminates the fabrication of a separate lid and subsequent luting of the lid to the obturator.


   References  TOP 


   Publishing and Reprint Information  TOP