Step 1
git tag: step1
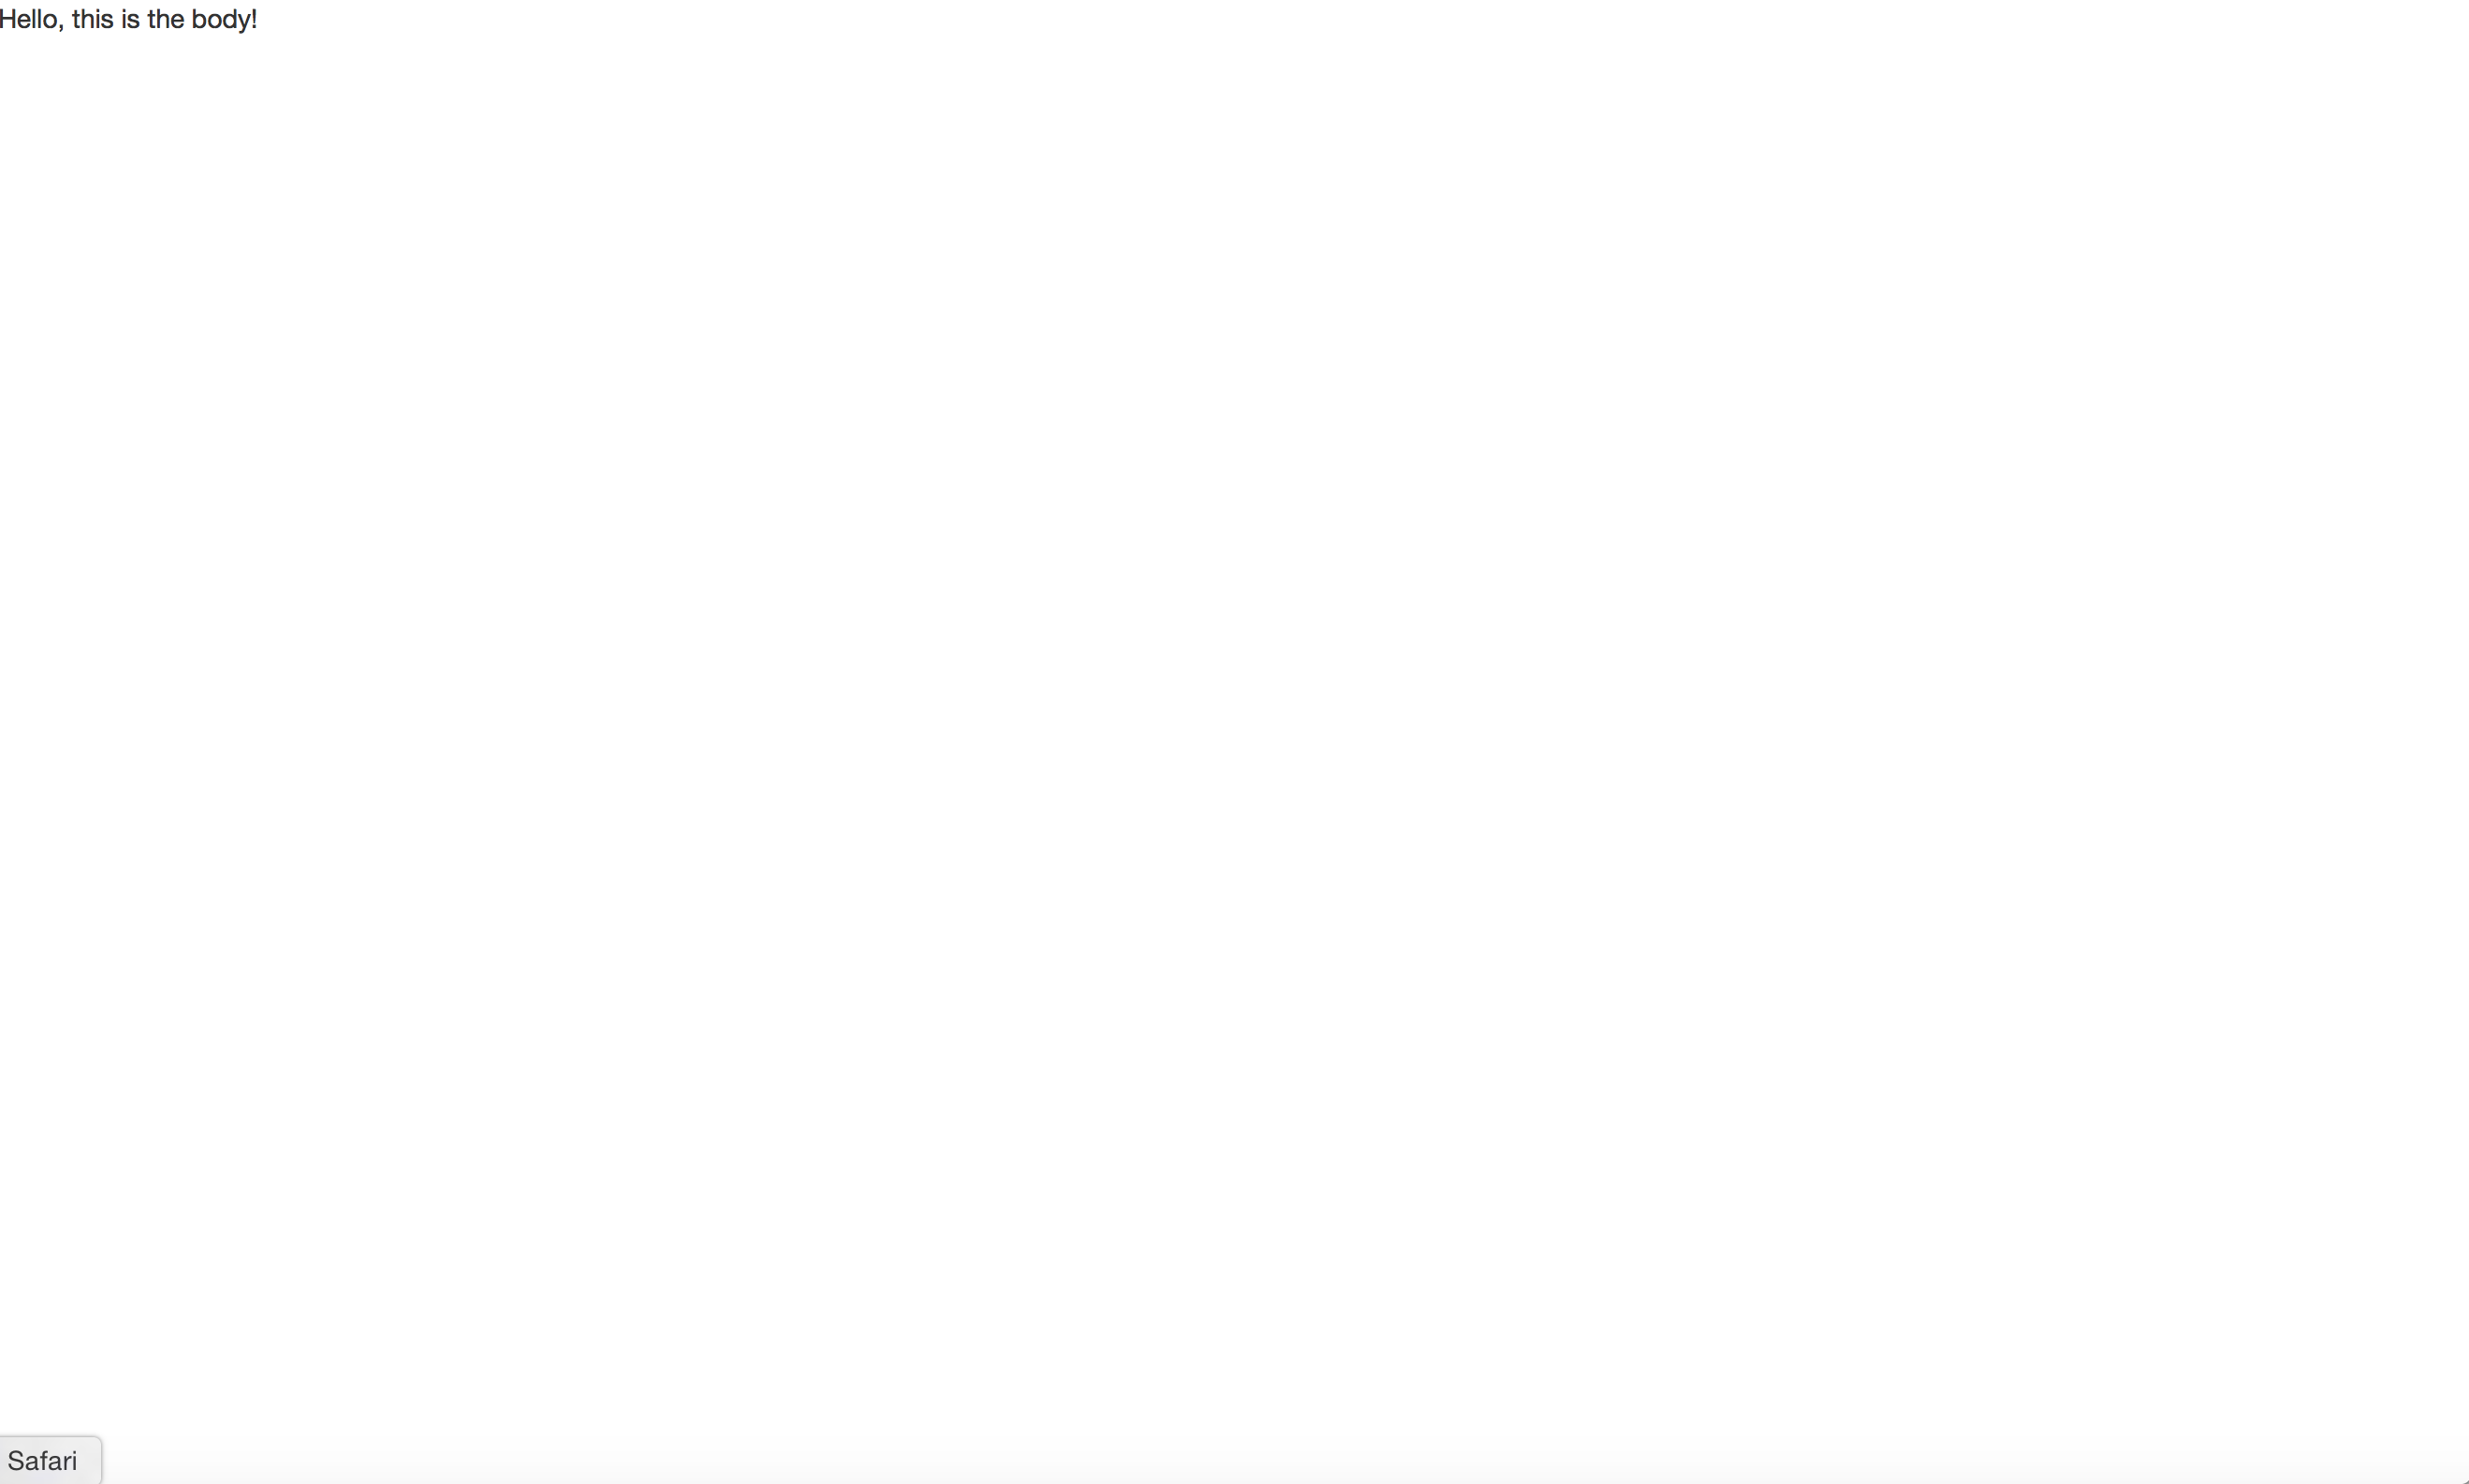
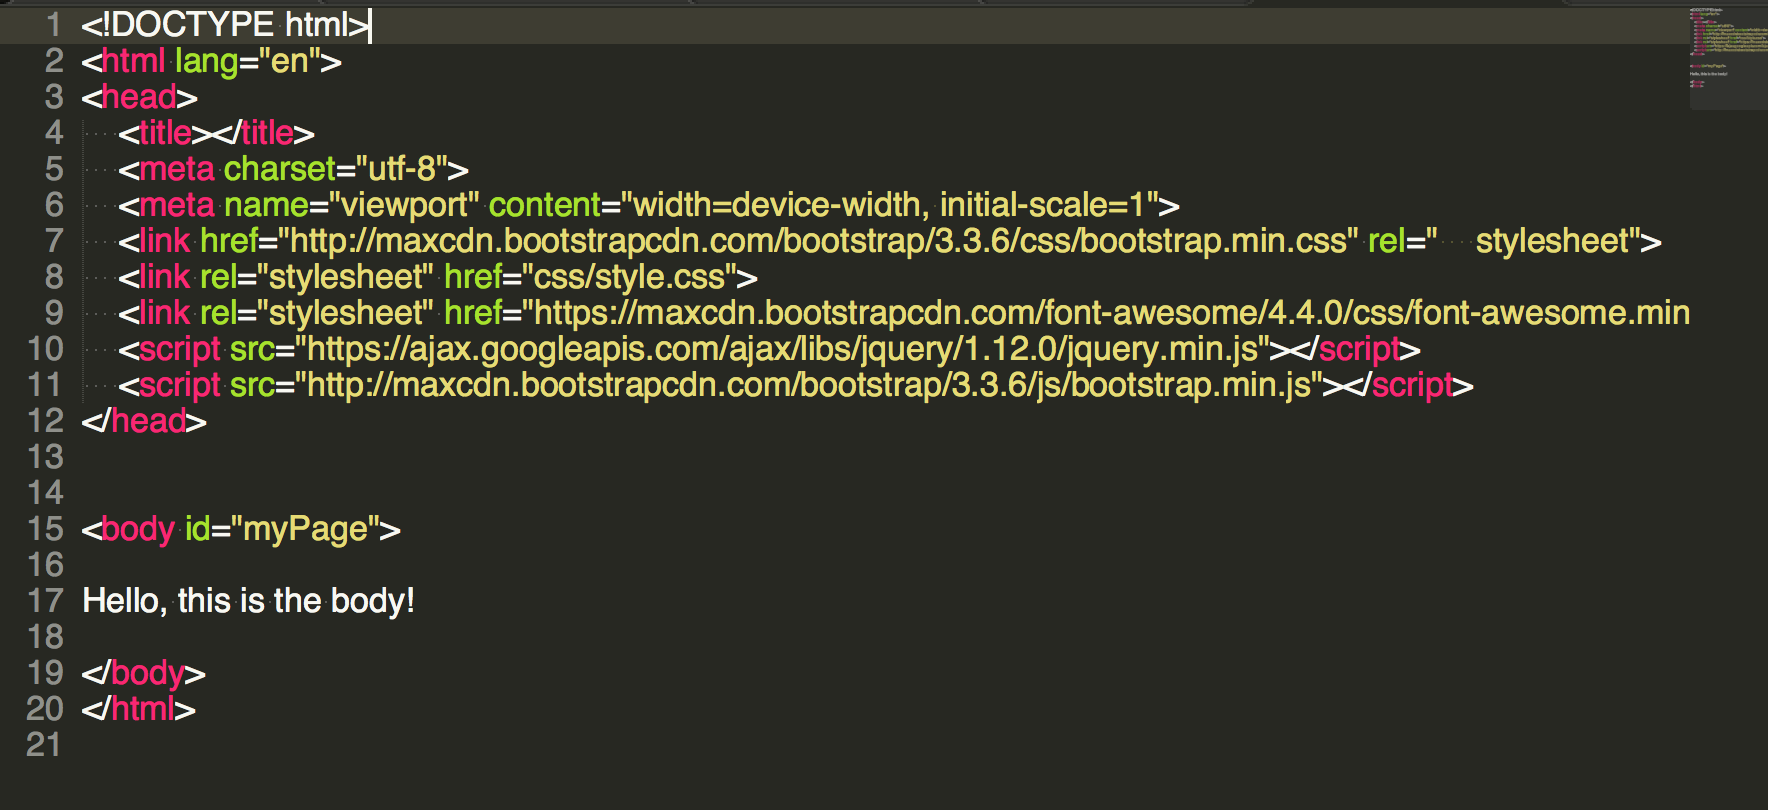
First HTML file
Line 1 is necessary to let the browser know you’re using html 5. Line 2 sets the height to 100% of the browser screen. Line 3 sets the language to english. Line 4 and line 13 delimit the header element: In between there two tags is where we place all the metadata (information that is not actually displayed, but is received by the browser) of the website. Lines 5-7 are necessary for proper display Line 8 is a link to the latest compiled and minified CSS, JavaScript, and fonts from Bootstrap Line 9 is a link to your personalized css file here I named it style.css and it is in the css folder. We will create the css file in step 3 Lines 10-12 are links to special fonts, jquery and bootstrap javascript sources, which are very useful. Lines 16-20 are the body element, anything between the body tags will be displayed in your website. Line 21 marks the end of the html document
Step 2
git tag: step2
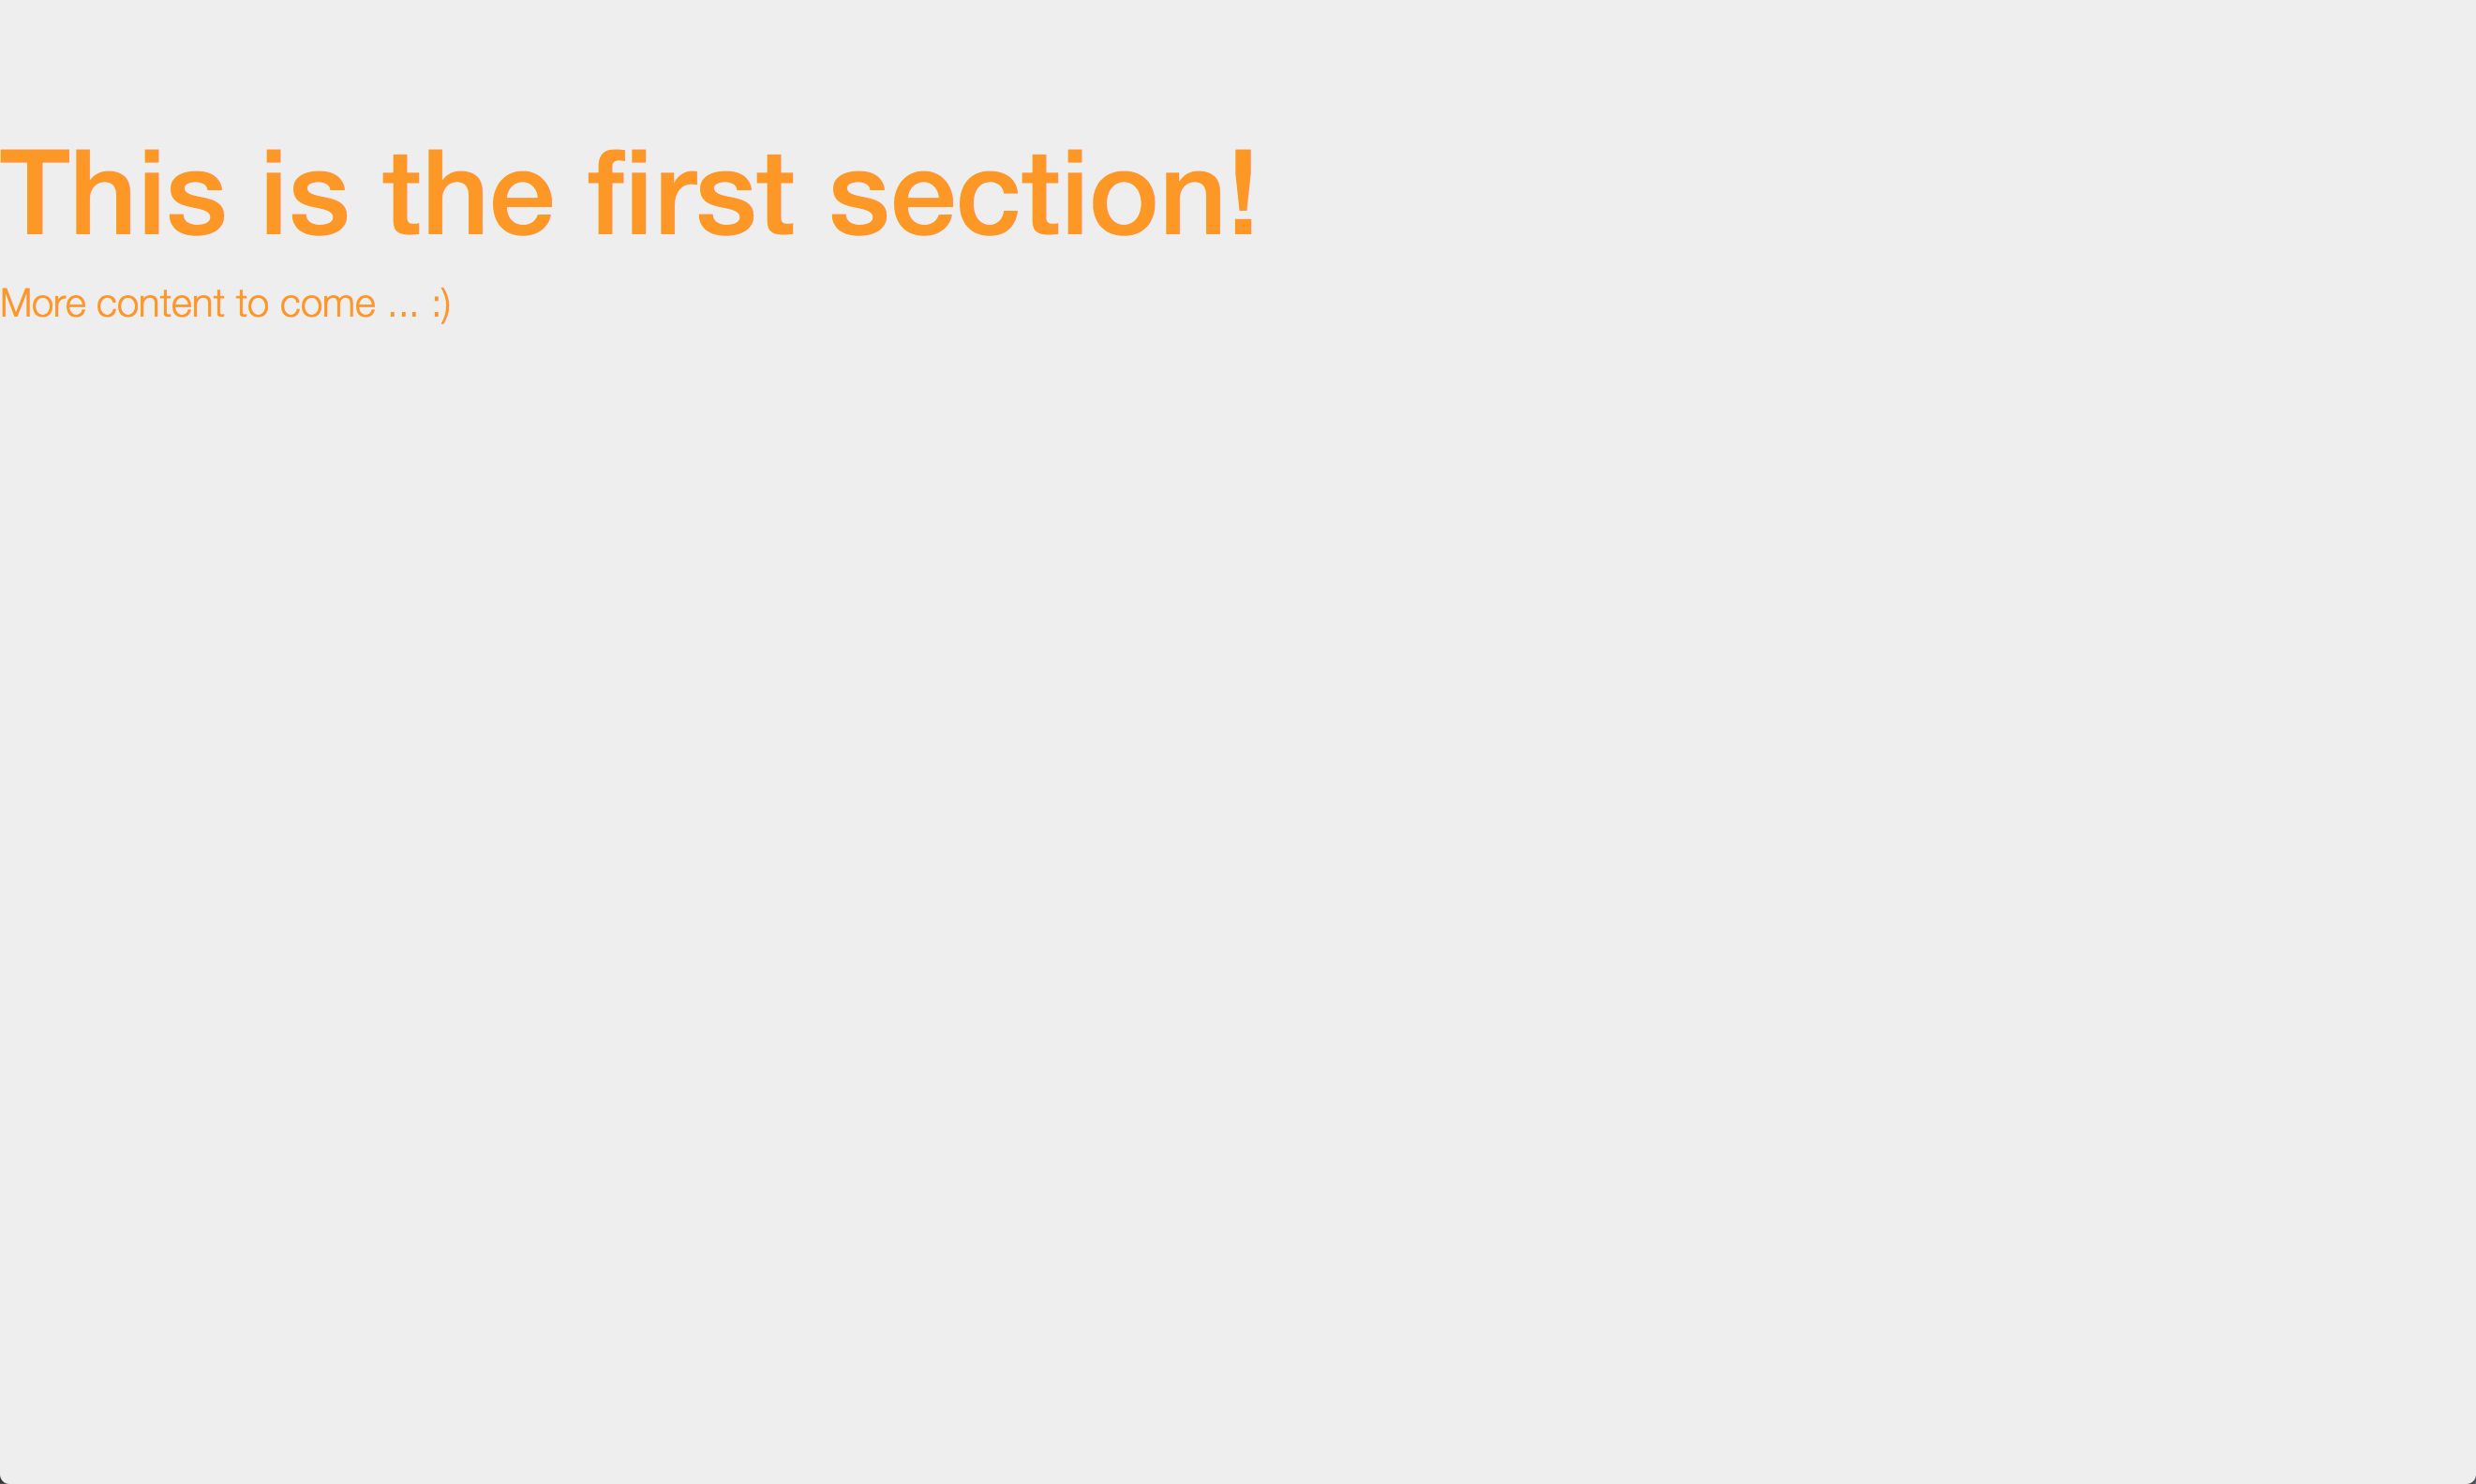
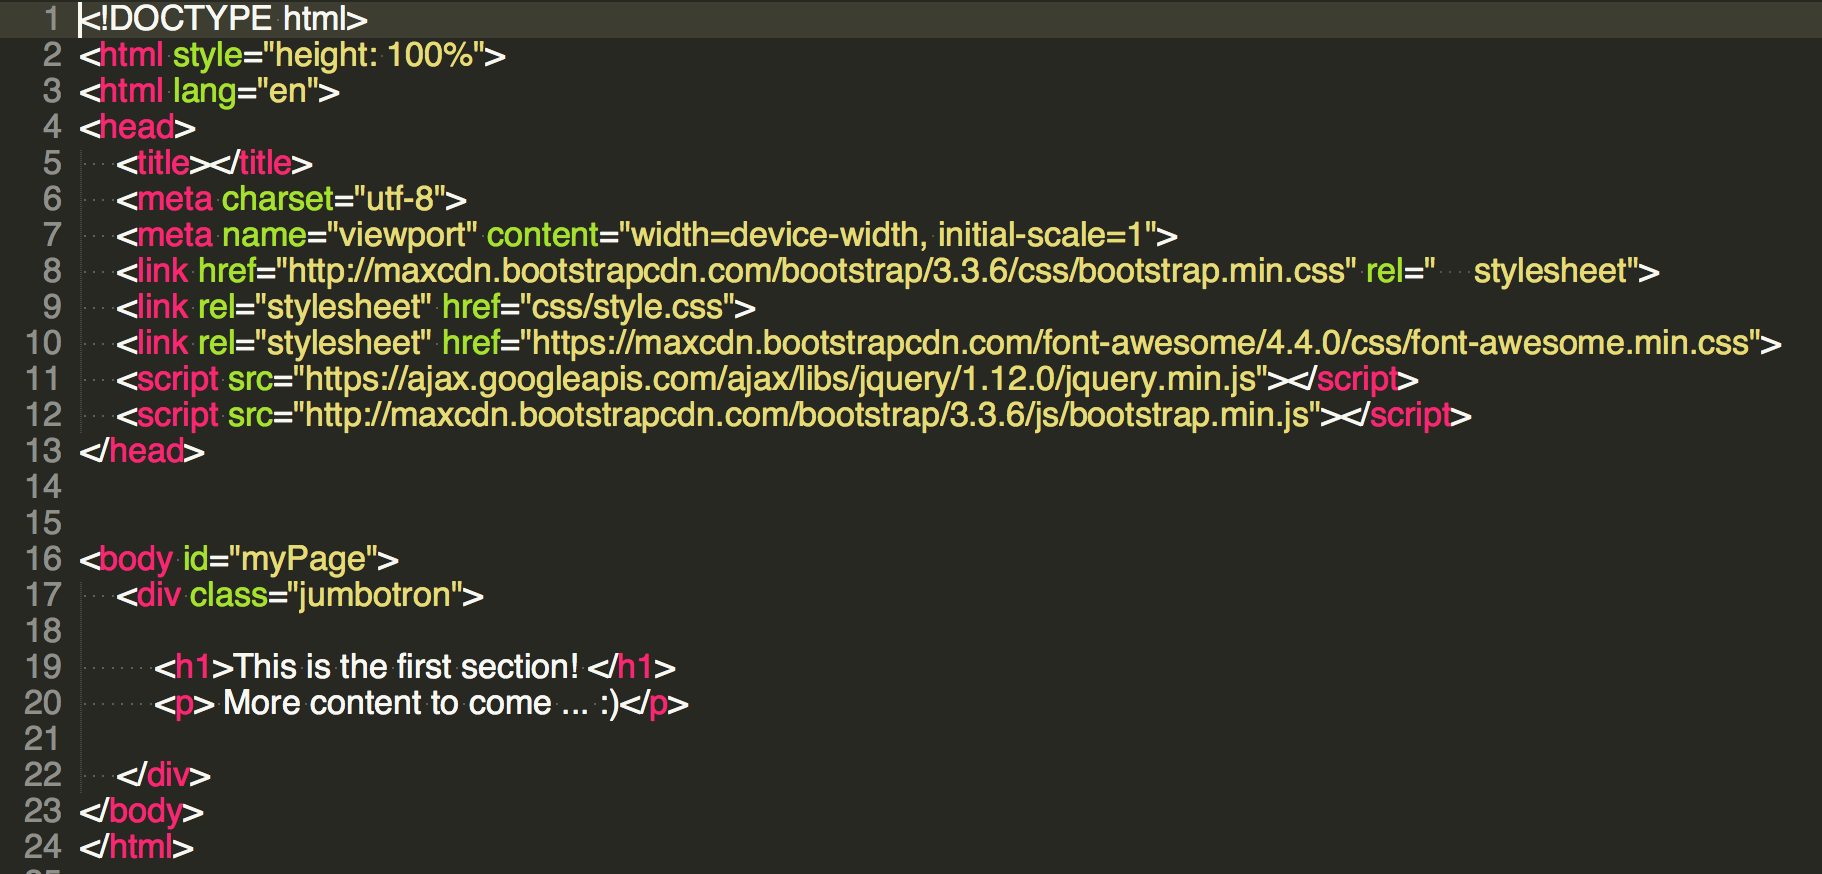
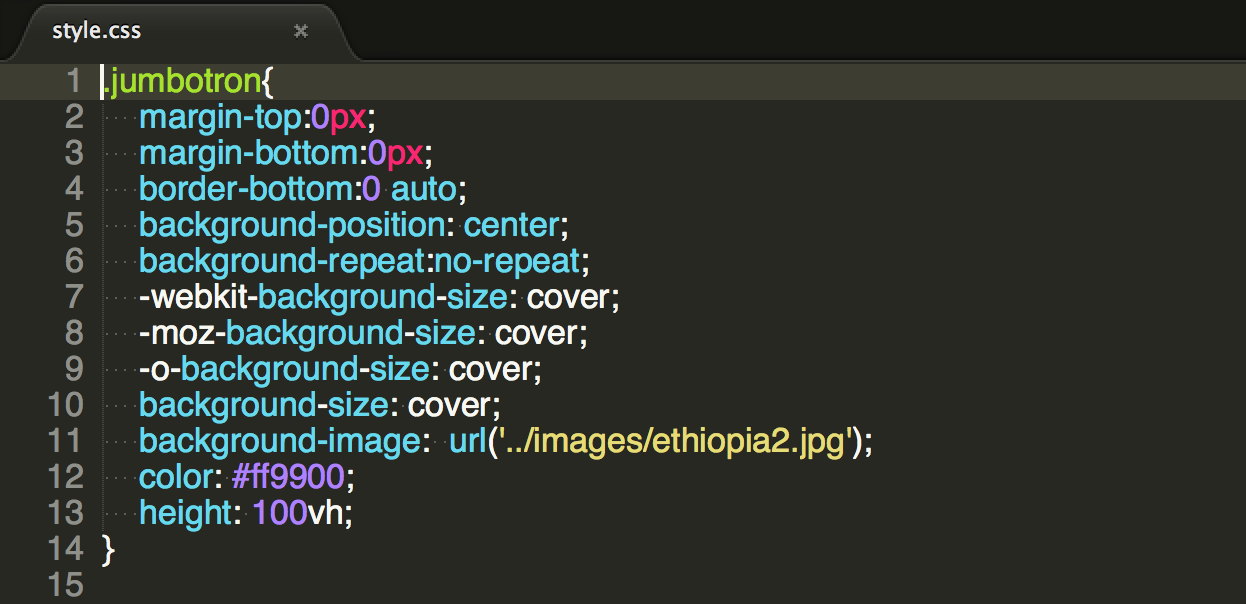
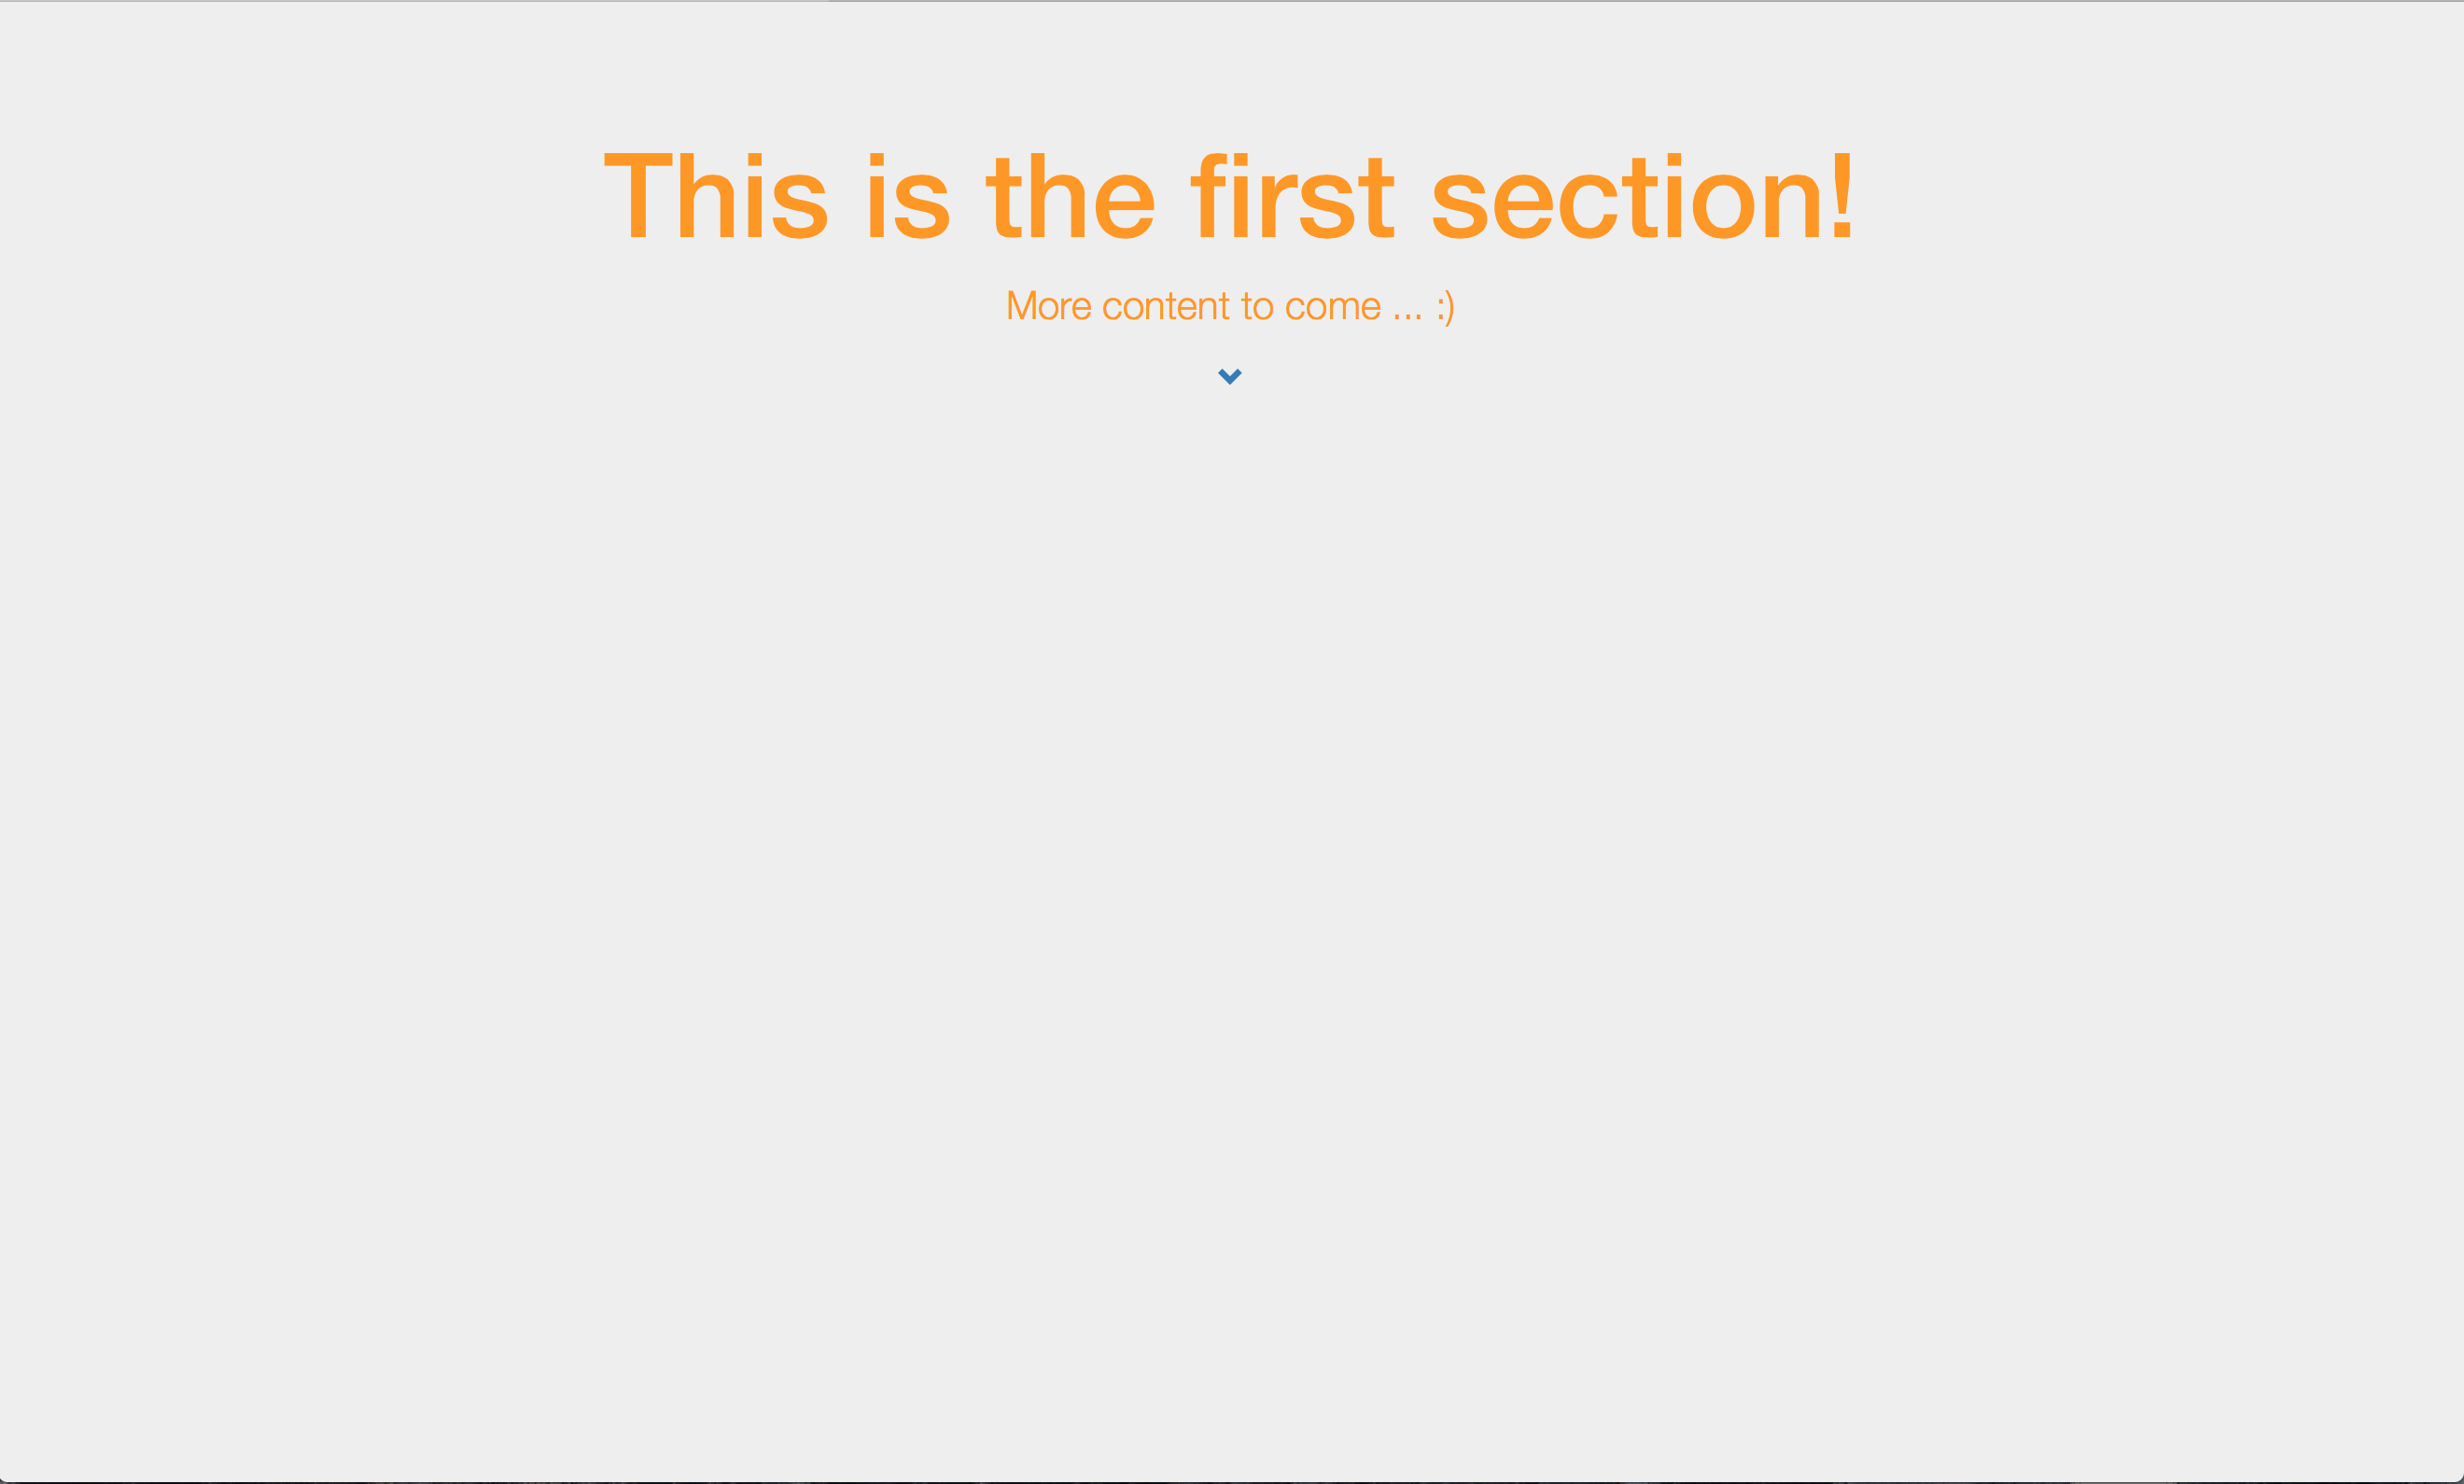
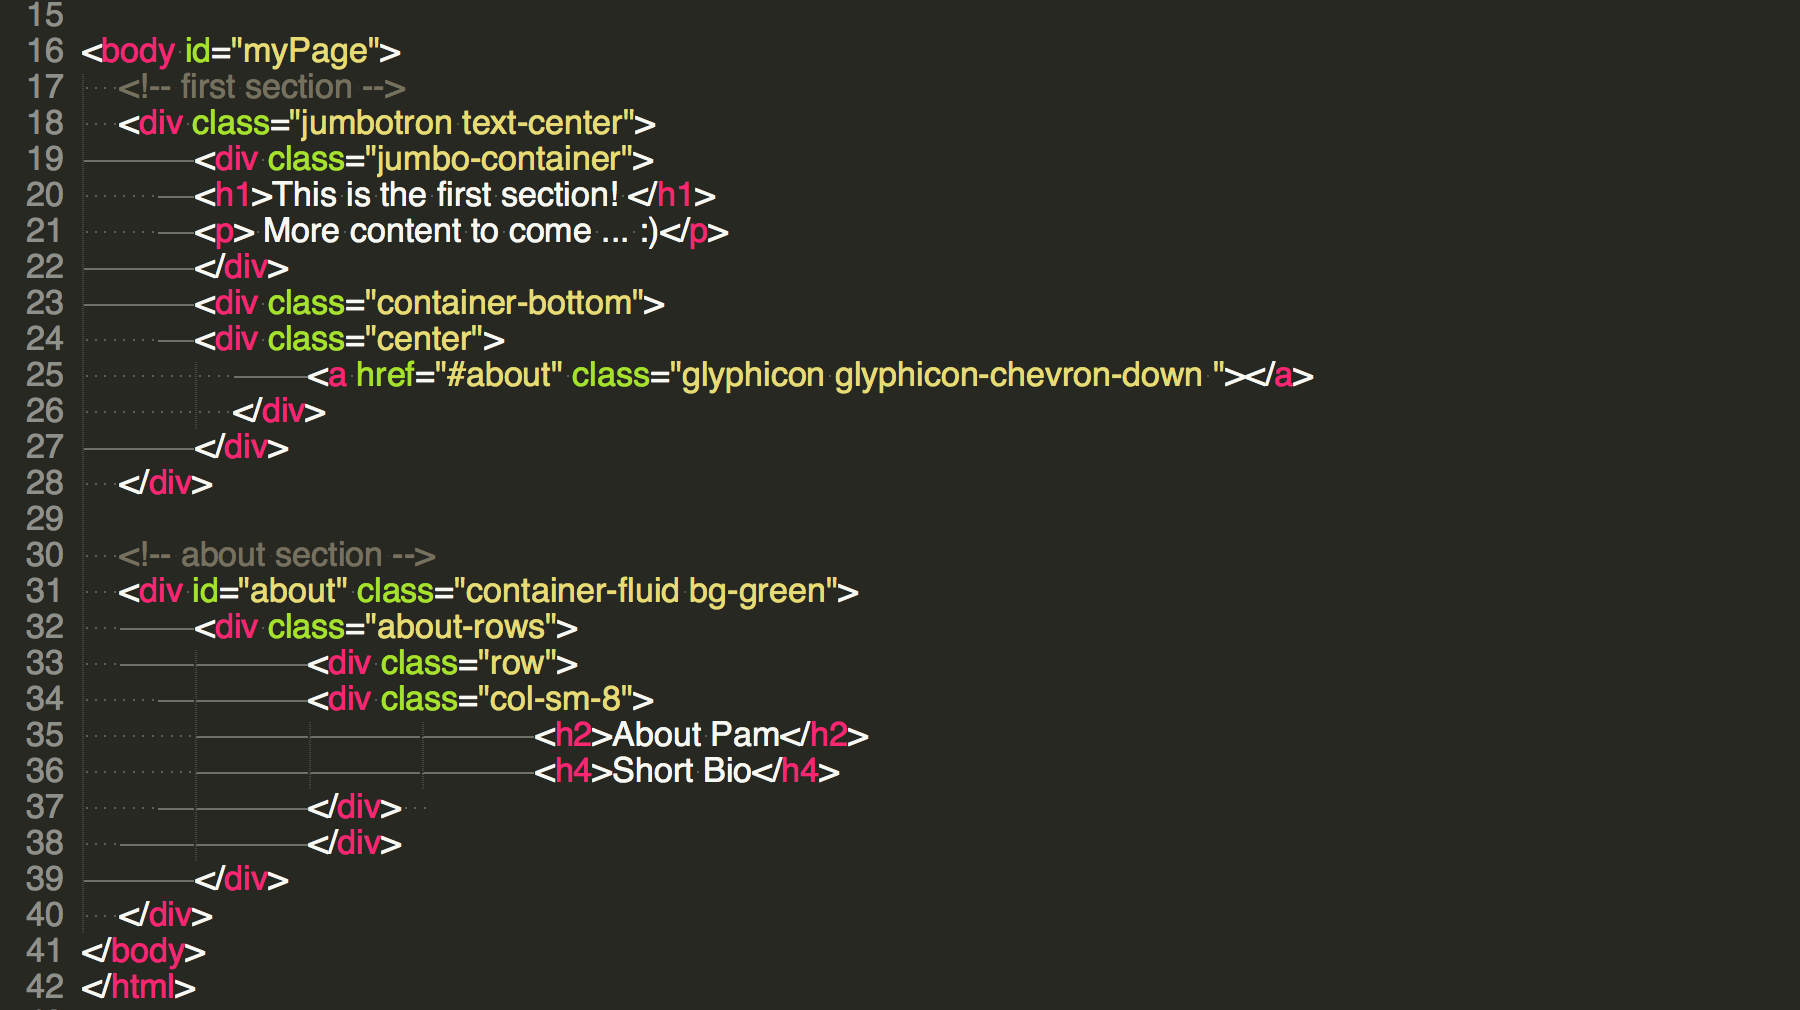
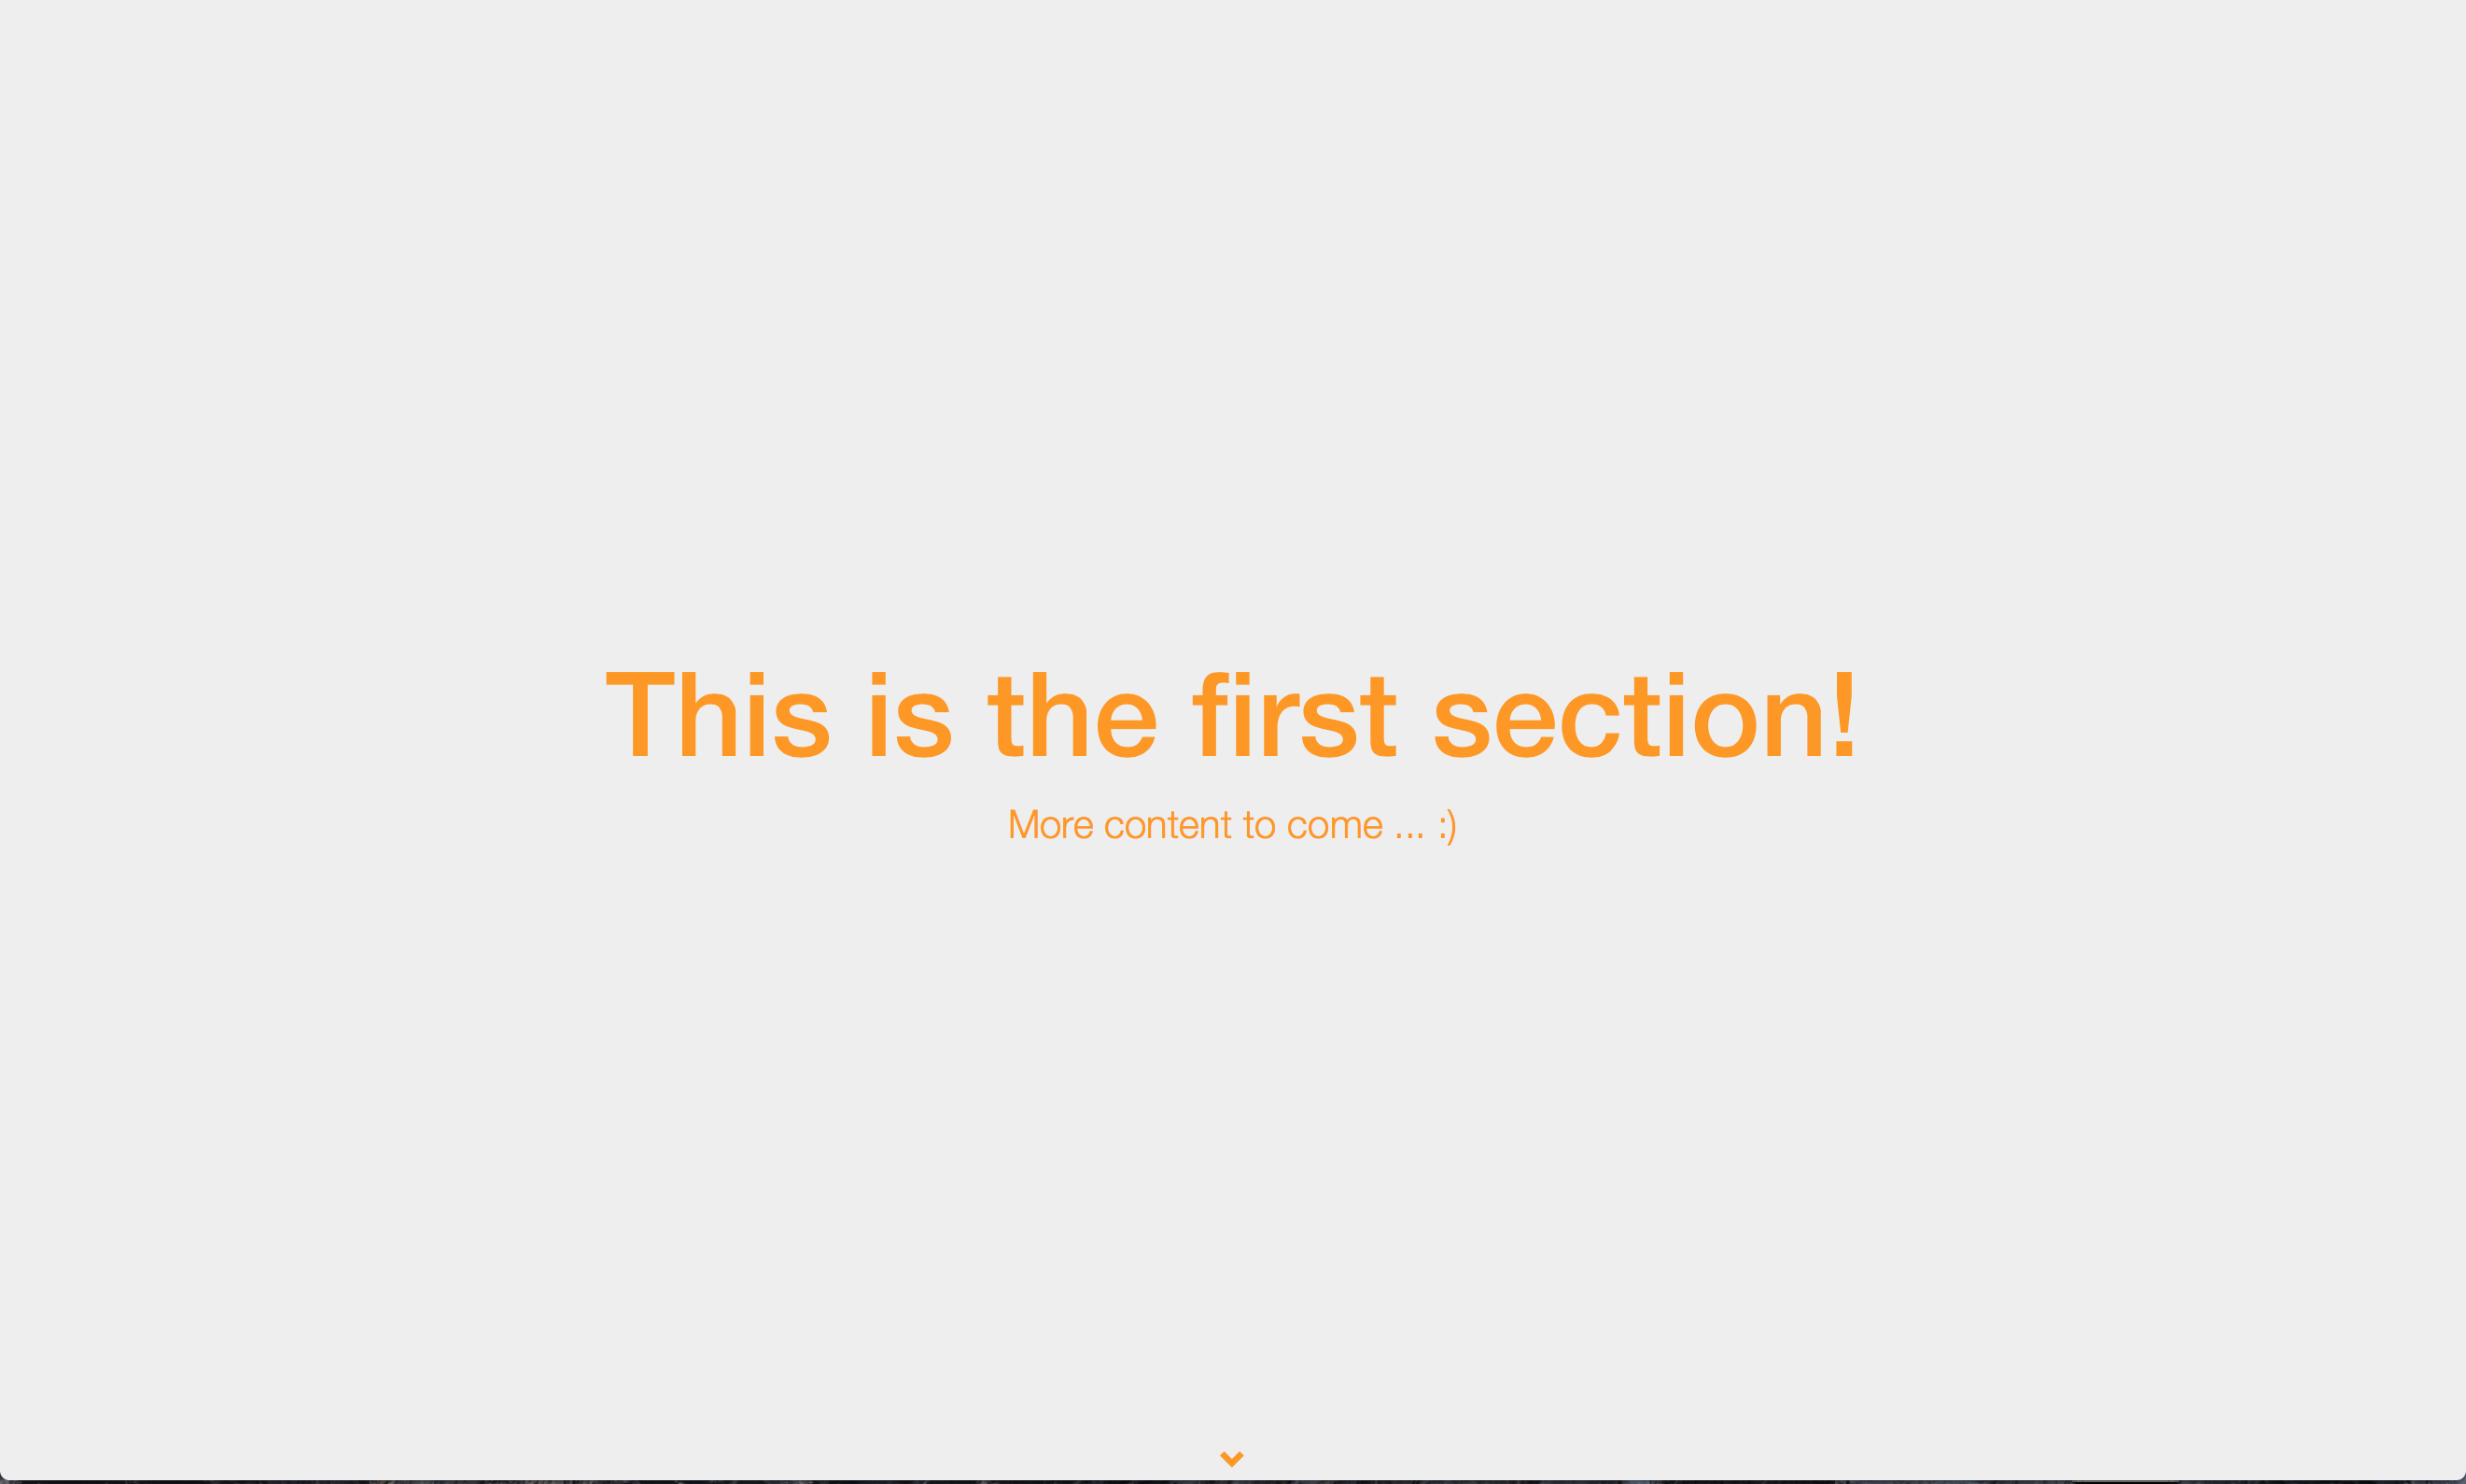
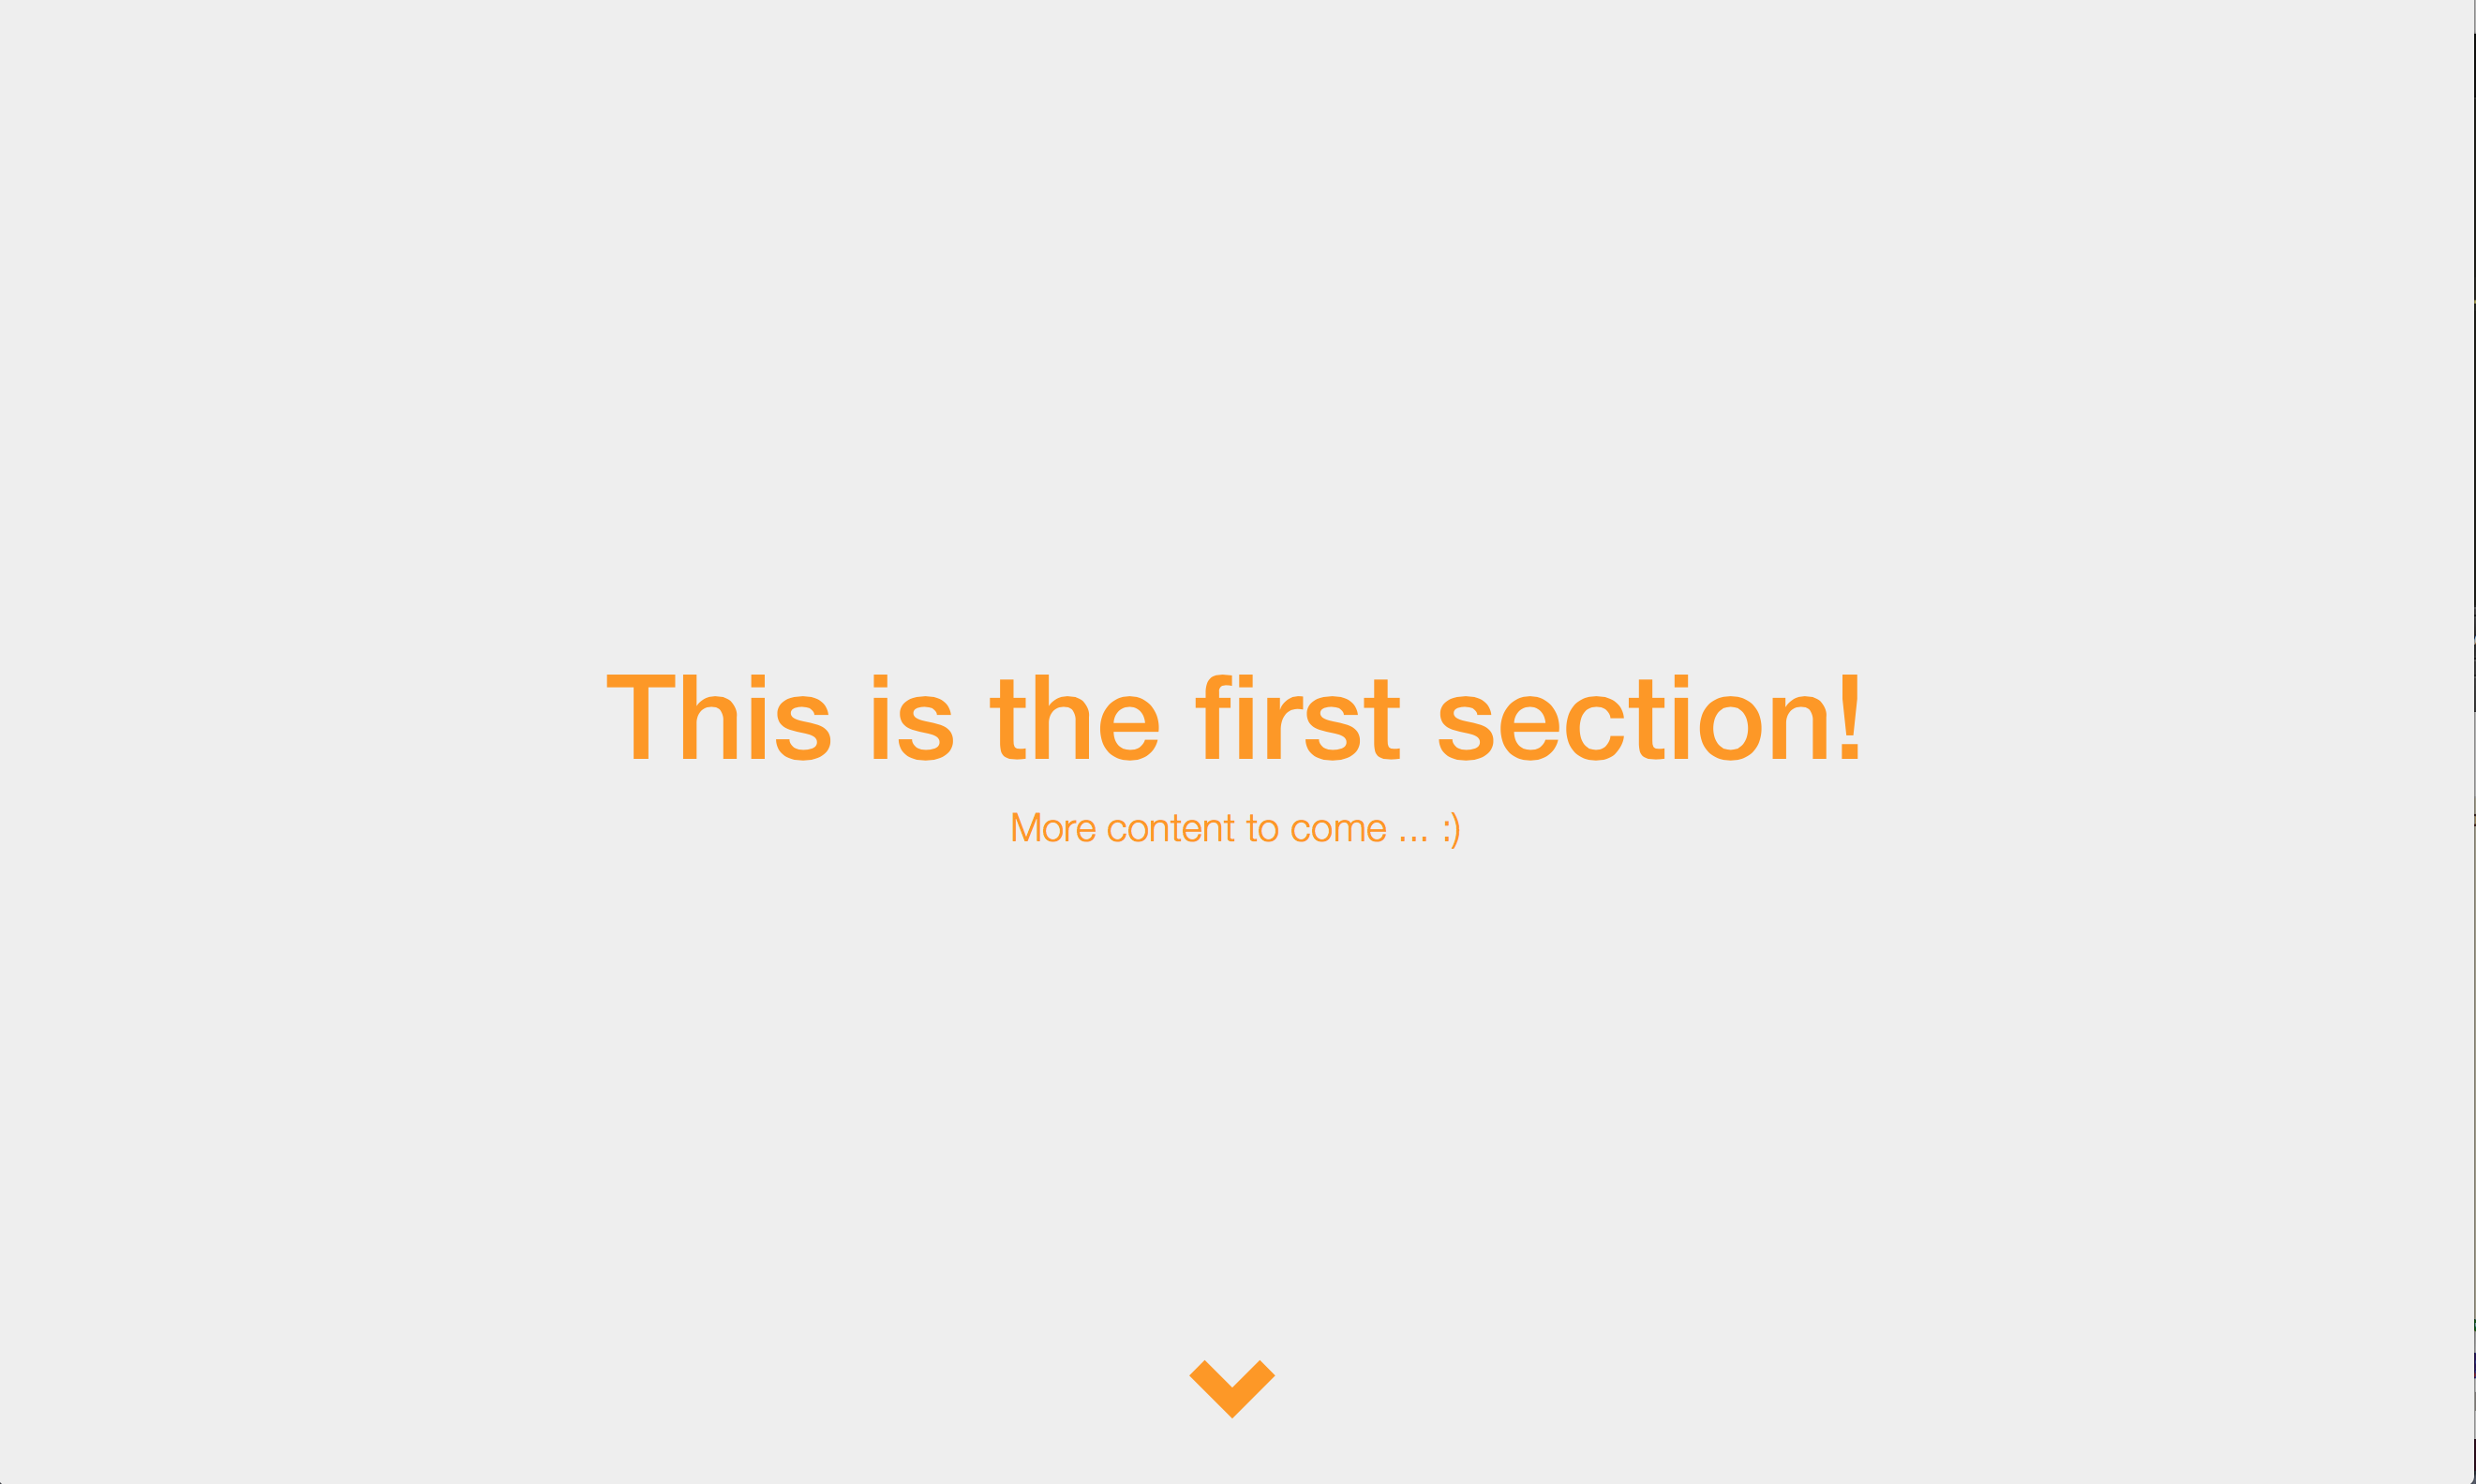
First Section
Lines 17-22 create the first section with the div tags. We use the jumbotron class for this section. In the style.css file we will define what we want the jumbotron class to look like.
Step 3
git tag: step3
CSS
The css file style.css is created in the css folder.
Step 4
git tag: step4
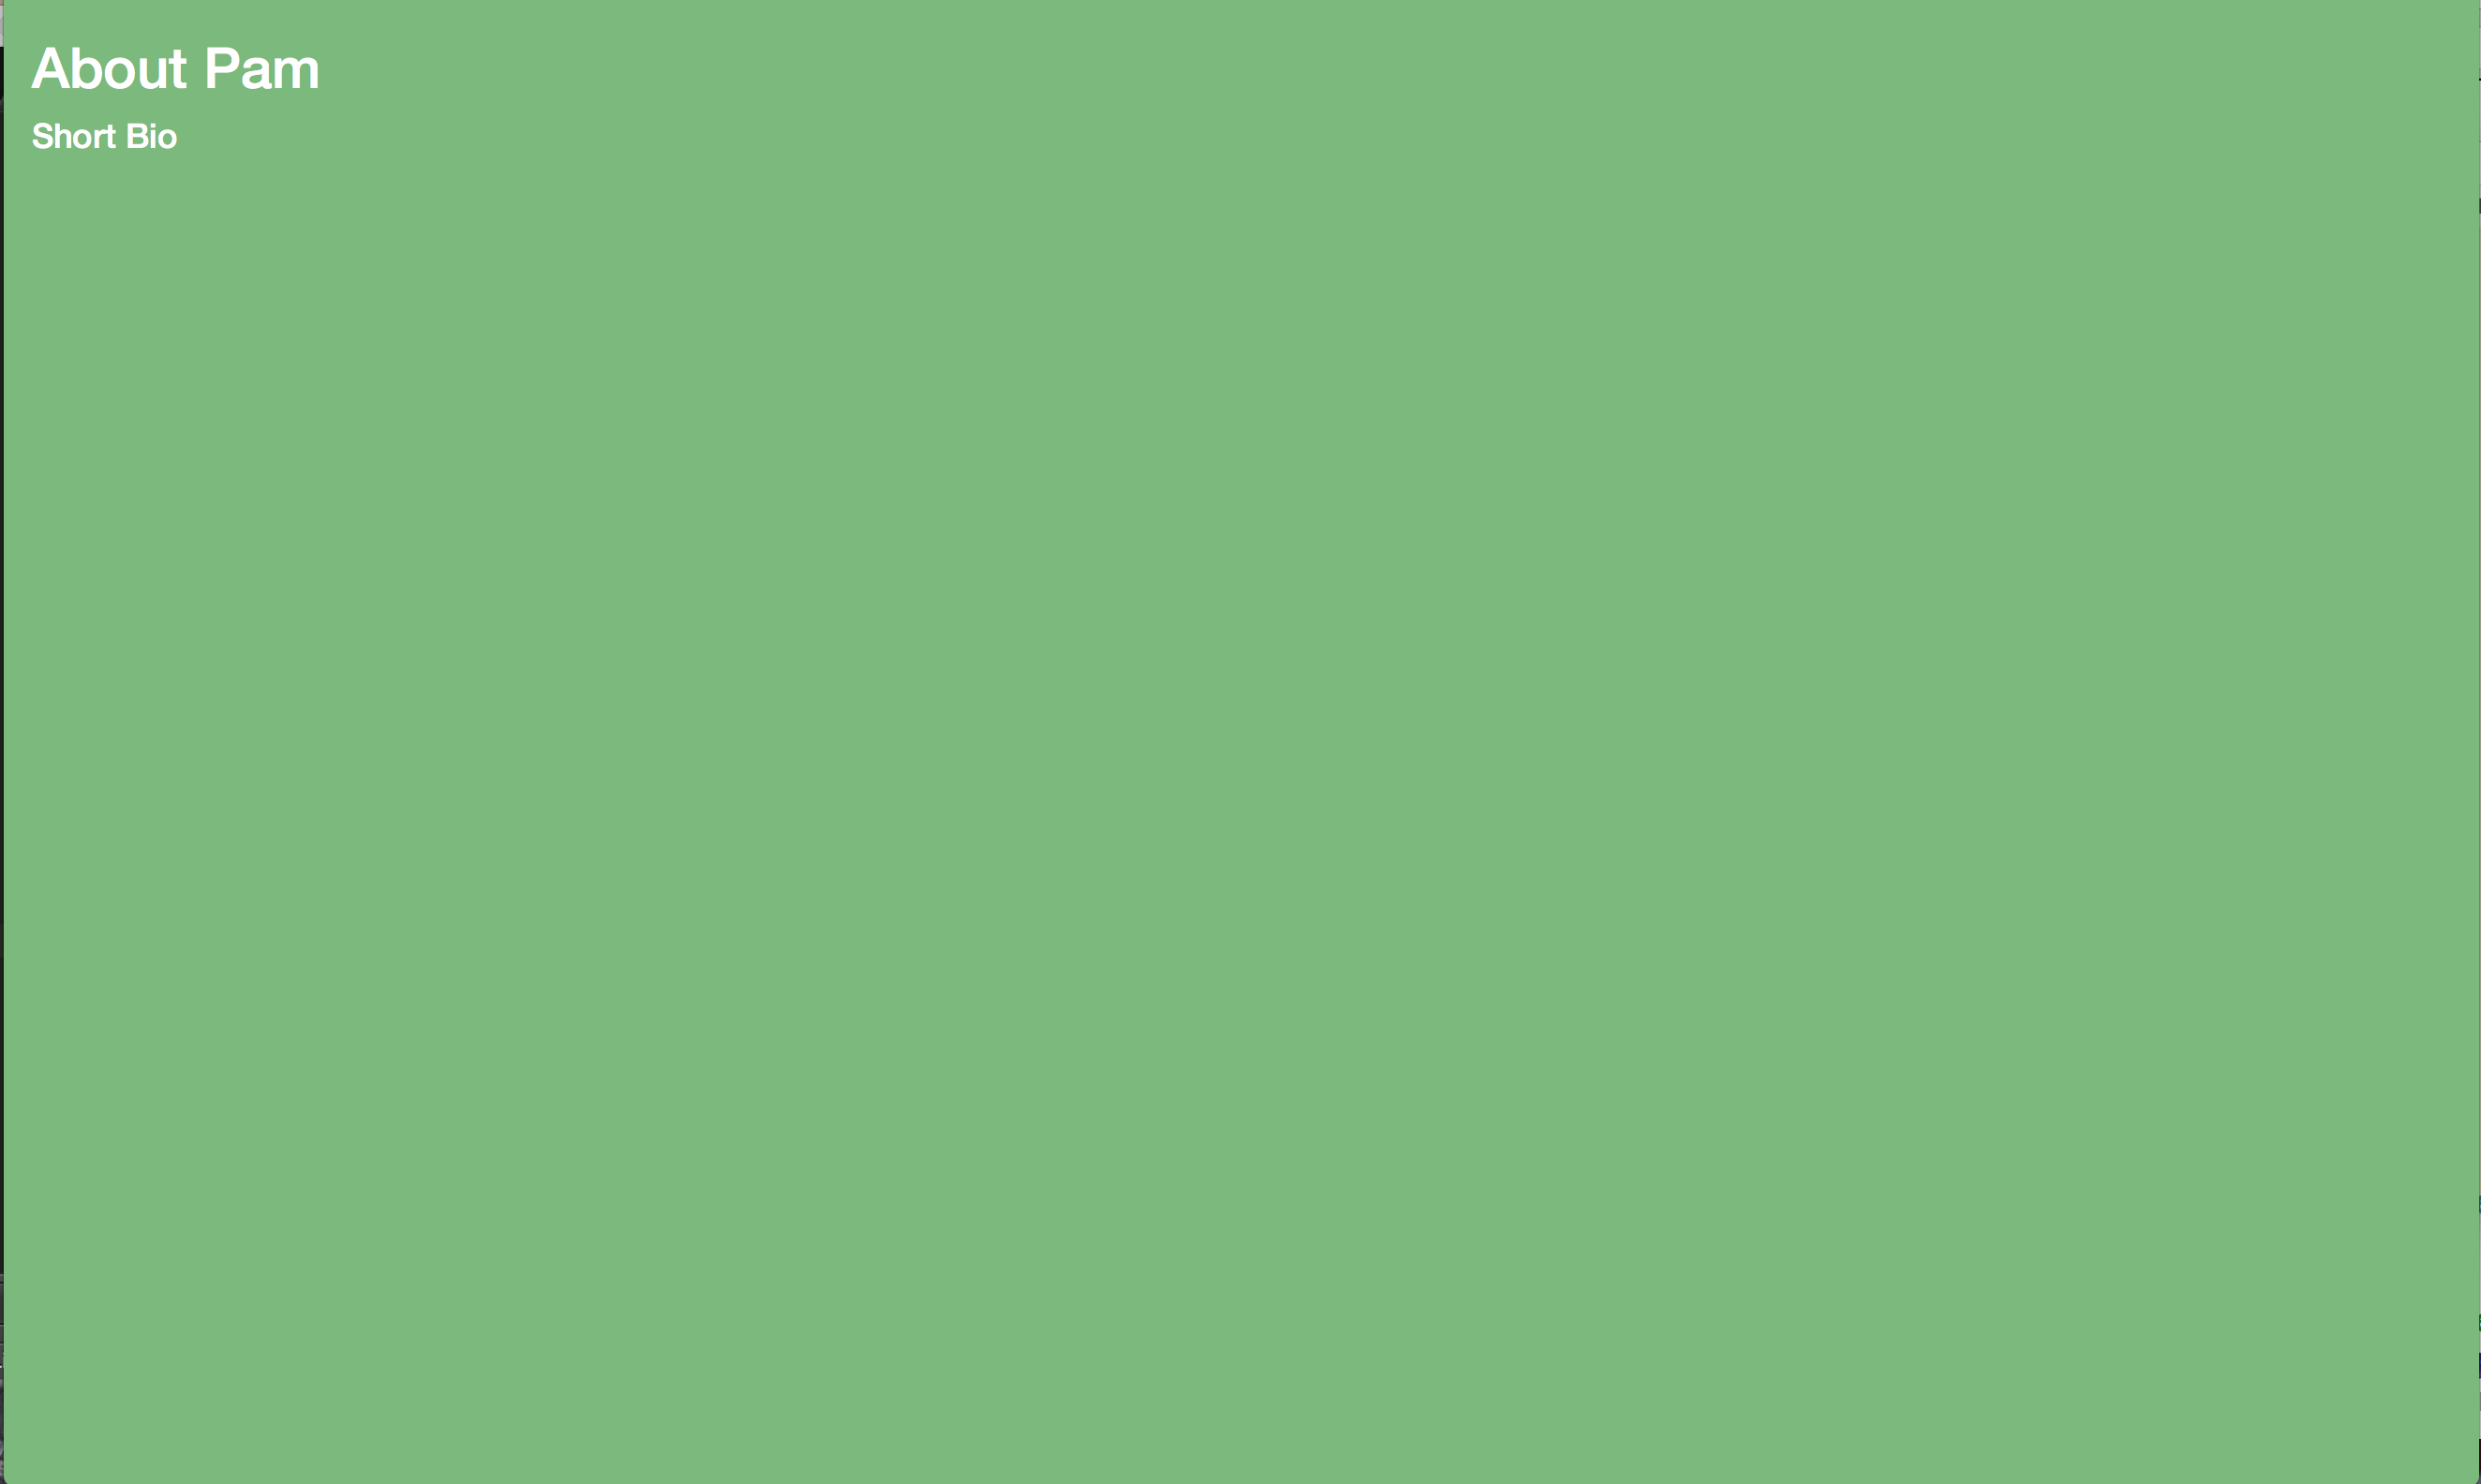
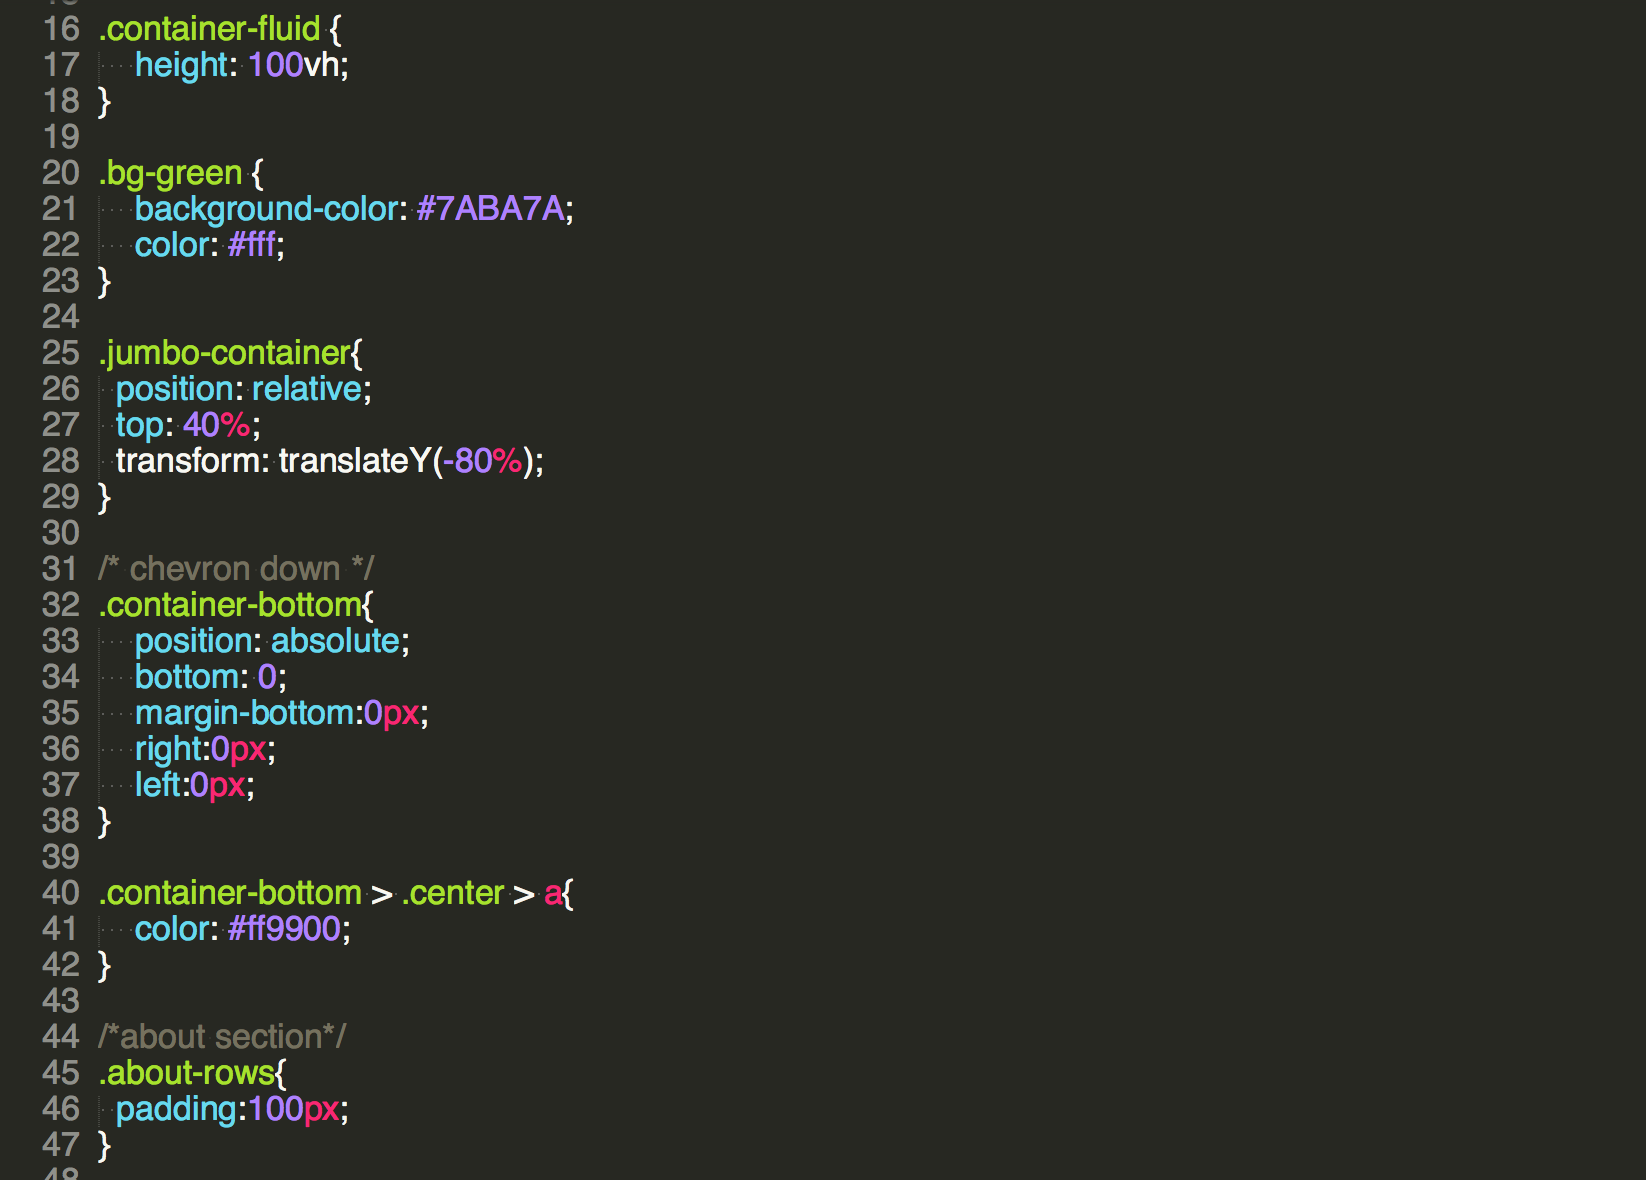
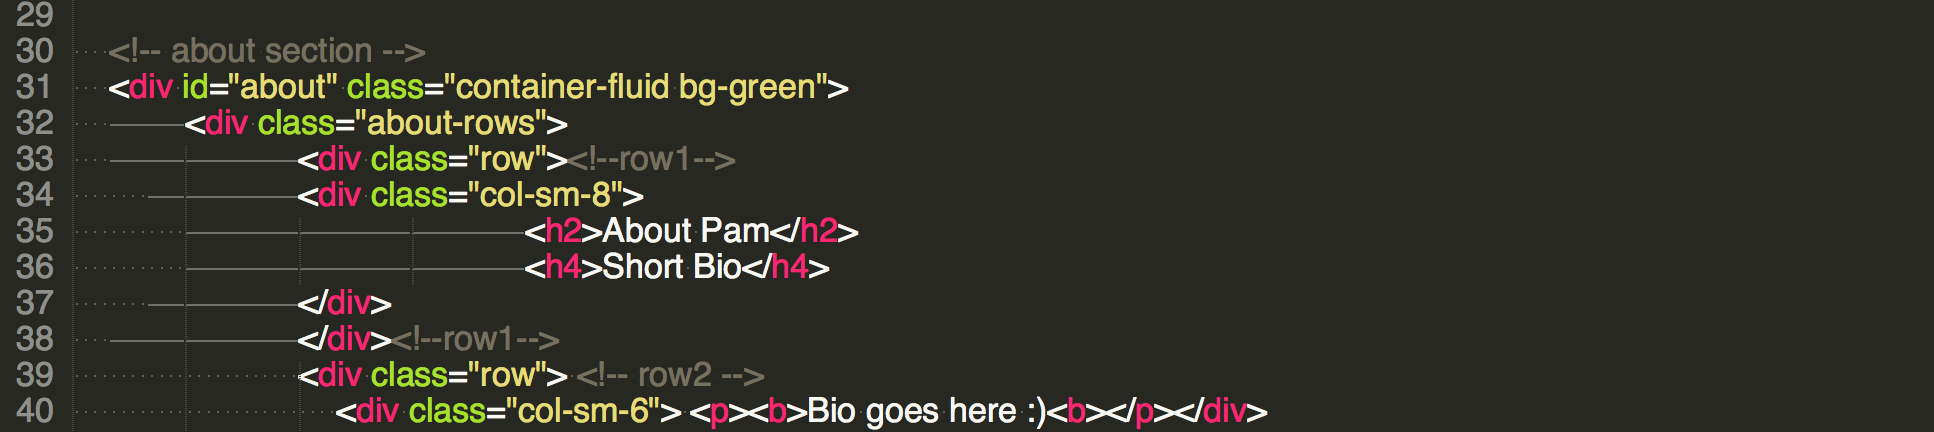
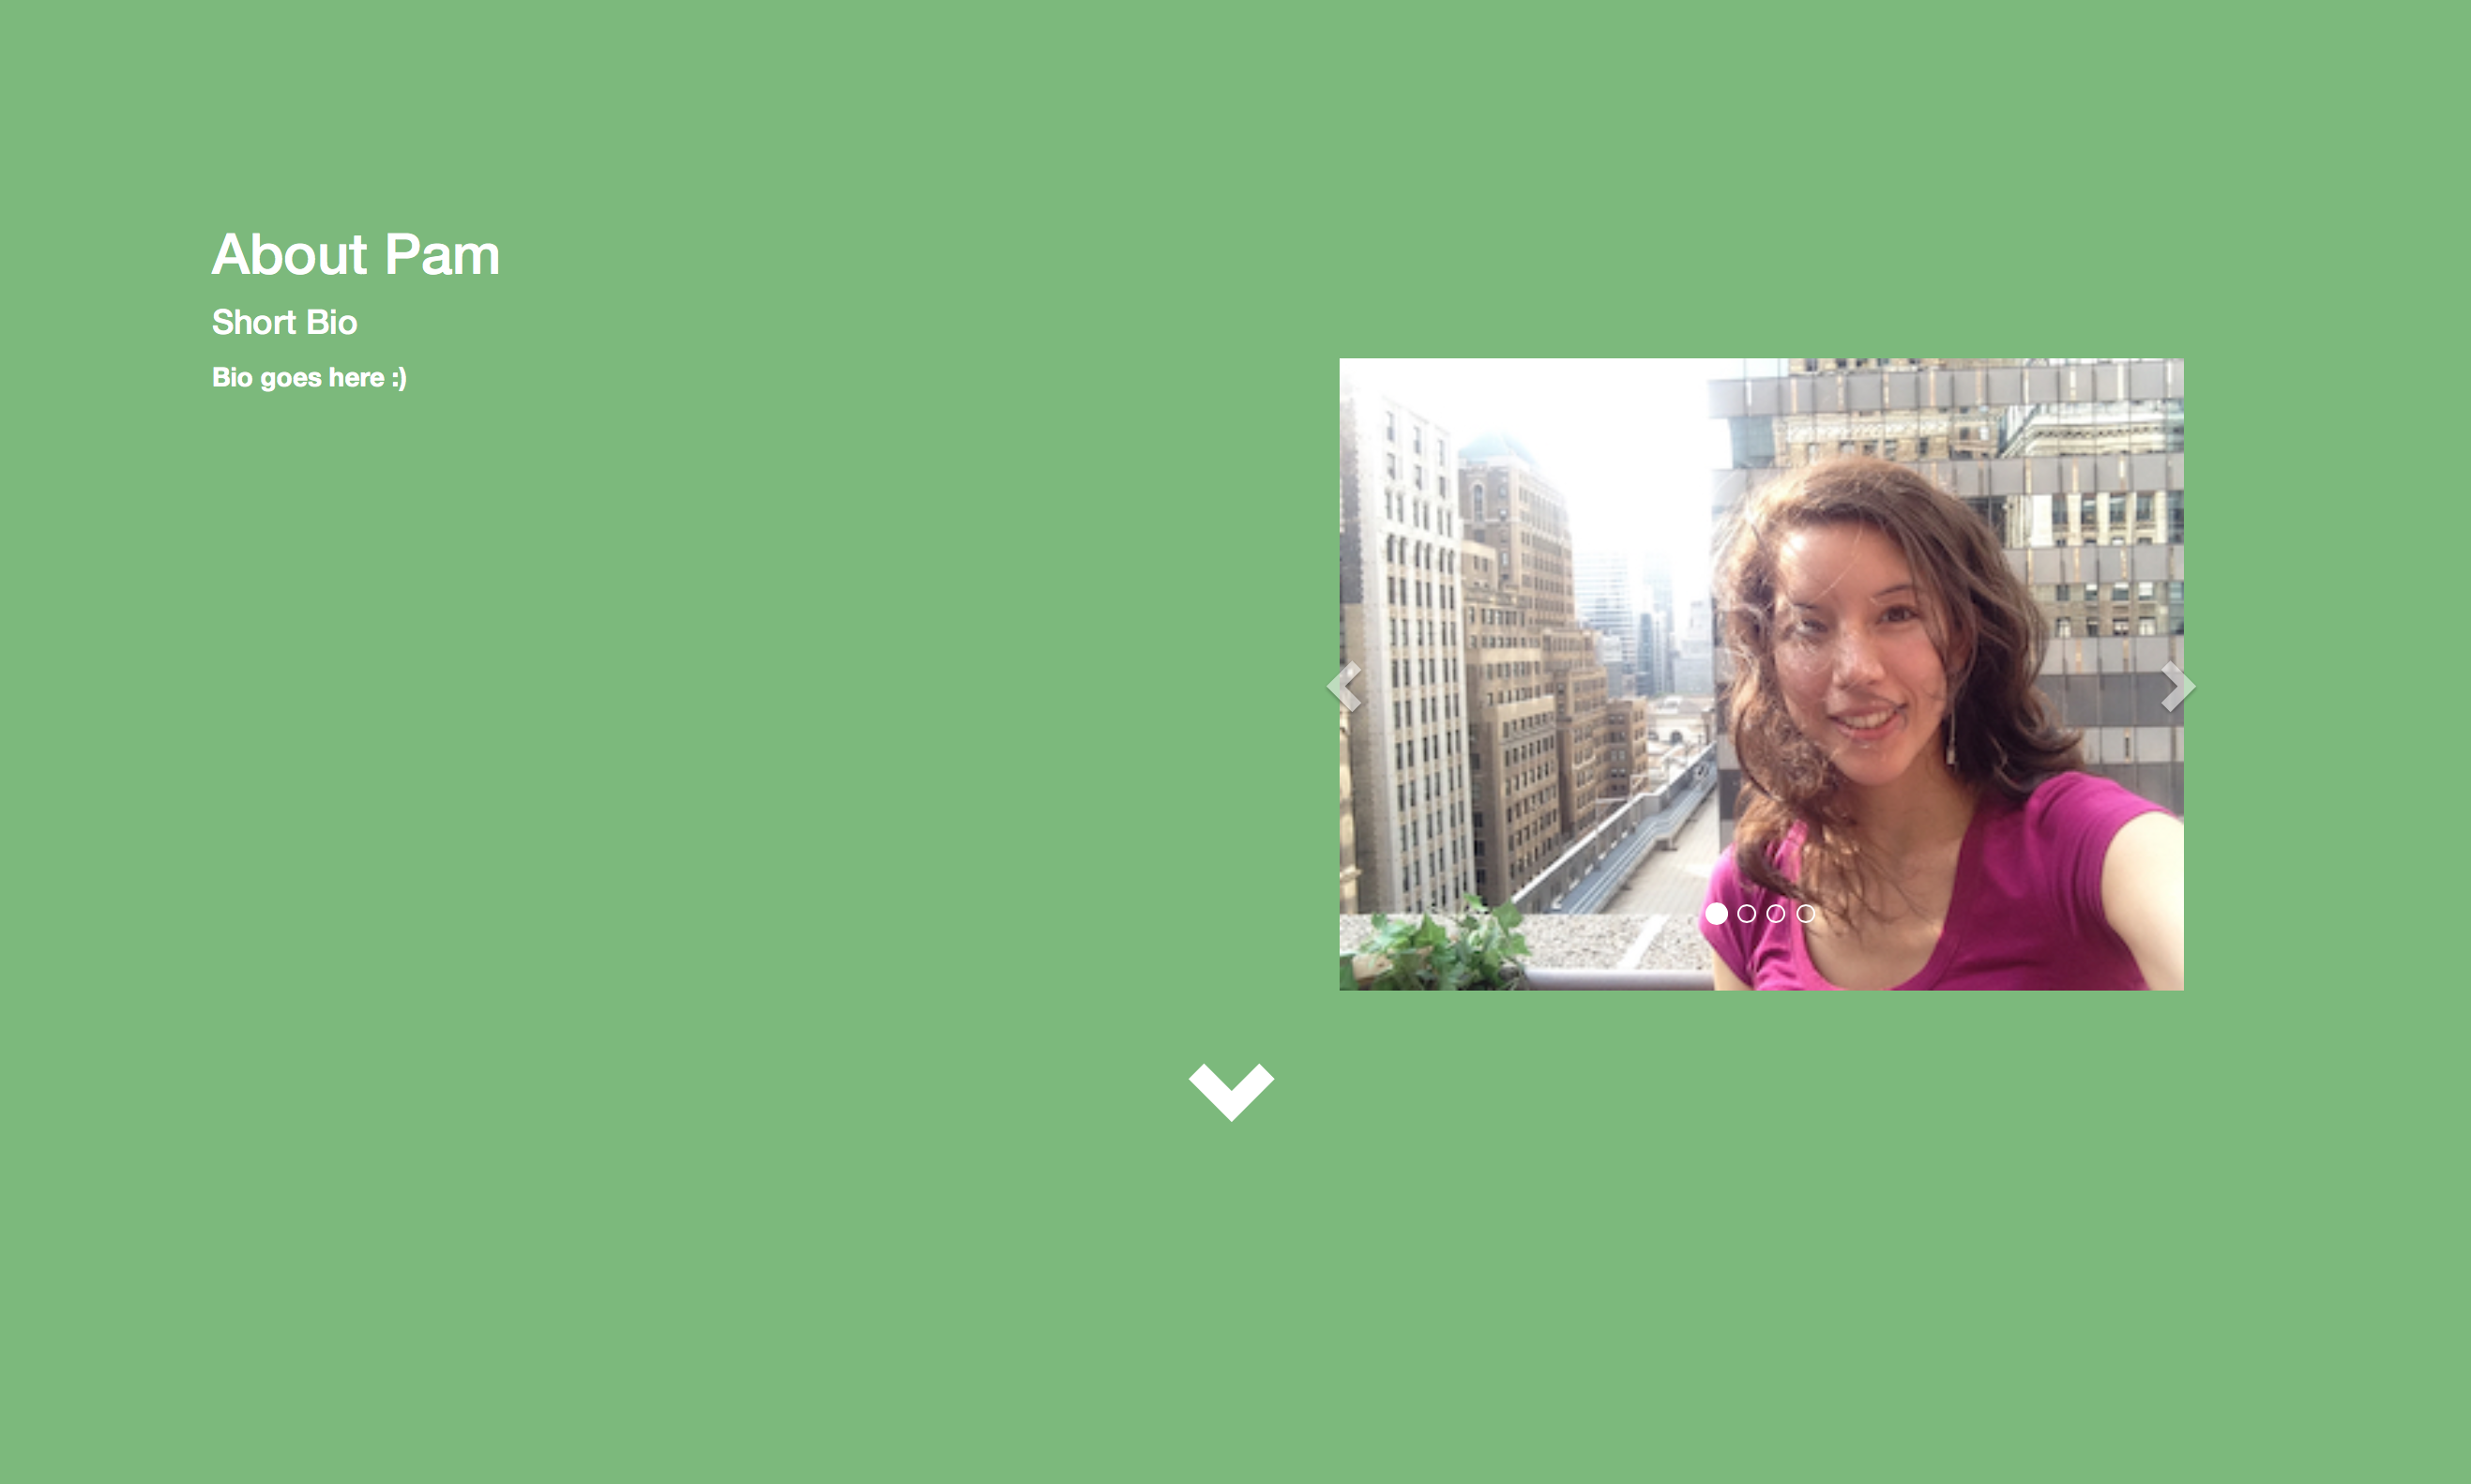
Second Section
Lines 30 - 40 are the second section or about section. For this section we use two classes in line 31 “container-fluid” and “bg-green”. Comments are in the form. Within this section we create a container using div tags, we use the class “about-rows” for this container. The classes are styled in the updated style.css file We create the first row in this container in lines 33-38
Step 5
git tag: step5
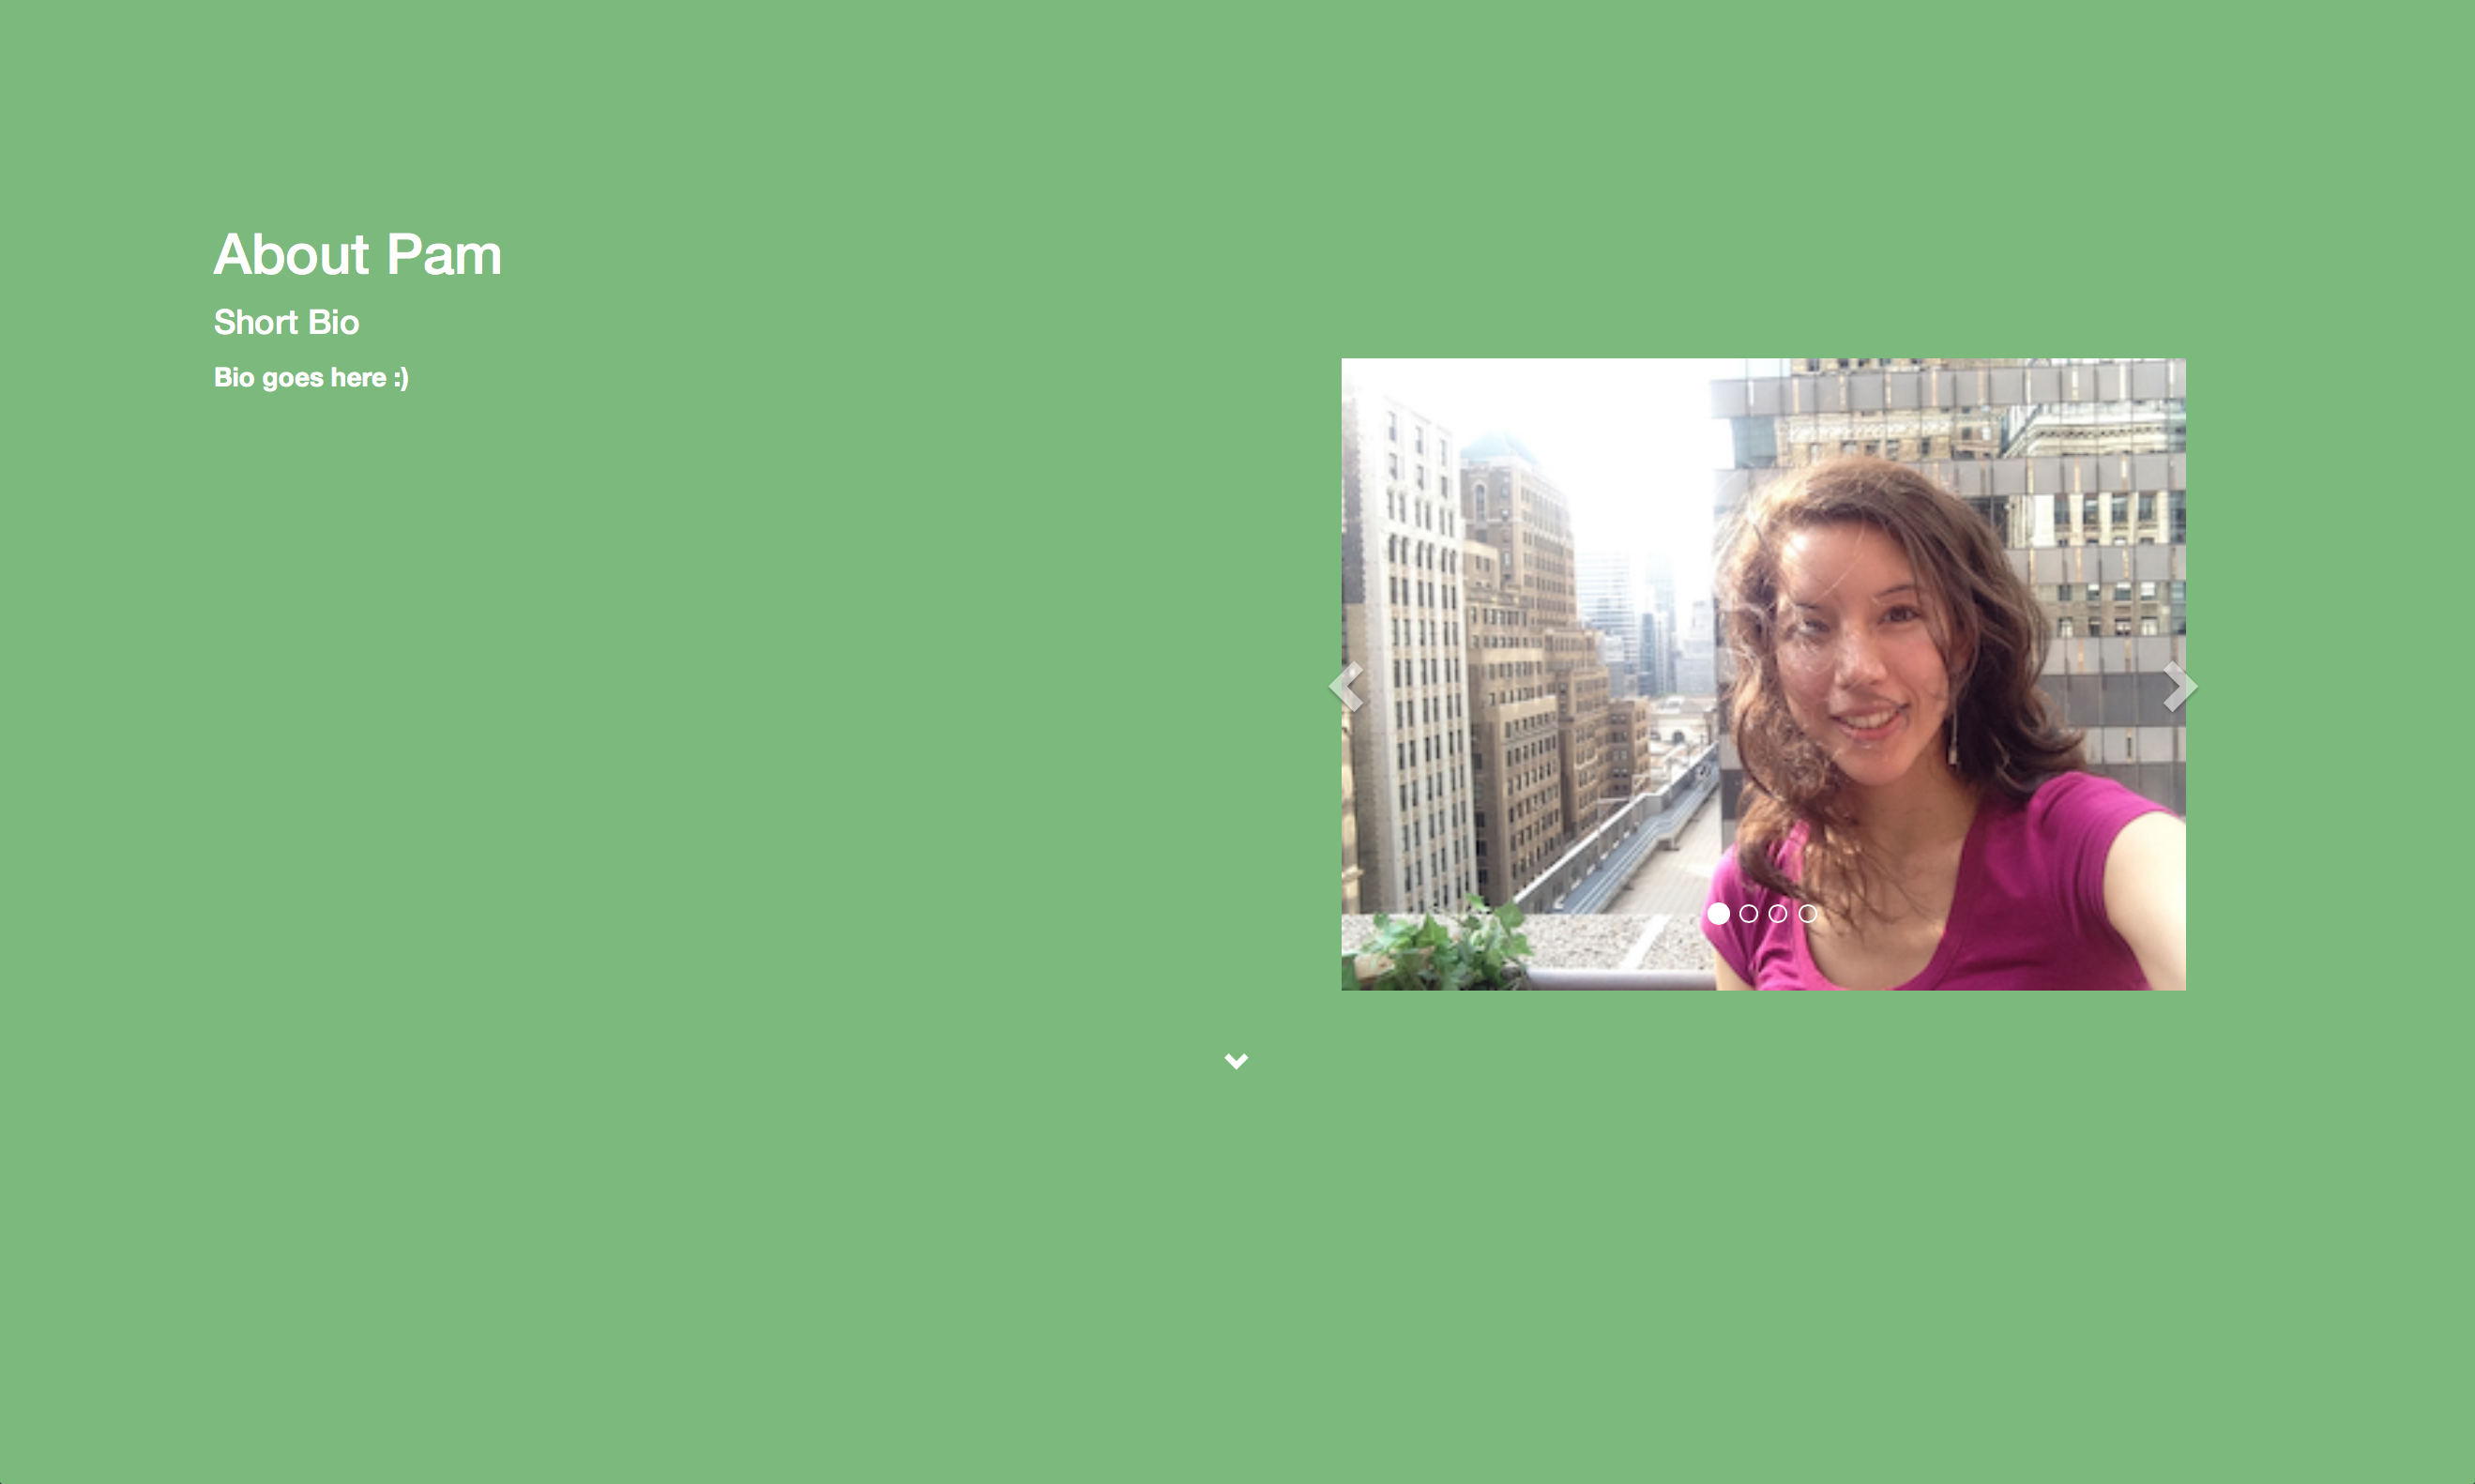
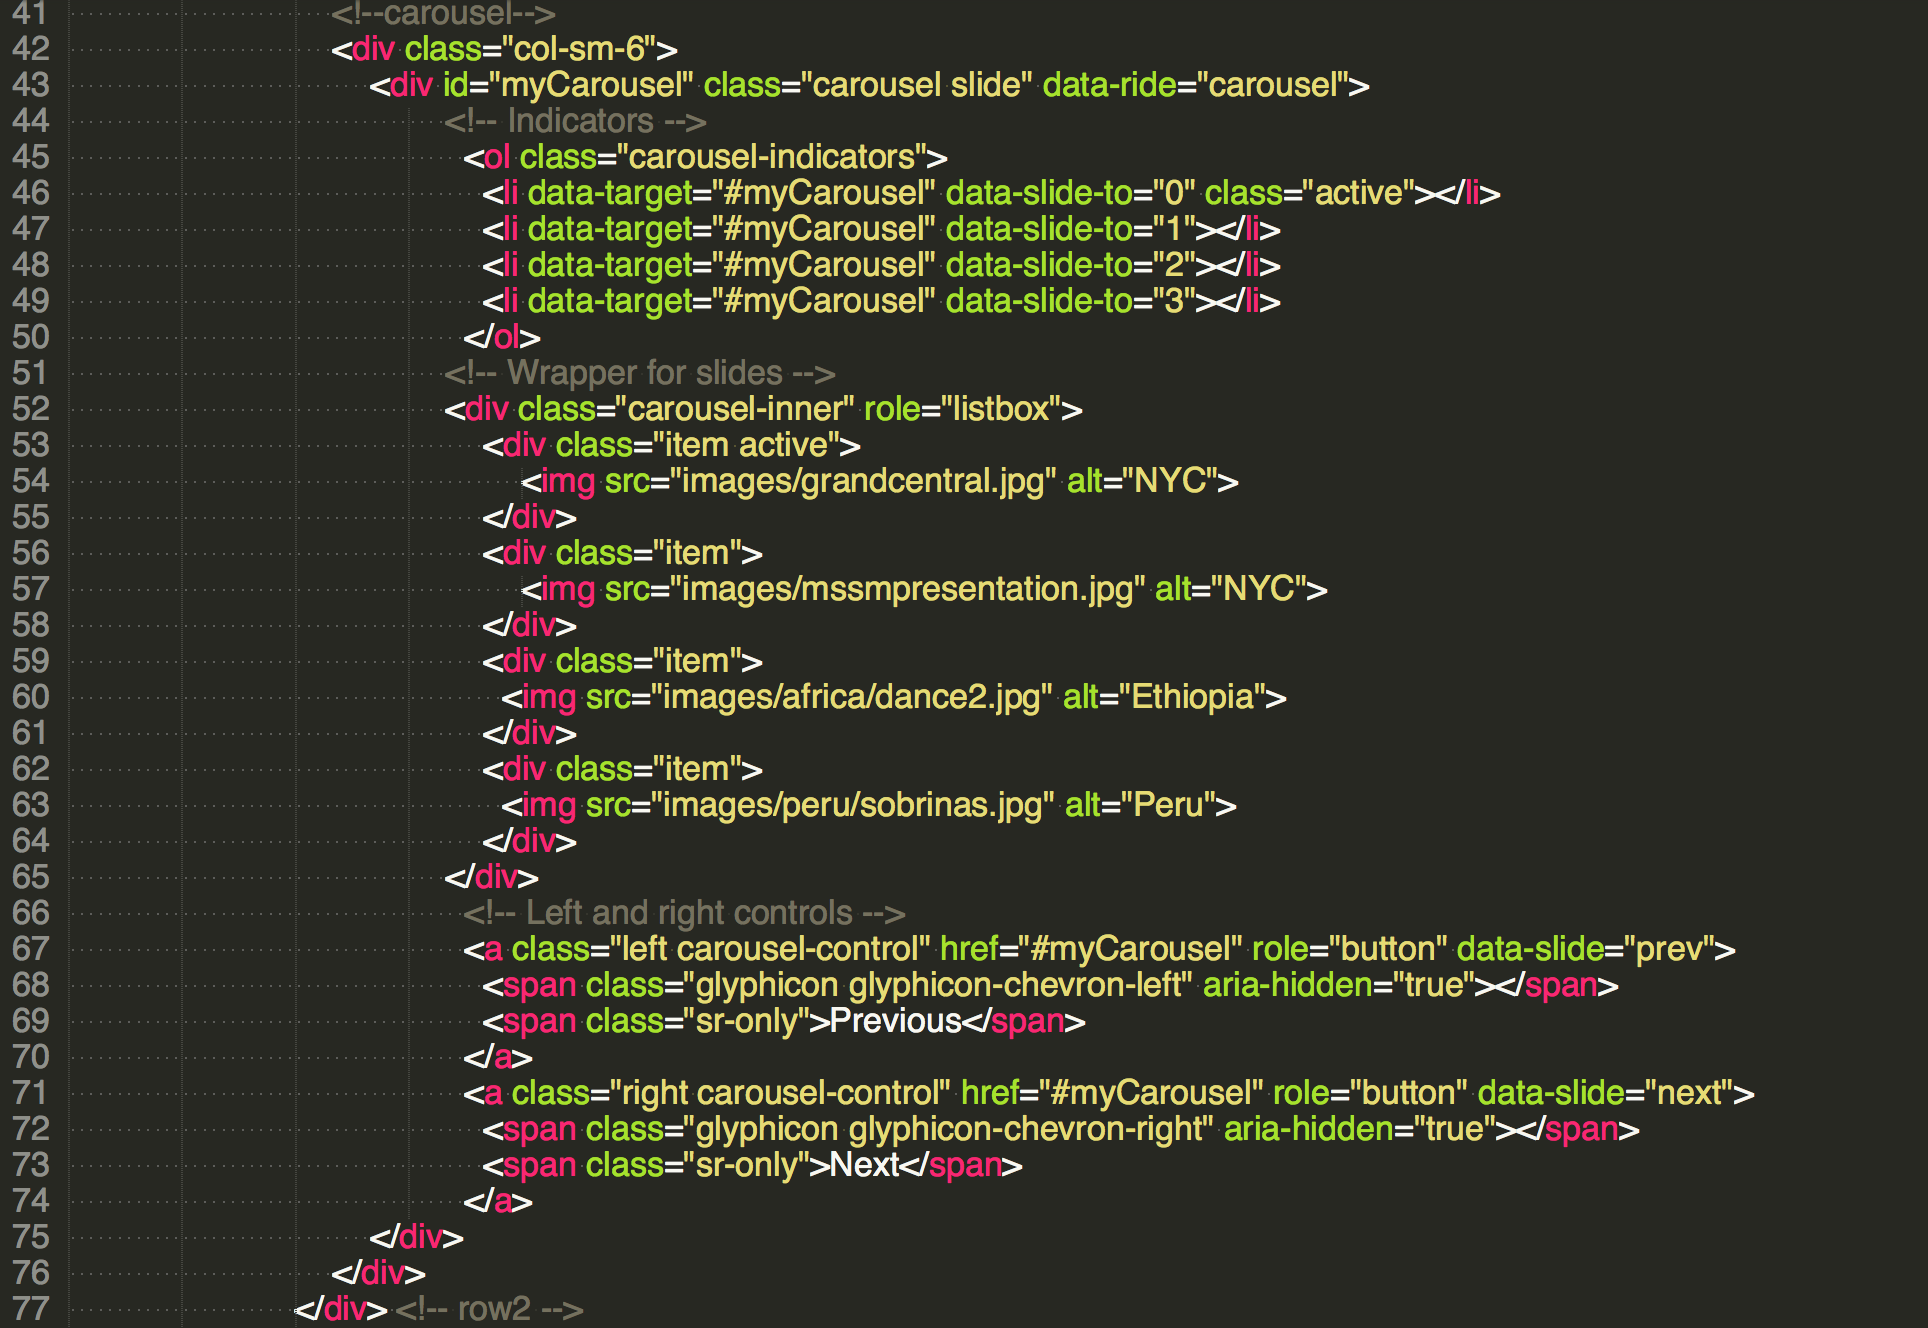
Carousel
Carousel and chevron is added. We create the second row in this container in lines 39-77. The carousel is placed in the second row. The chevron is placed in row 3.

Step 6
git tag: step6
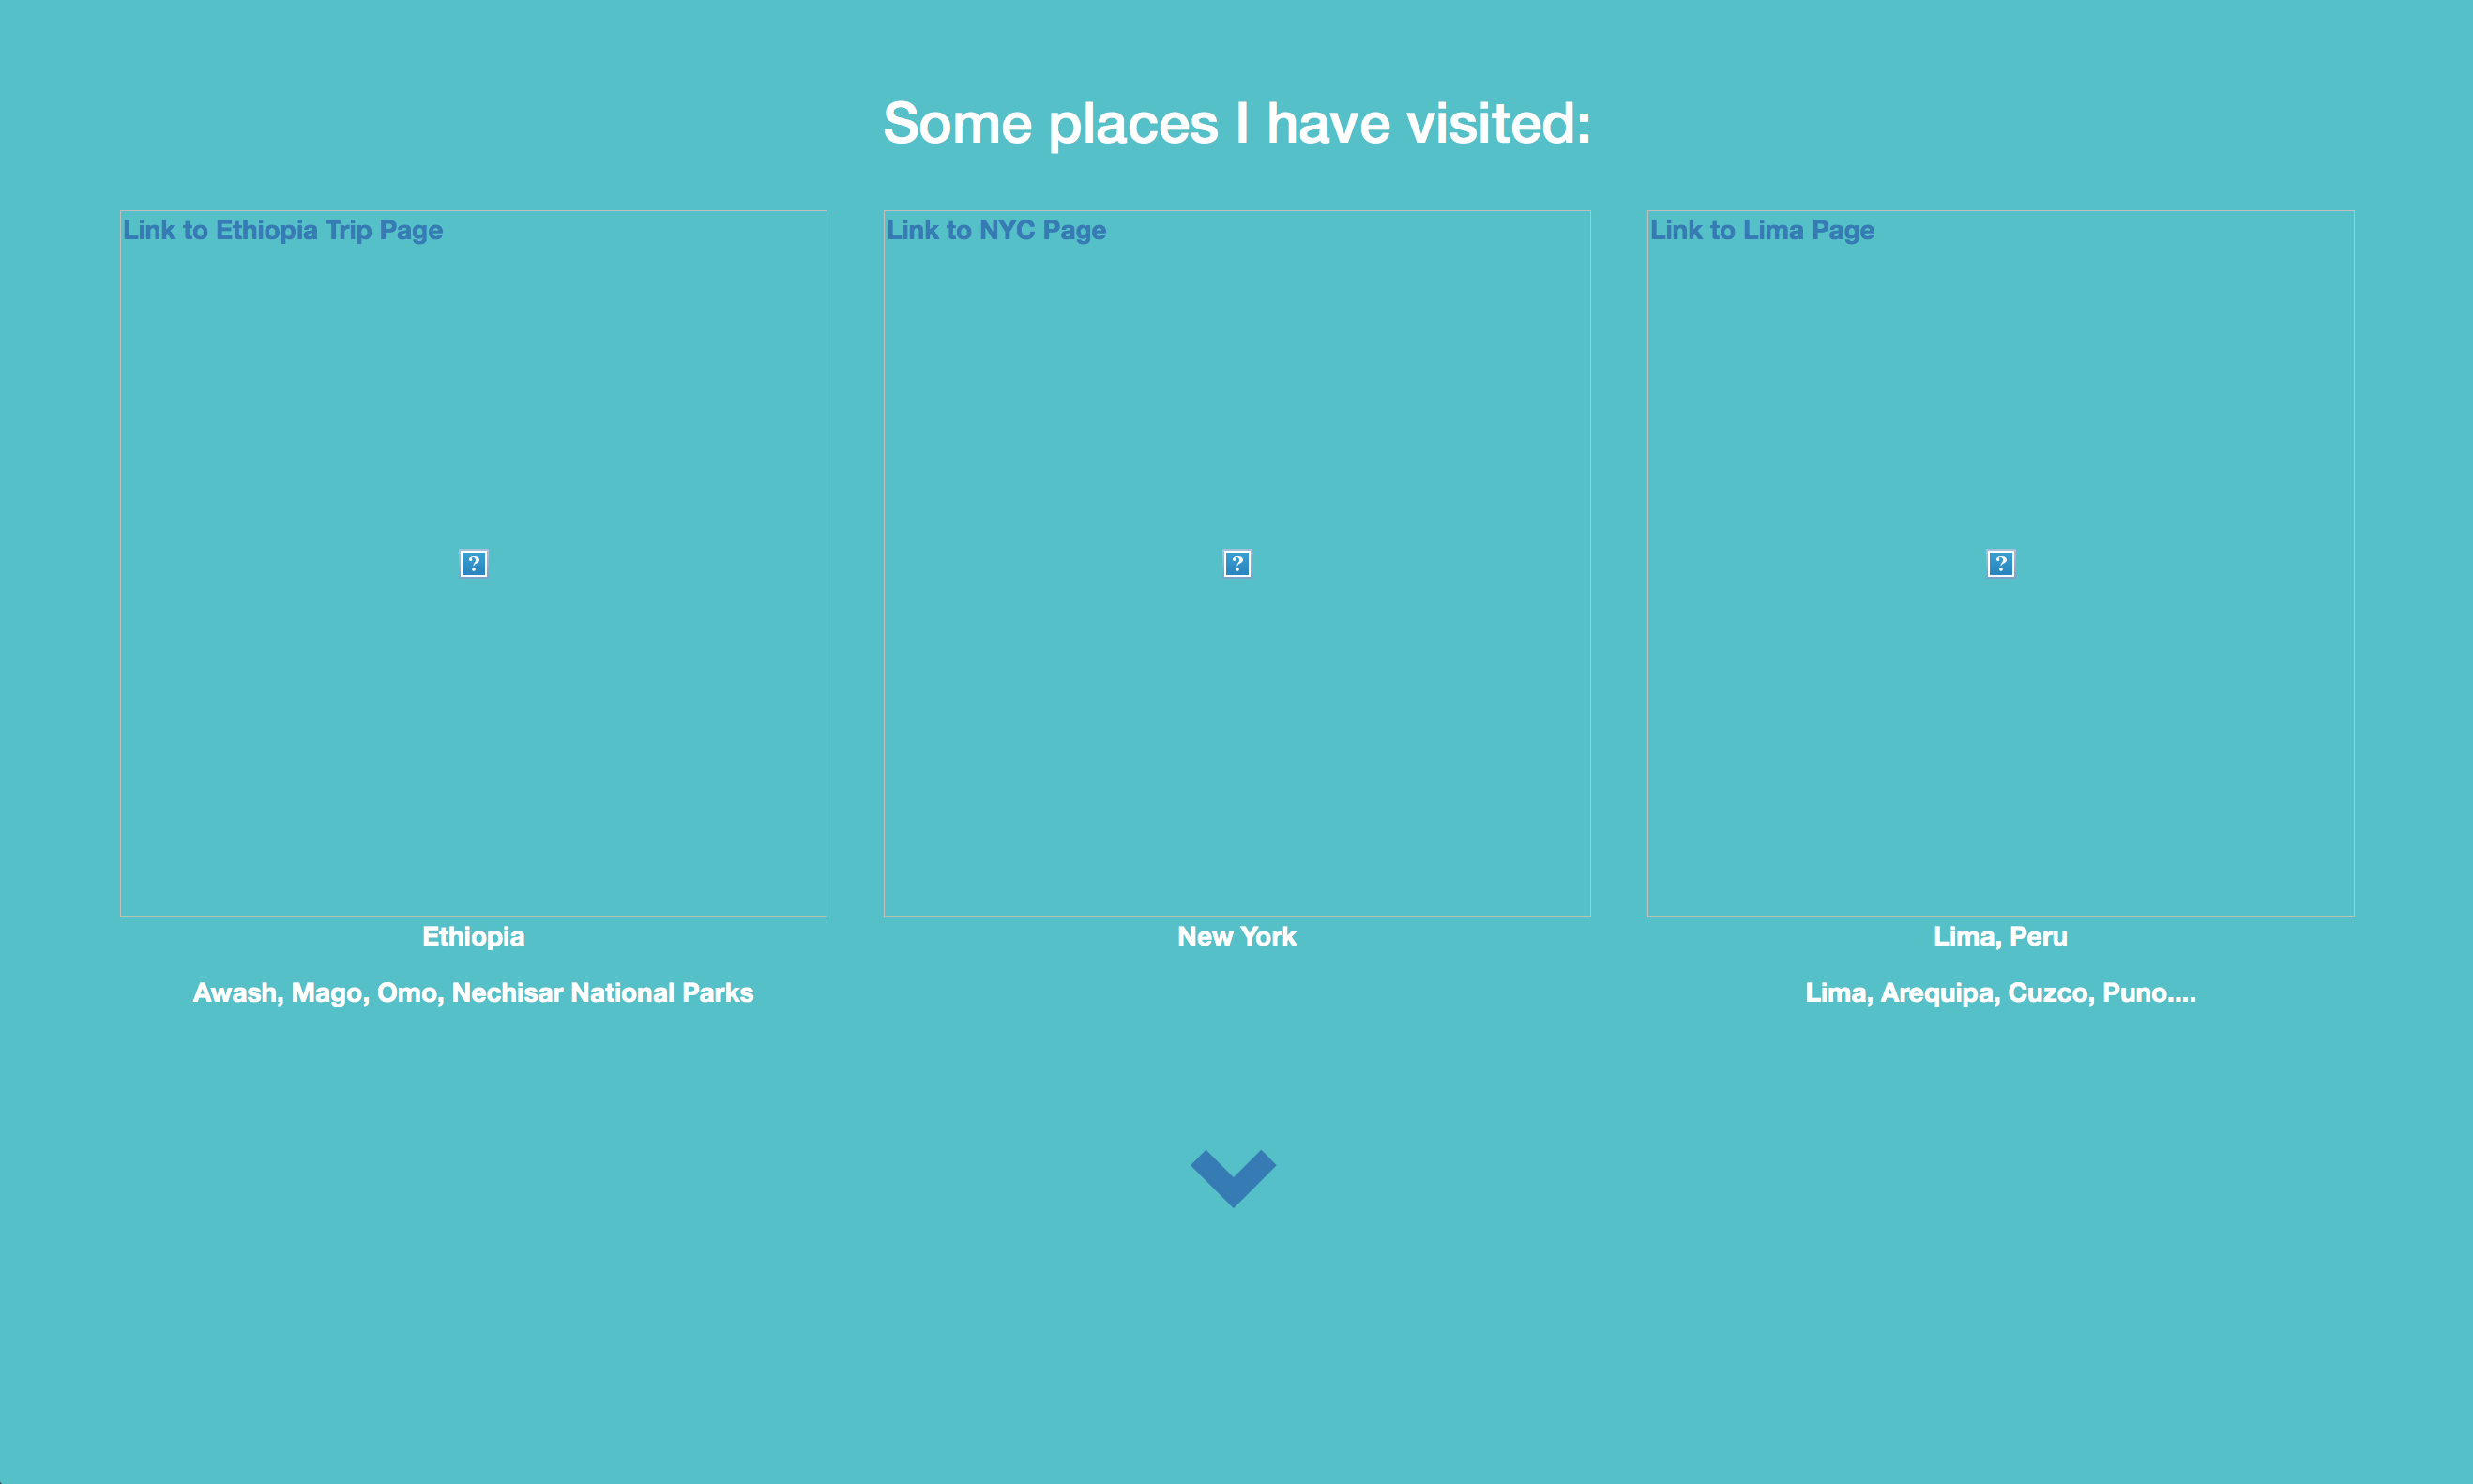
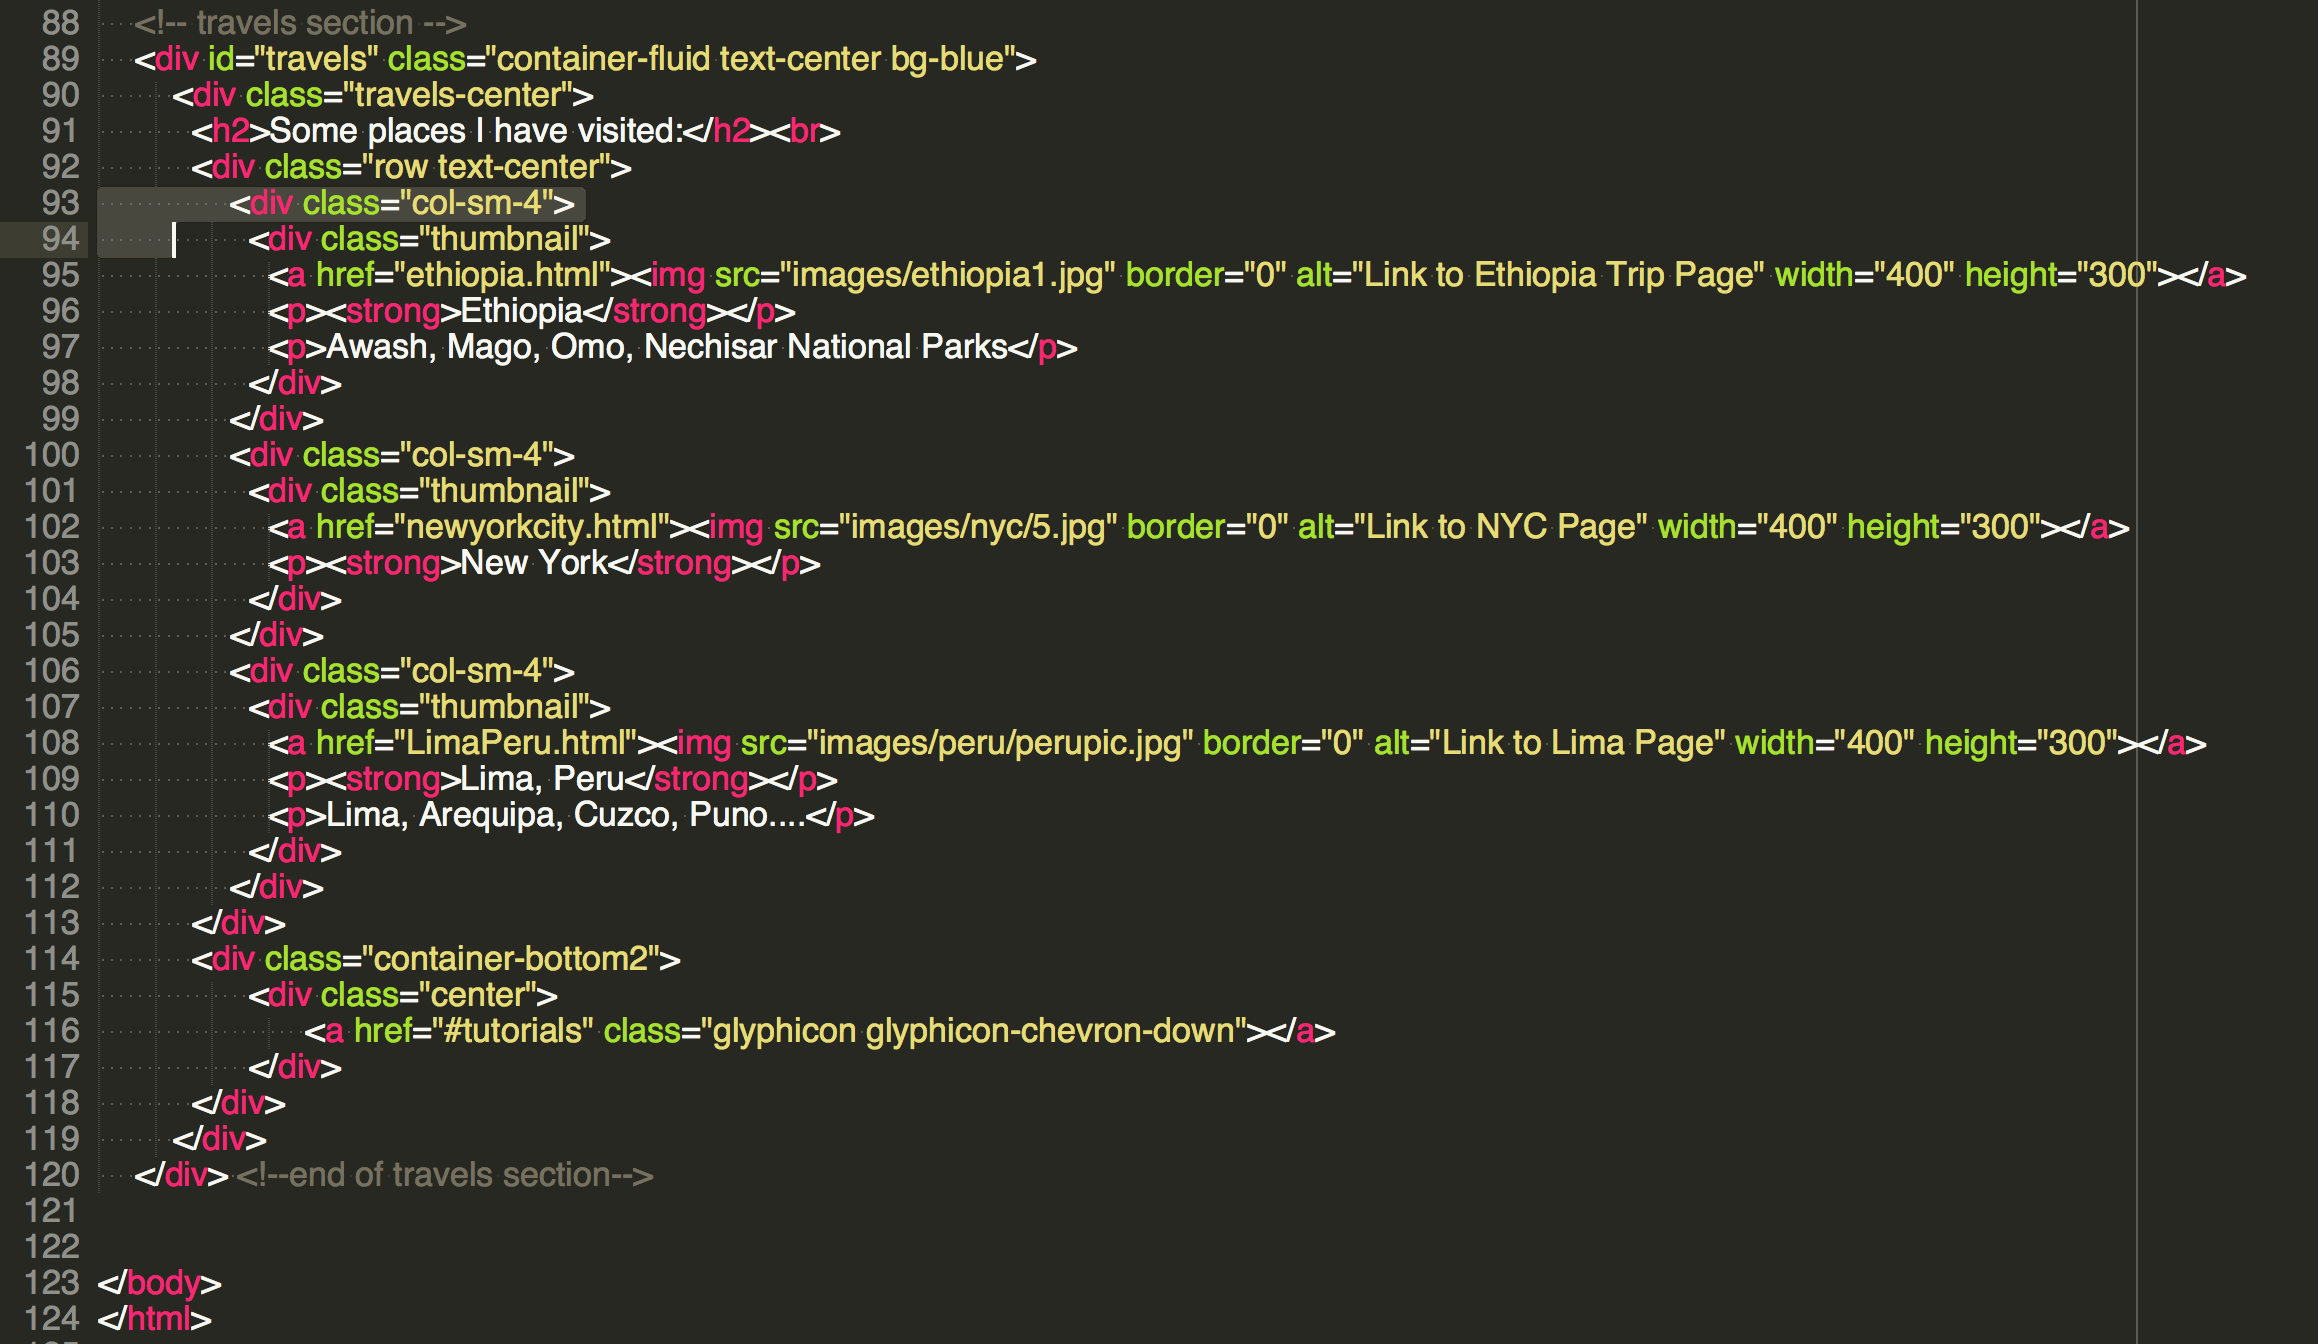
Travel section
Lines 89-120 add the Travels section , the third section. We have 3 thumbnails in it and we make these thumbnails into link to other pages through href=“website.html”
Step 7
git tag: step7
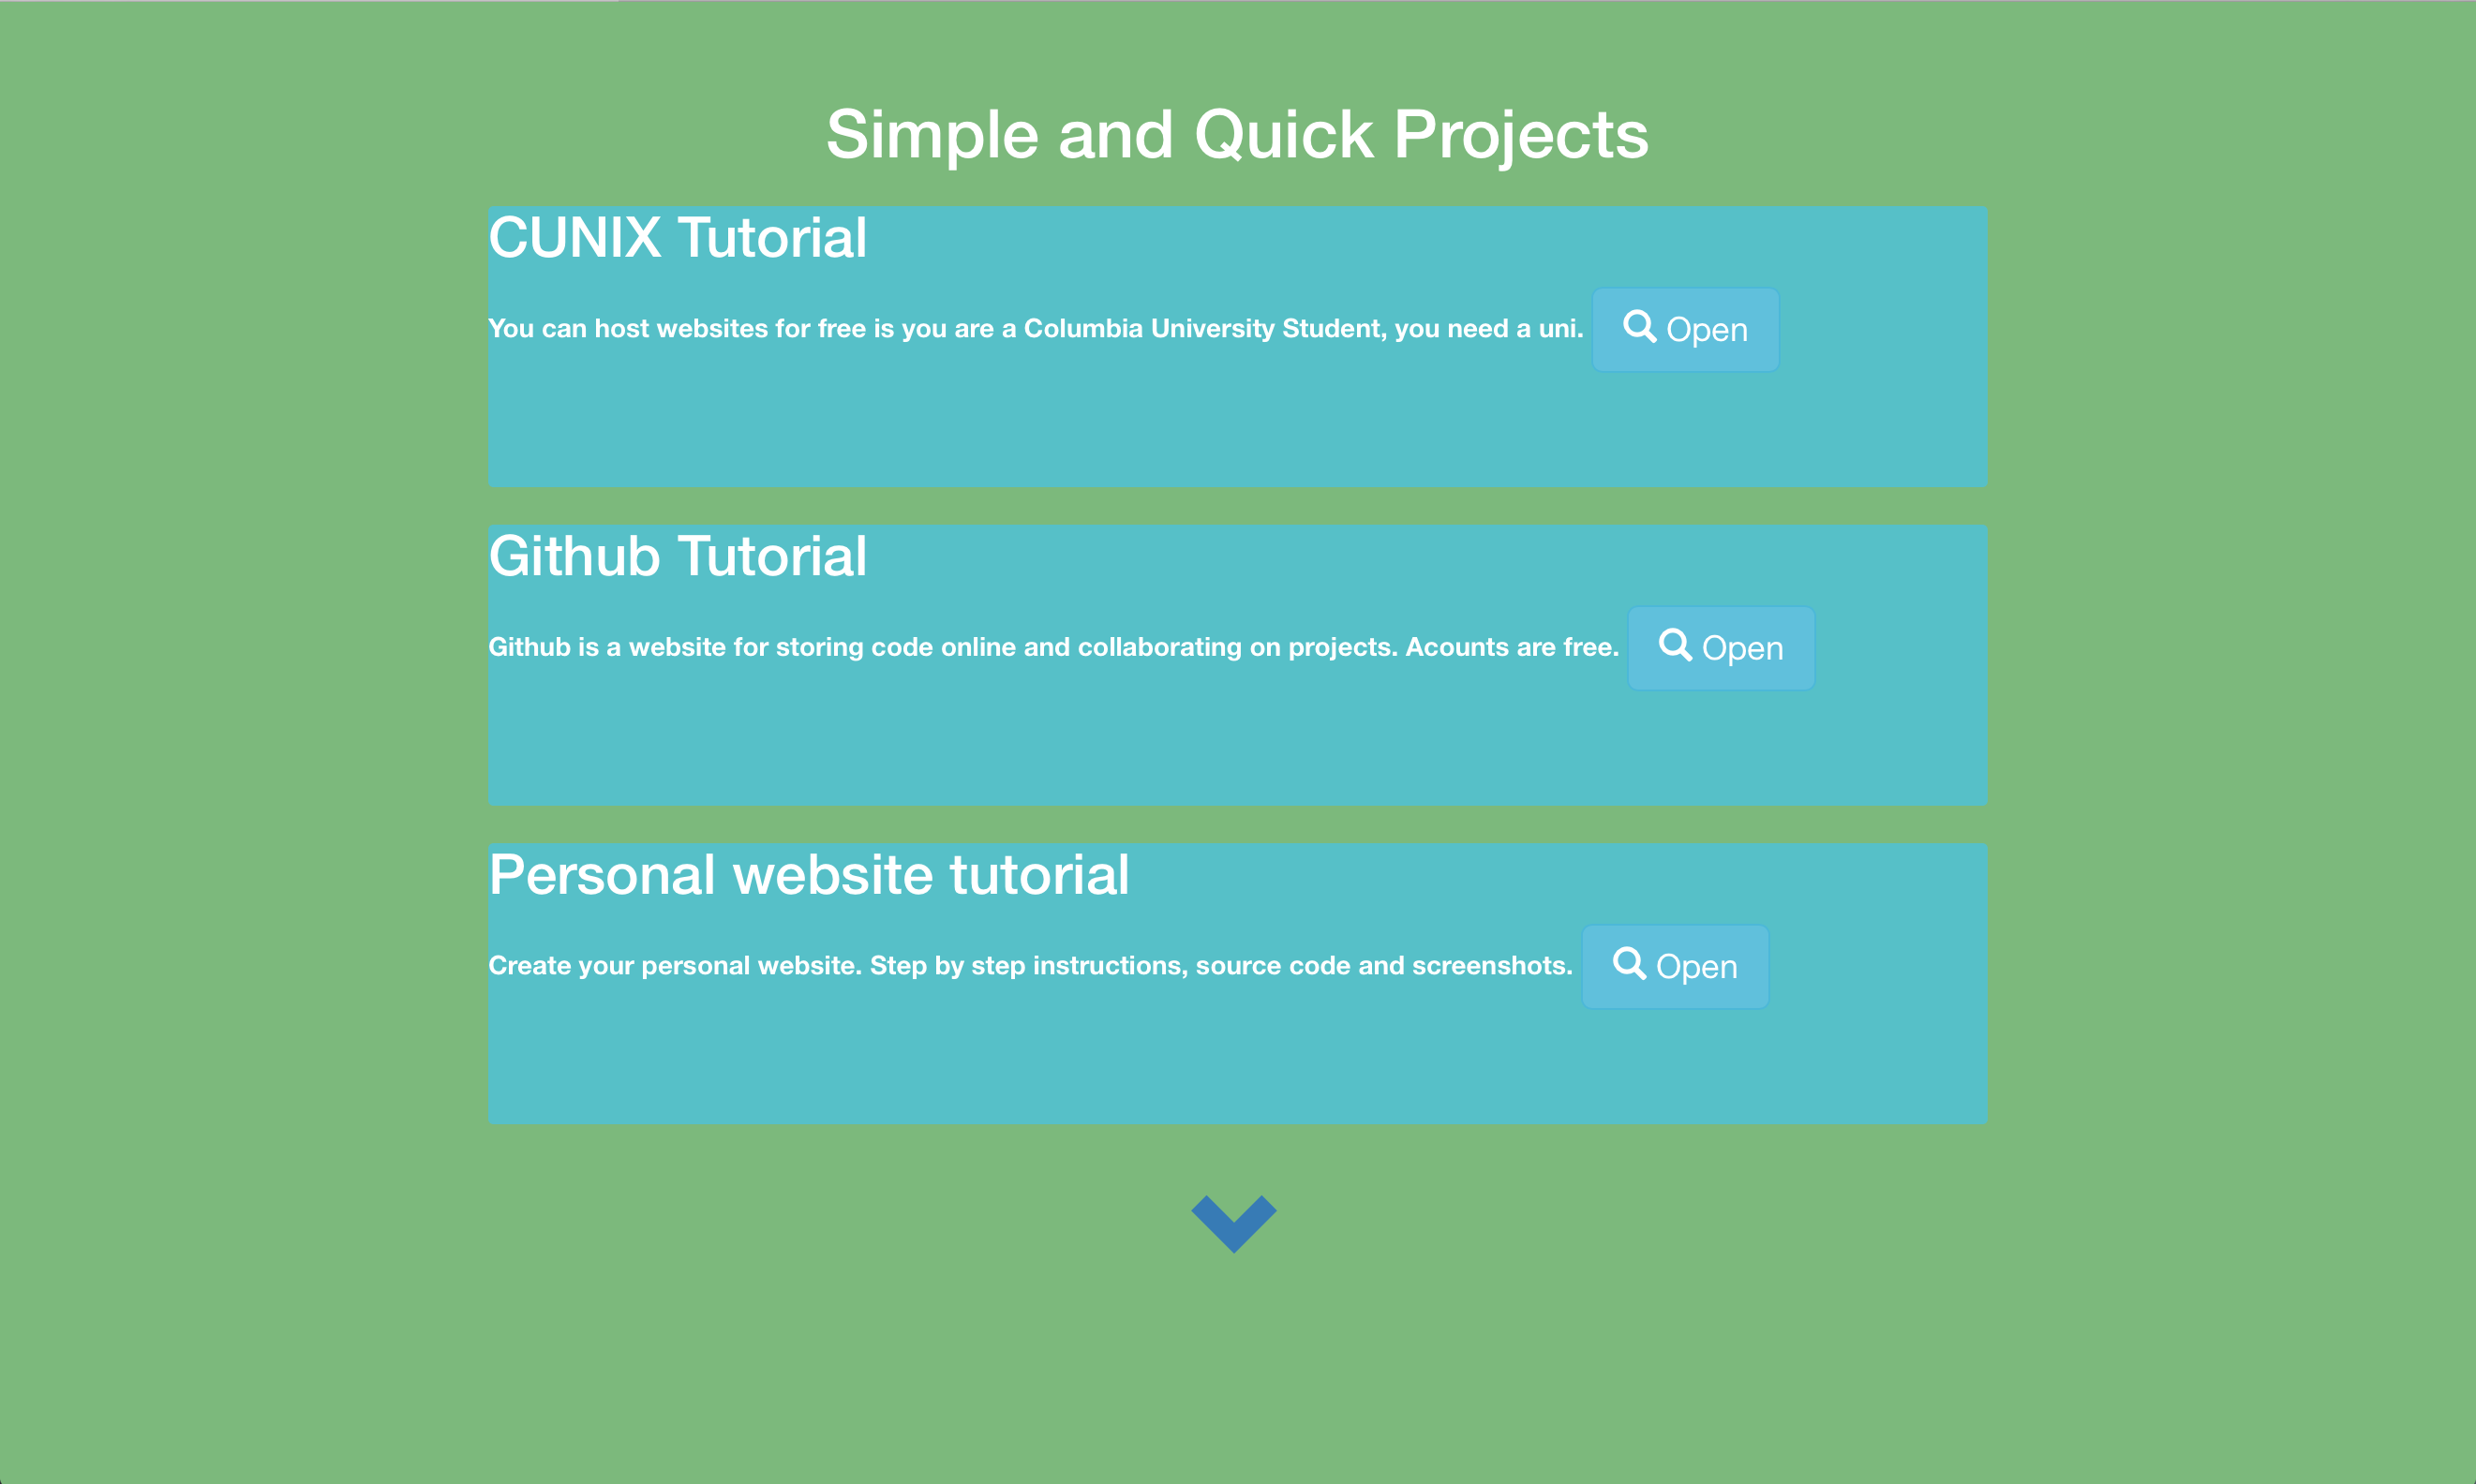
Tutorials section
Lines 122-158 add the Tutorials section, the fourth section. We create vertically aligned boxes to hold our 3 tutorials and the links to their websites.

Step 8
git tag: step8
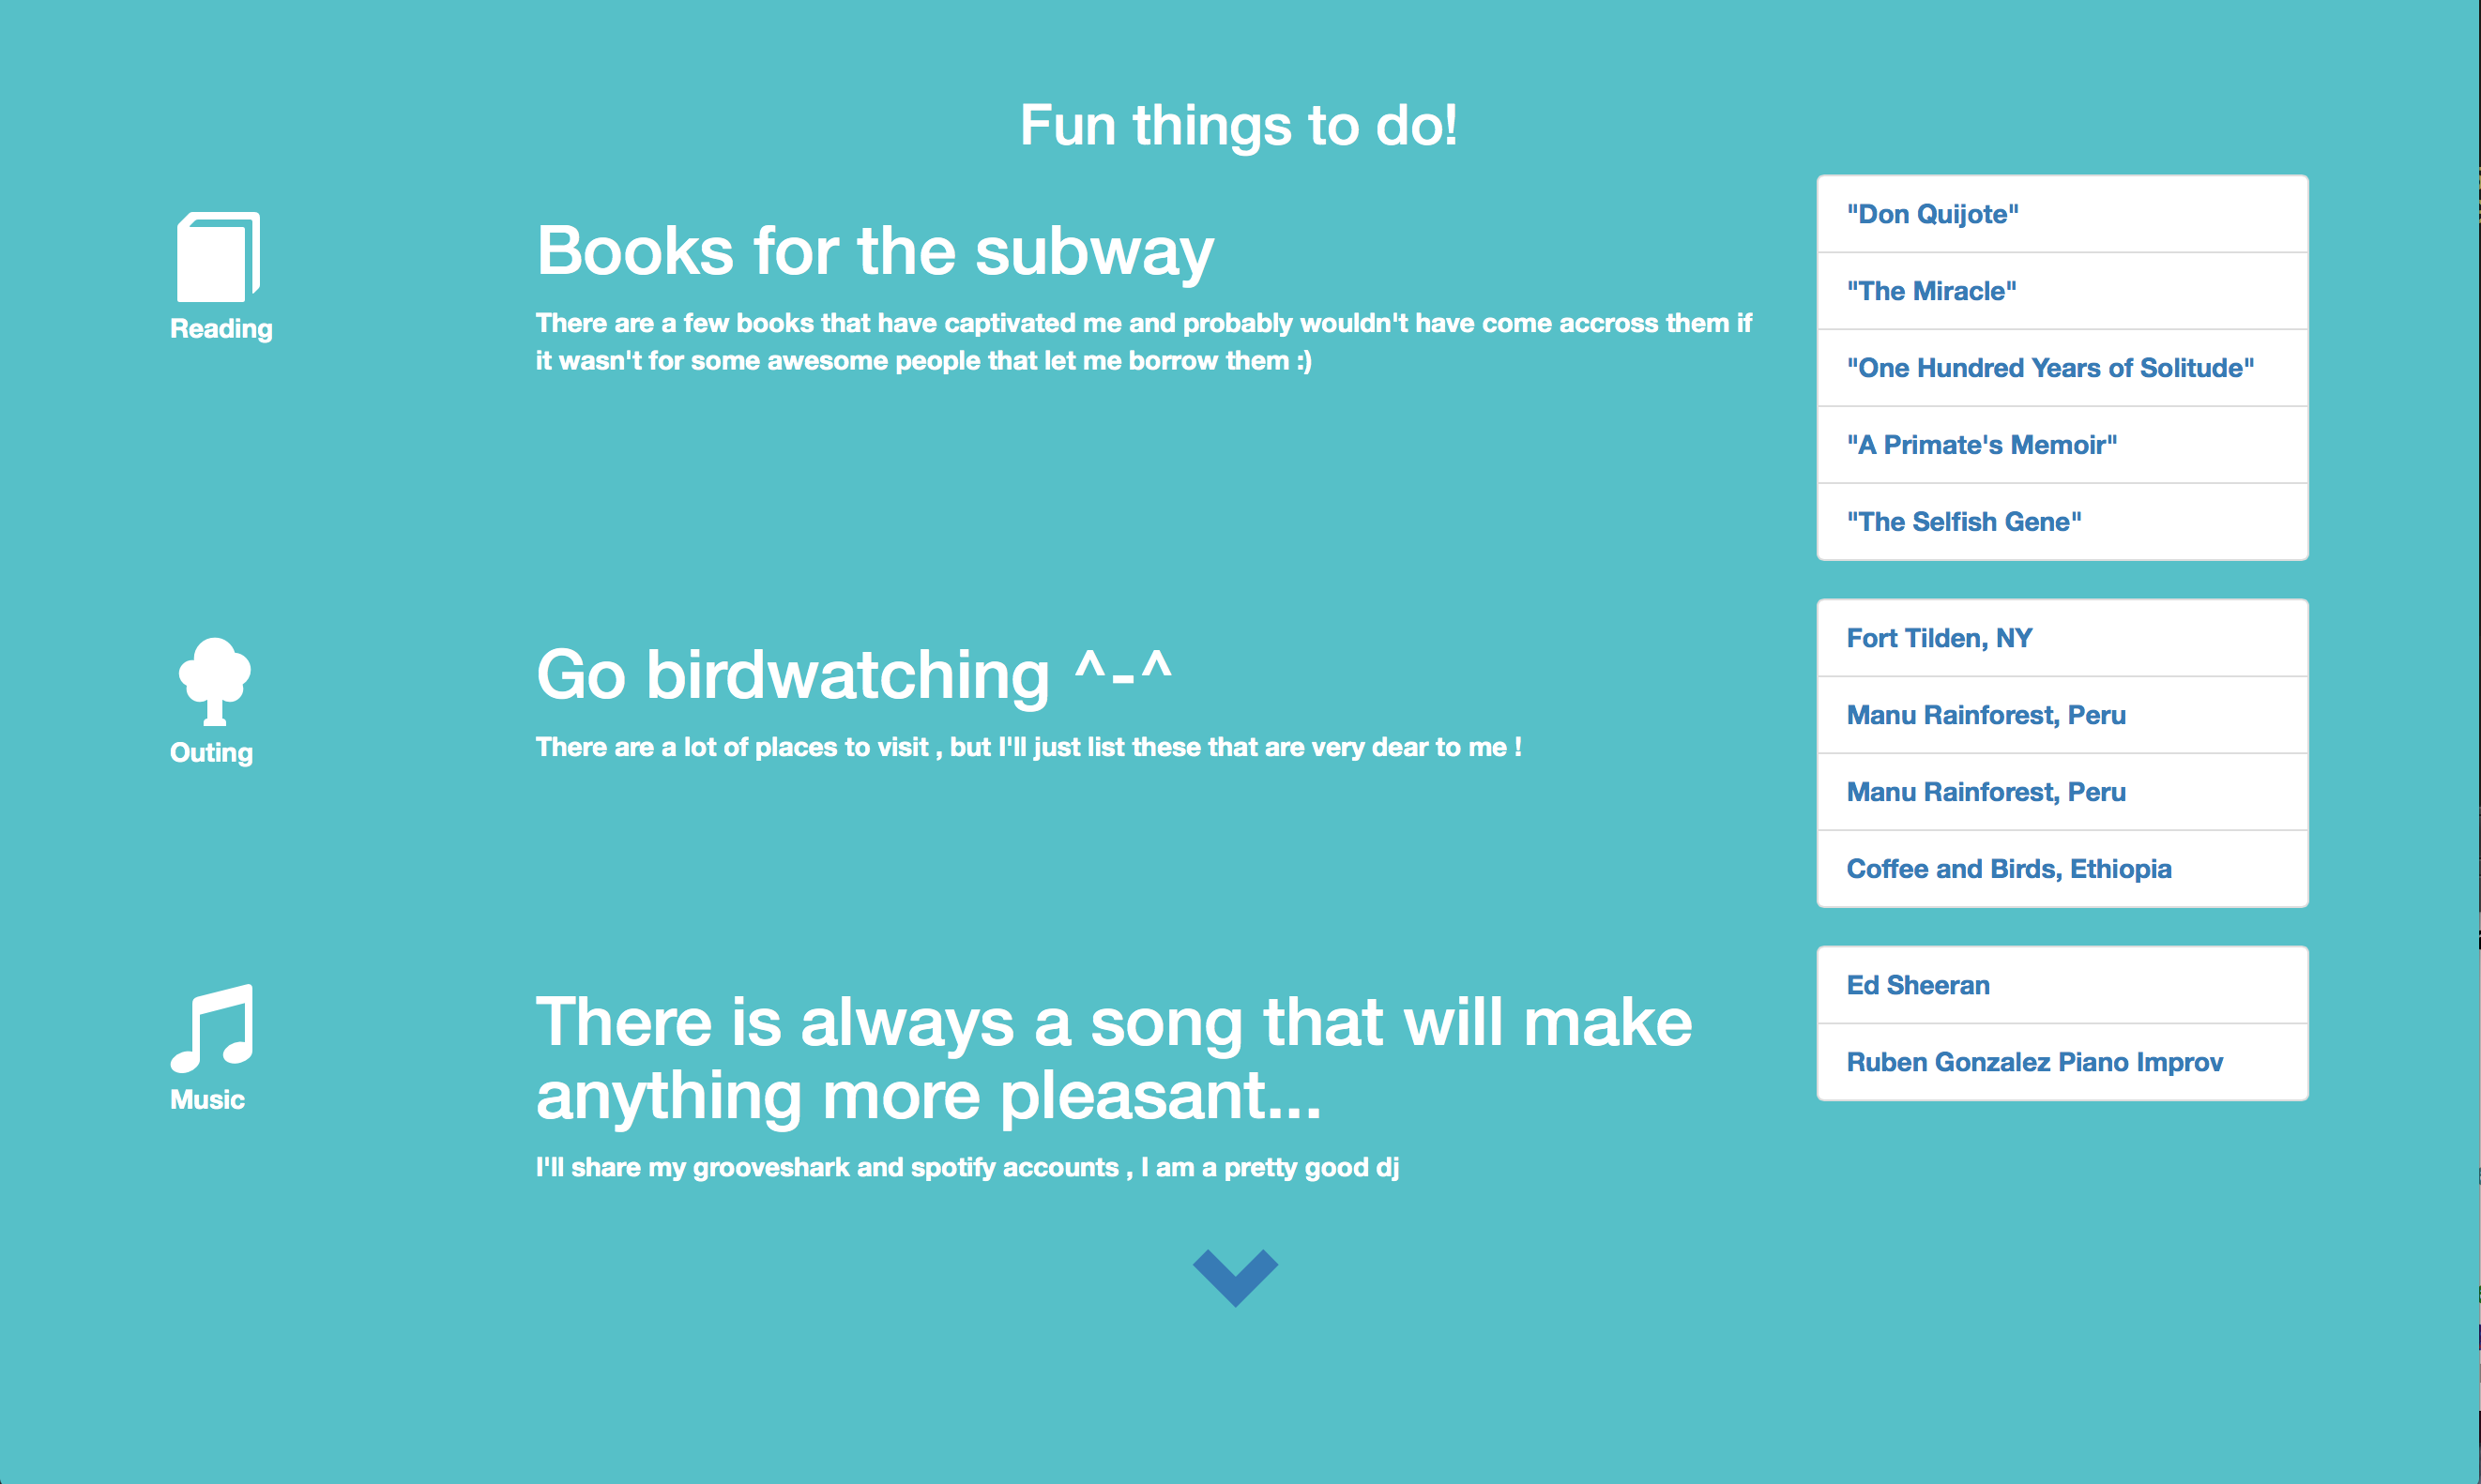
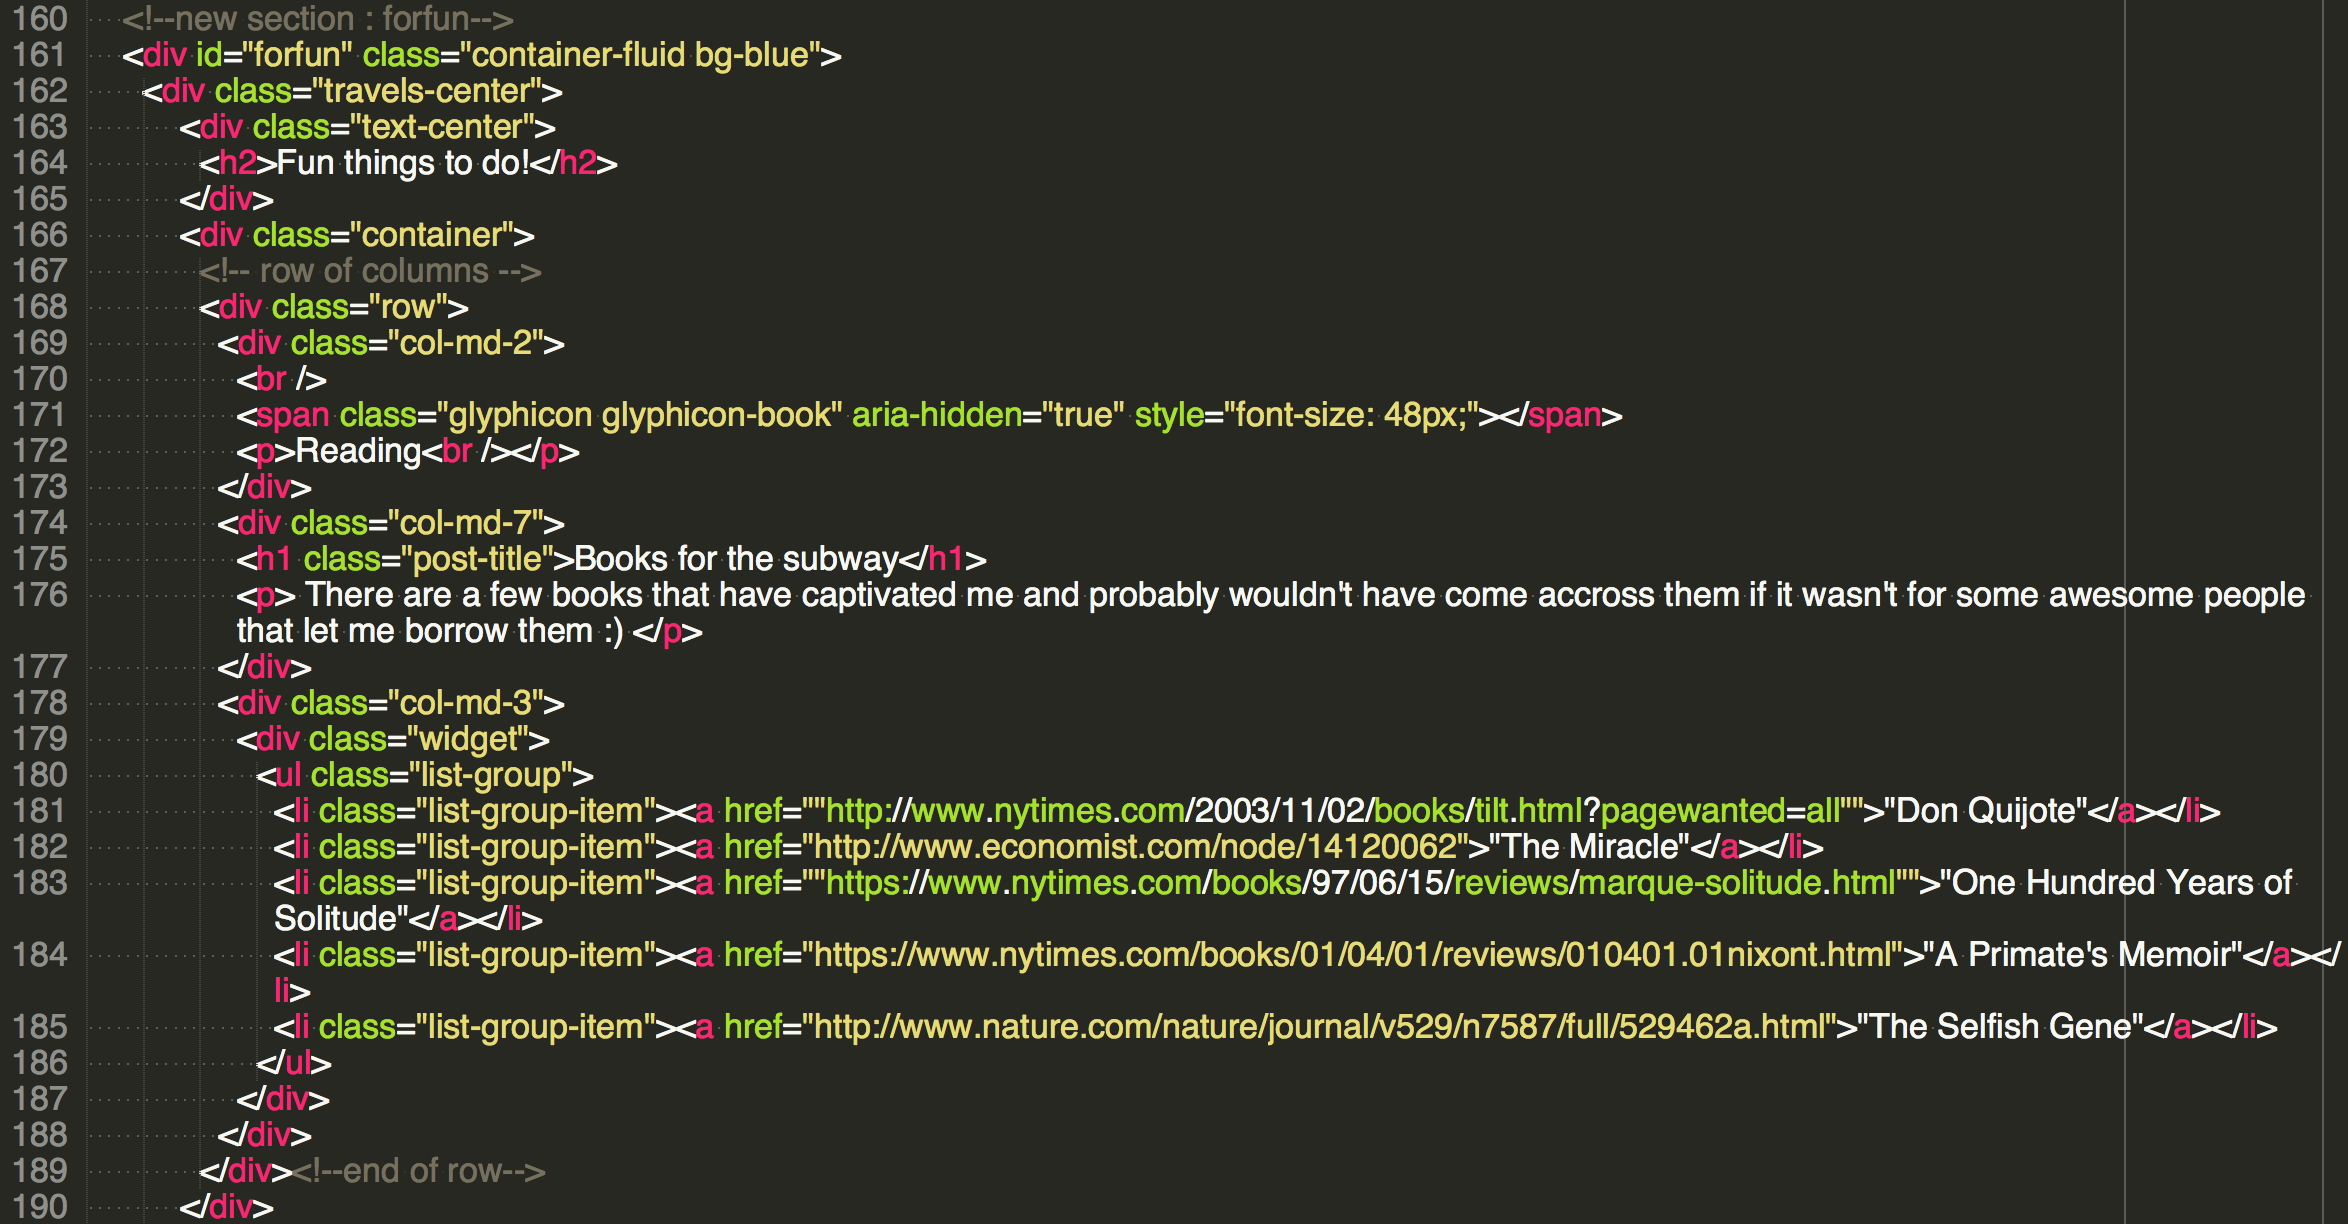
Rows and Columns
The Fifth section, uses rows, columns and widgets to hold lists. Lists are within the ul tags. Columns have the tag div class=“col-md-#”. # can be from 1 to 12, increasing number for larger width.
Step 9
git tag: step9
Rows and Columns
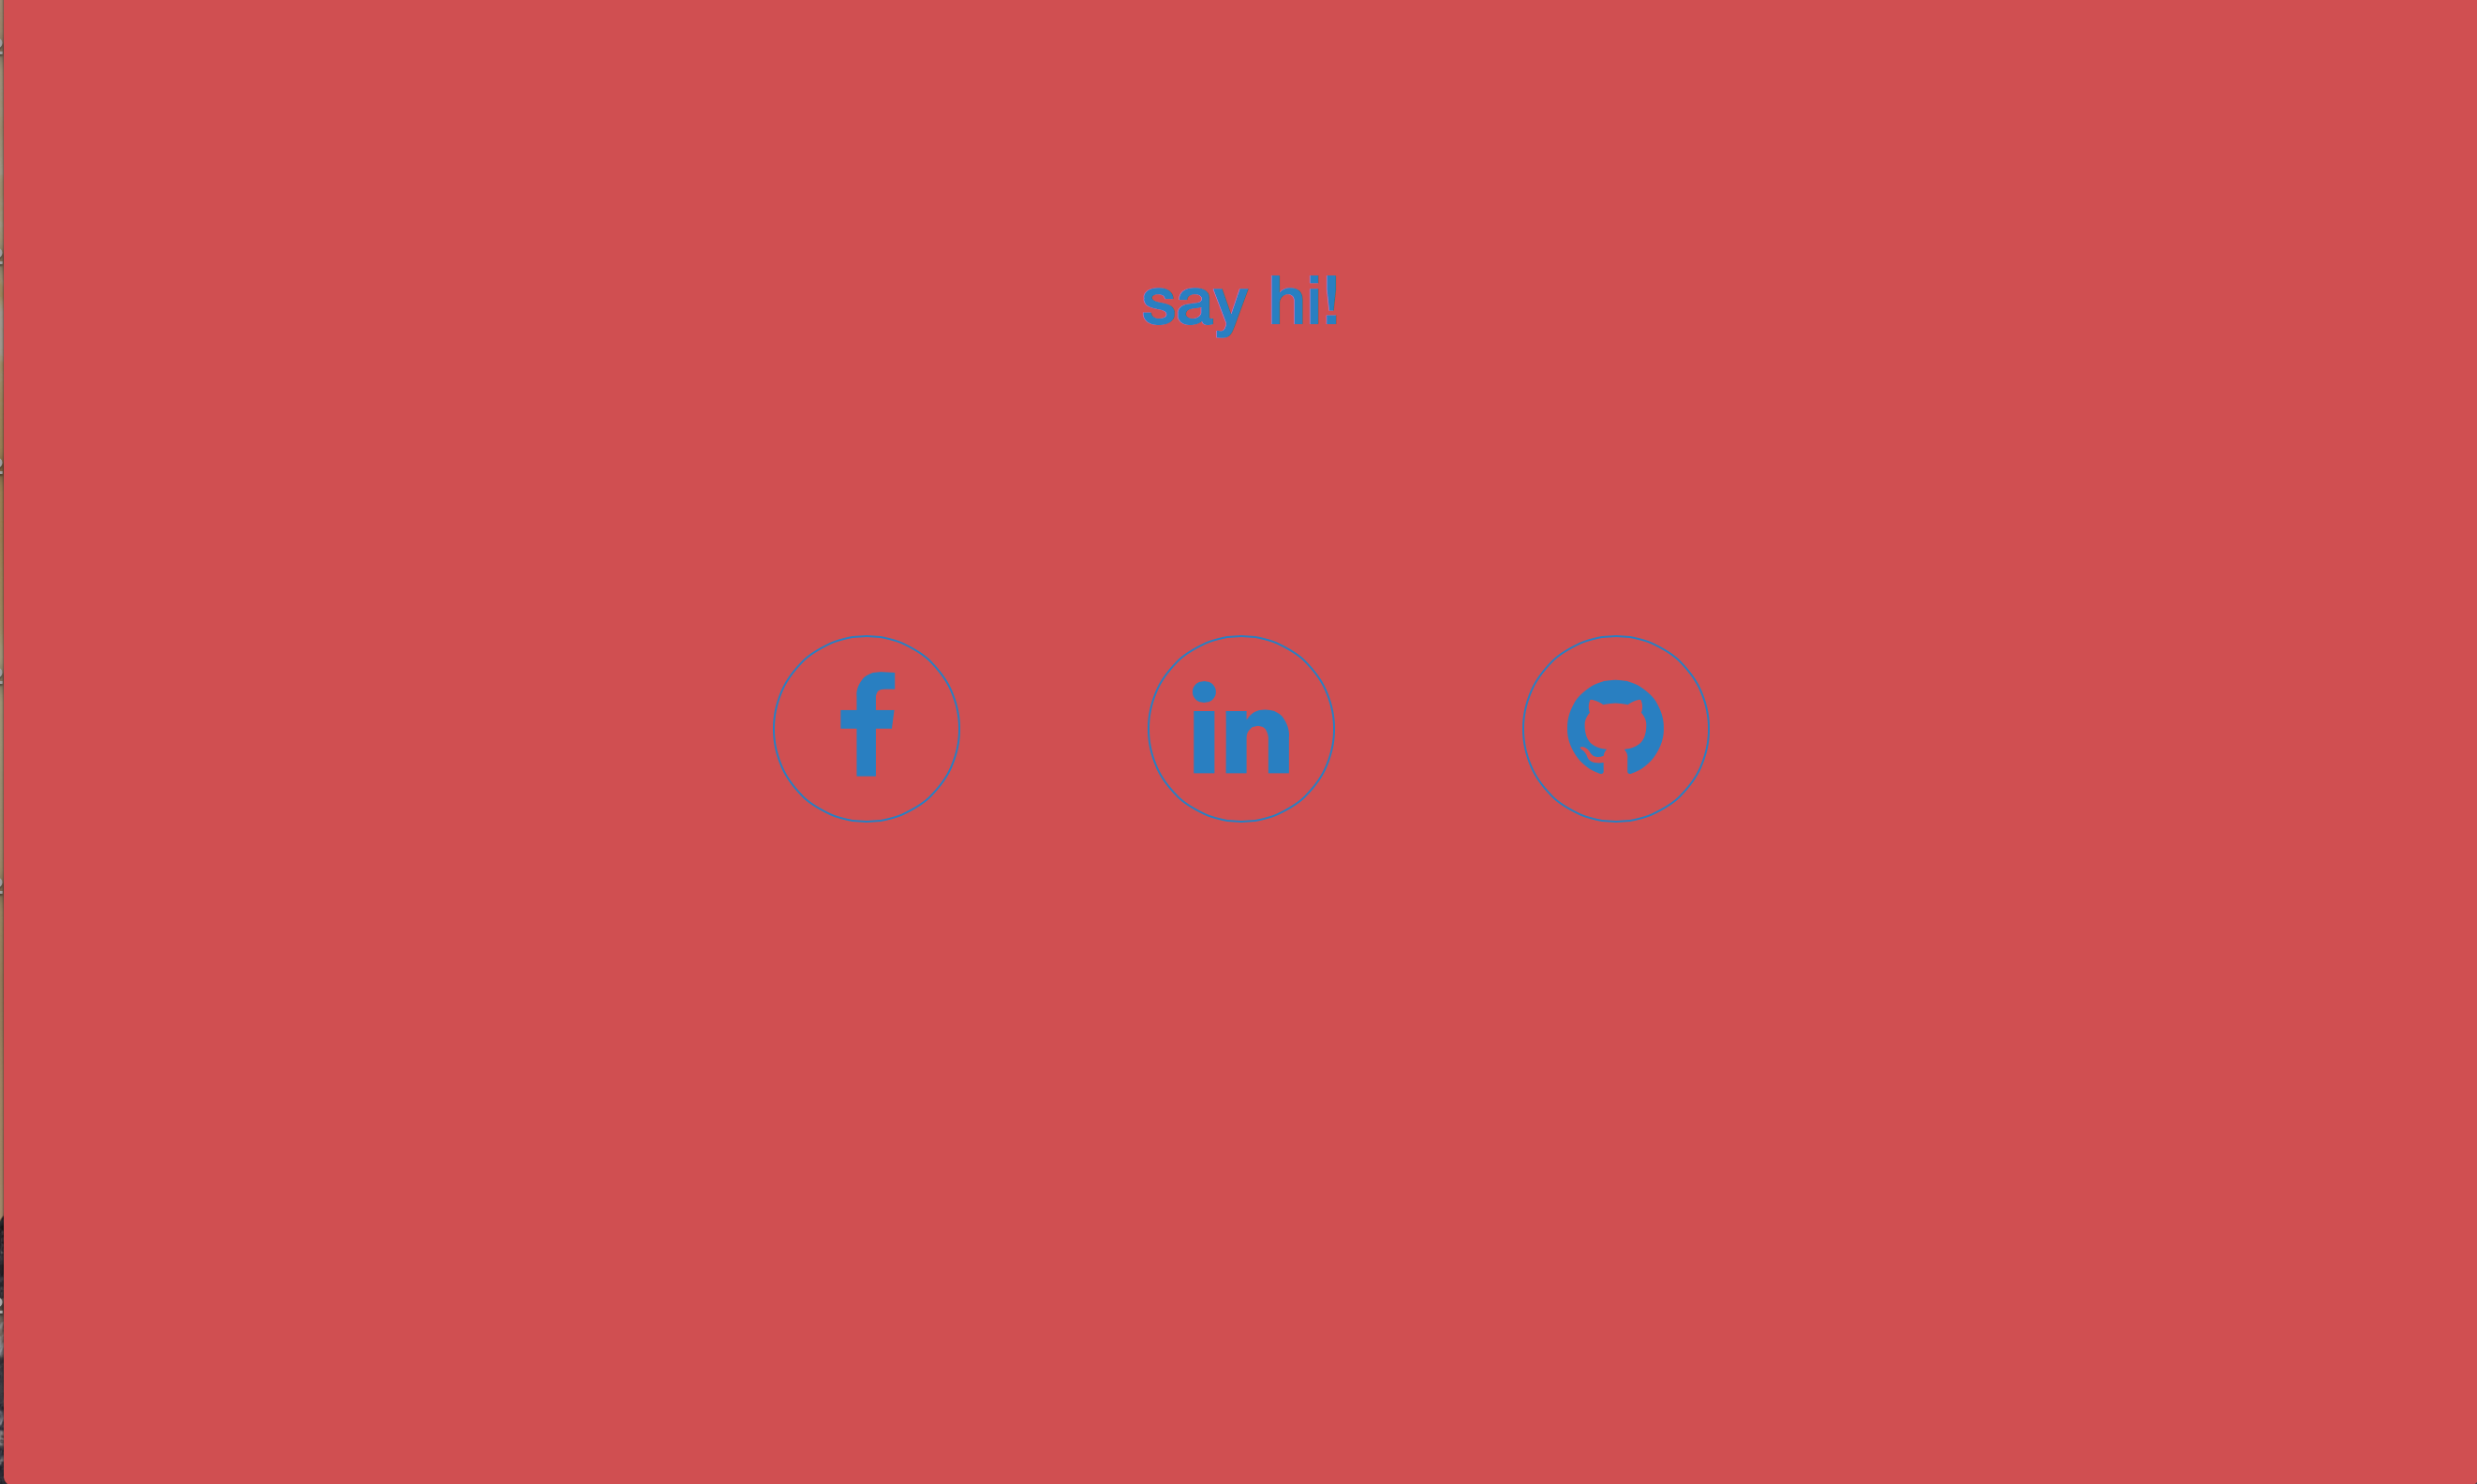
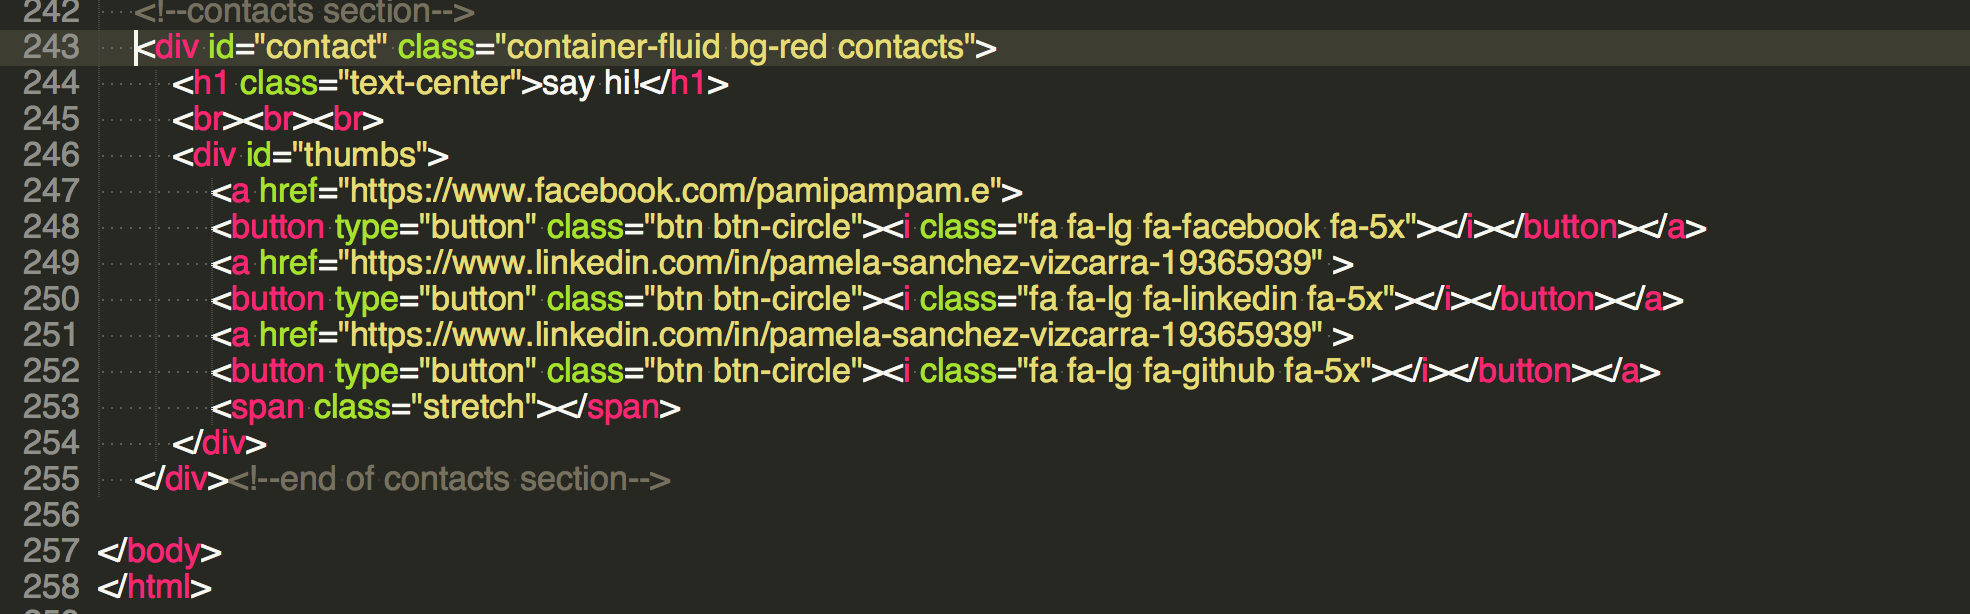
Contacts section in lines 243-255 hold a horizontally aligned block of links to facebook, linkedin and github accounts.
© Pamela Sanchez 2016