Let's learn about
SENSORS!
1. What is sensor?
Sensor or input is used to detect something!
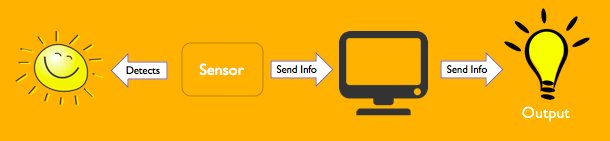
A sensor is an object that detects events or changes in its environment and sends the information to the computer. The computer then tells the actuator (output devices) to provide the corresponding output. A sensor detects and responds to its physical environment. Light, proximity, temperature, motion, moisture, pressure, and soil humidity are some examples of what the sensors can detect.
More info about sensors!
Let's take a look at everyday objects that use sensors! Can you recognize some of them?
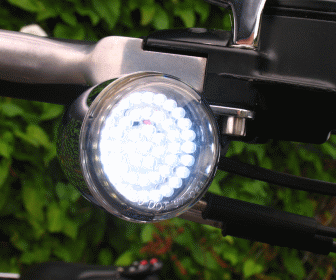
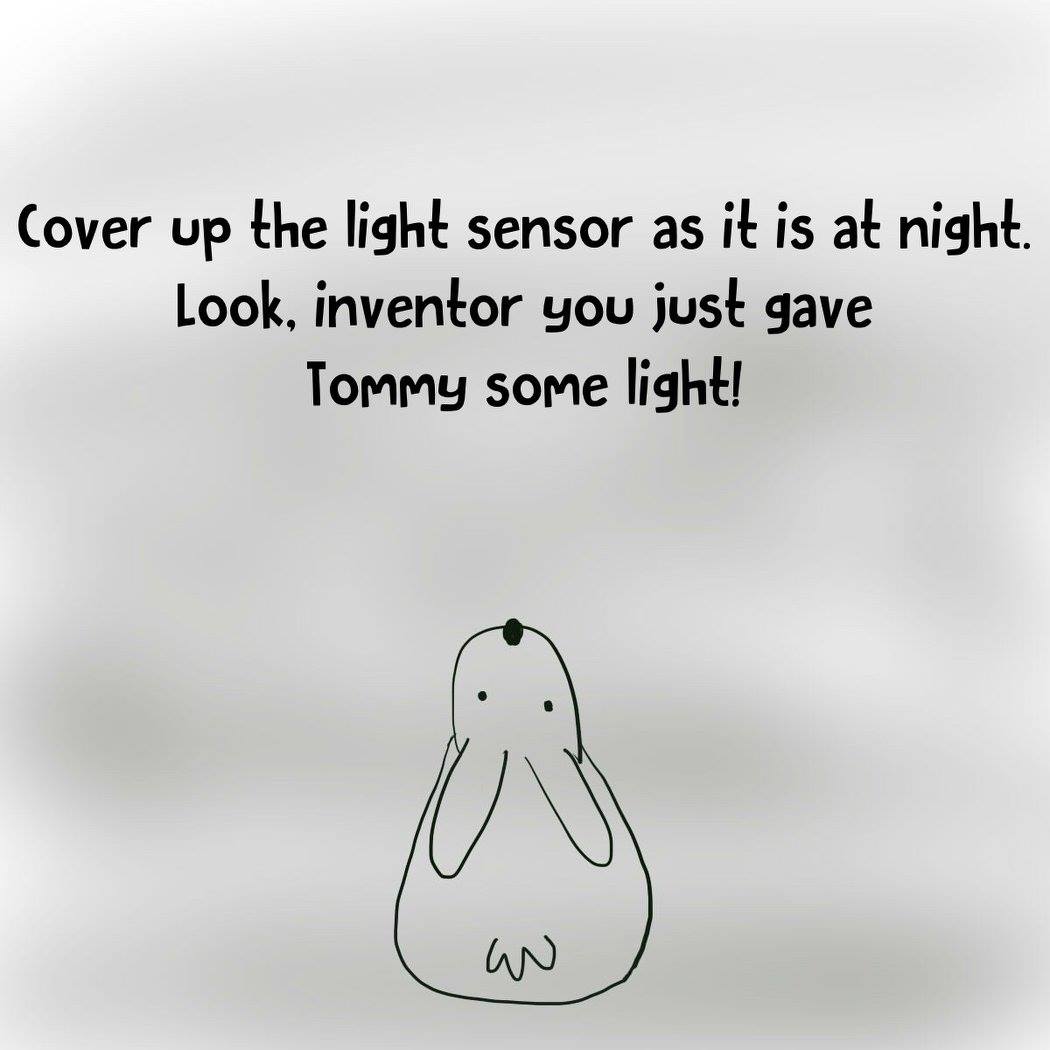
Light turns on automatically at night when the LIGHT SENSOR detects less LIGHT
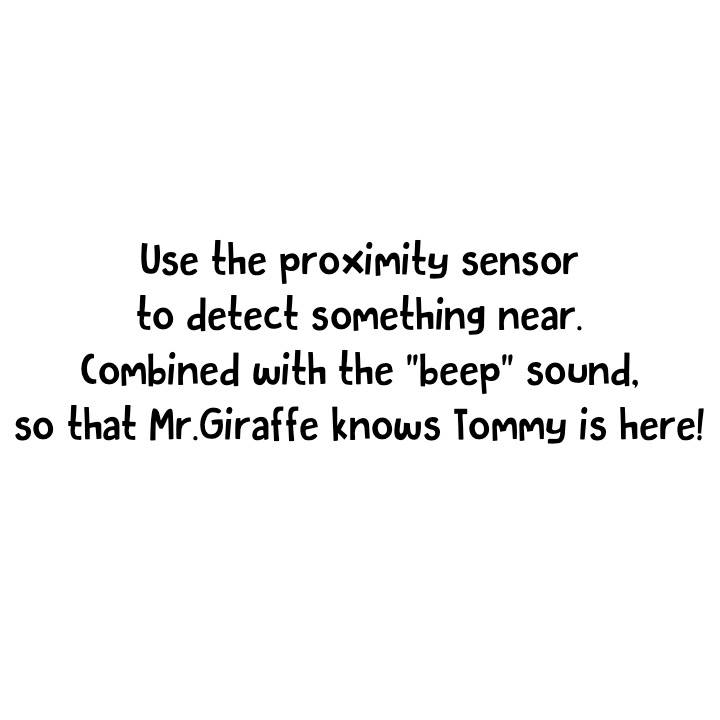
Door turns on automatically when the PROXIMITY SENSOR detects SOMETHING NEAR.

Heater turns on automatically when the TEMPERATURE SENSOR detects lower temperature.
2. Types of Sensors
There are so many types of sensors in the world but we will explore three common types of sensors for this lesson. Click on the photos to see what each sensor detects and common places that you can find these sensors!
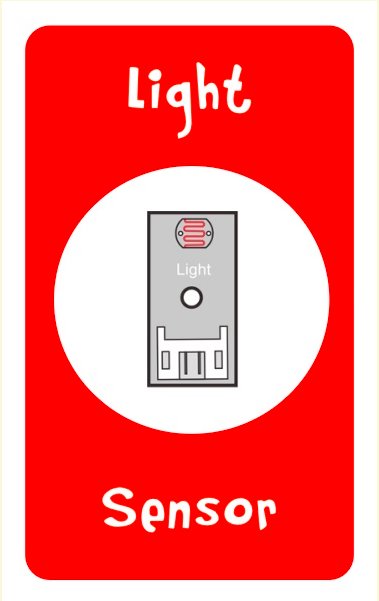
This is a LIGHT SENSOR.
Click to see what it detects!
The light sensor detects light! It can be the light from the sun or from the electricity.
Click again to see the light sensor in action!
Have you ever seen a light pole on the street? It turns on automatically at night when its light sensor detects less sun light!
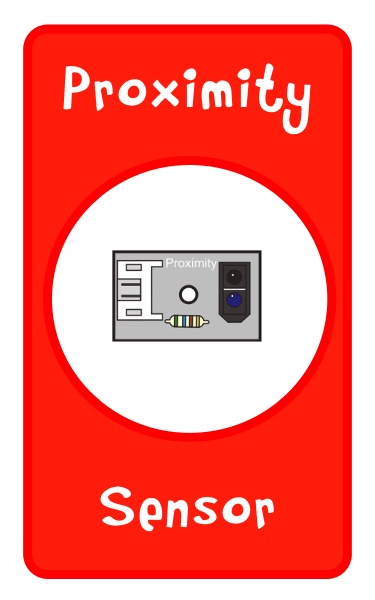
This is a PROXIMITY SENSOR.
Click to see what it detects!
The proximity sensor detects someone or something near!
Click again to see the proximity sensor in action!
Have you ever seen an automatic door? It opens automatically when its proximity sensor detects someone or something near!
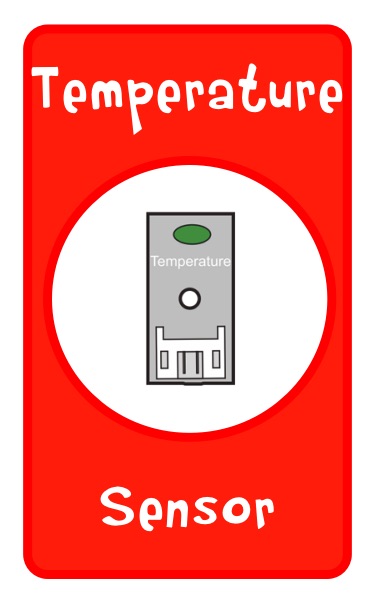
This is a TEMPERATURE SENSOR.
Click to see what it detects!
The temperature sensor detects temperature!
Click again to see the temperature sensor in action!
Have you ever wonder why a heater turned on automatically when it's cold? The heater turns on automatically when its temperature sensor detects temperate drops!
Let's see if you can remember what each sensor does!
3. Setting Up for Interactive Story
This section is for adults to set up Gogo Board sensors as a part of the Interactive Story in the Section #4.
Step 1: Use the Adult Guide Book from the Gogo Board Toolkit to learn about downloading Gogo Board software.
Step 2: Once you connected your Gogo Board and tested that it worked based on page 10-13 in the Adult Guide Book, connect the sensors and an actuator to the board. The picture below shows how the board should be set up. For sensors or inputs: the proximity sensor should be on portal #1. The temperature sensor should be on portal #5. Finally, the light sensor should be on portal #8. We will only connect the LED for the actuator on the portal A. 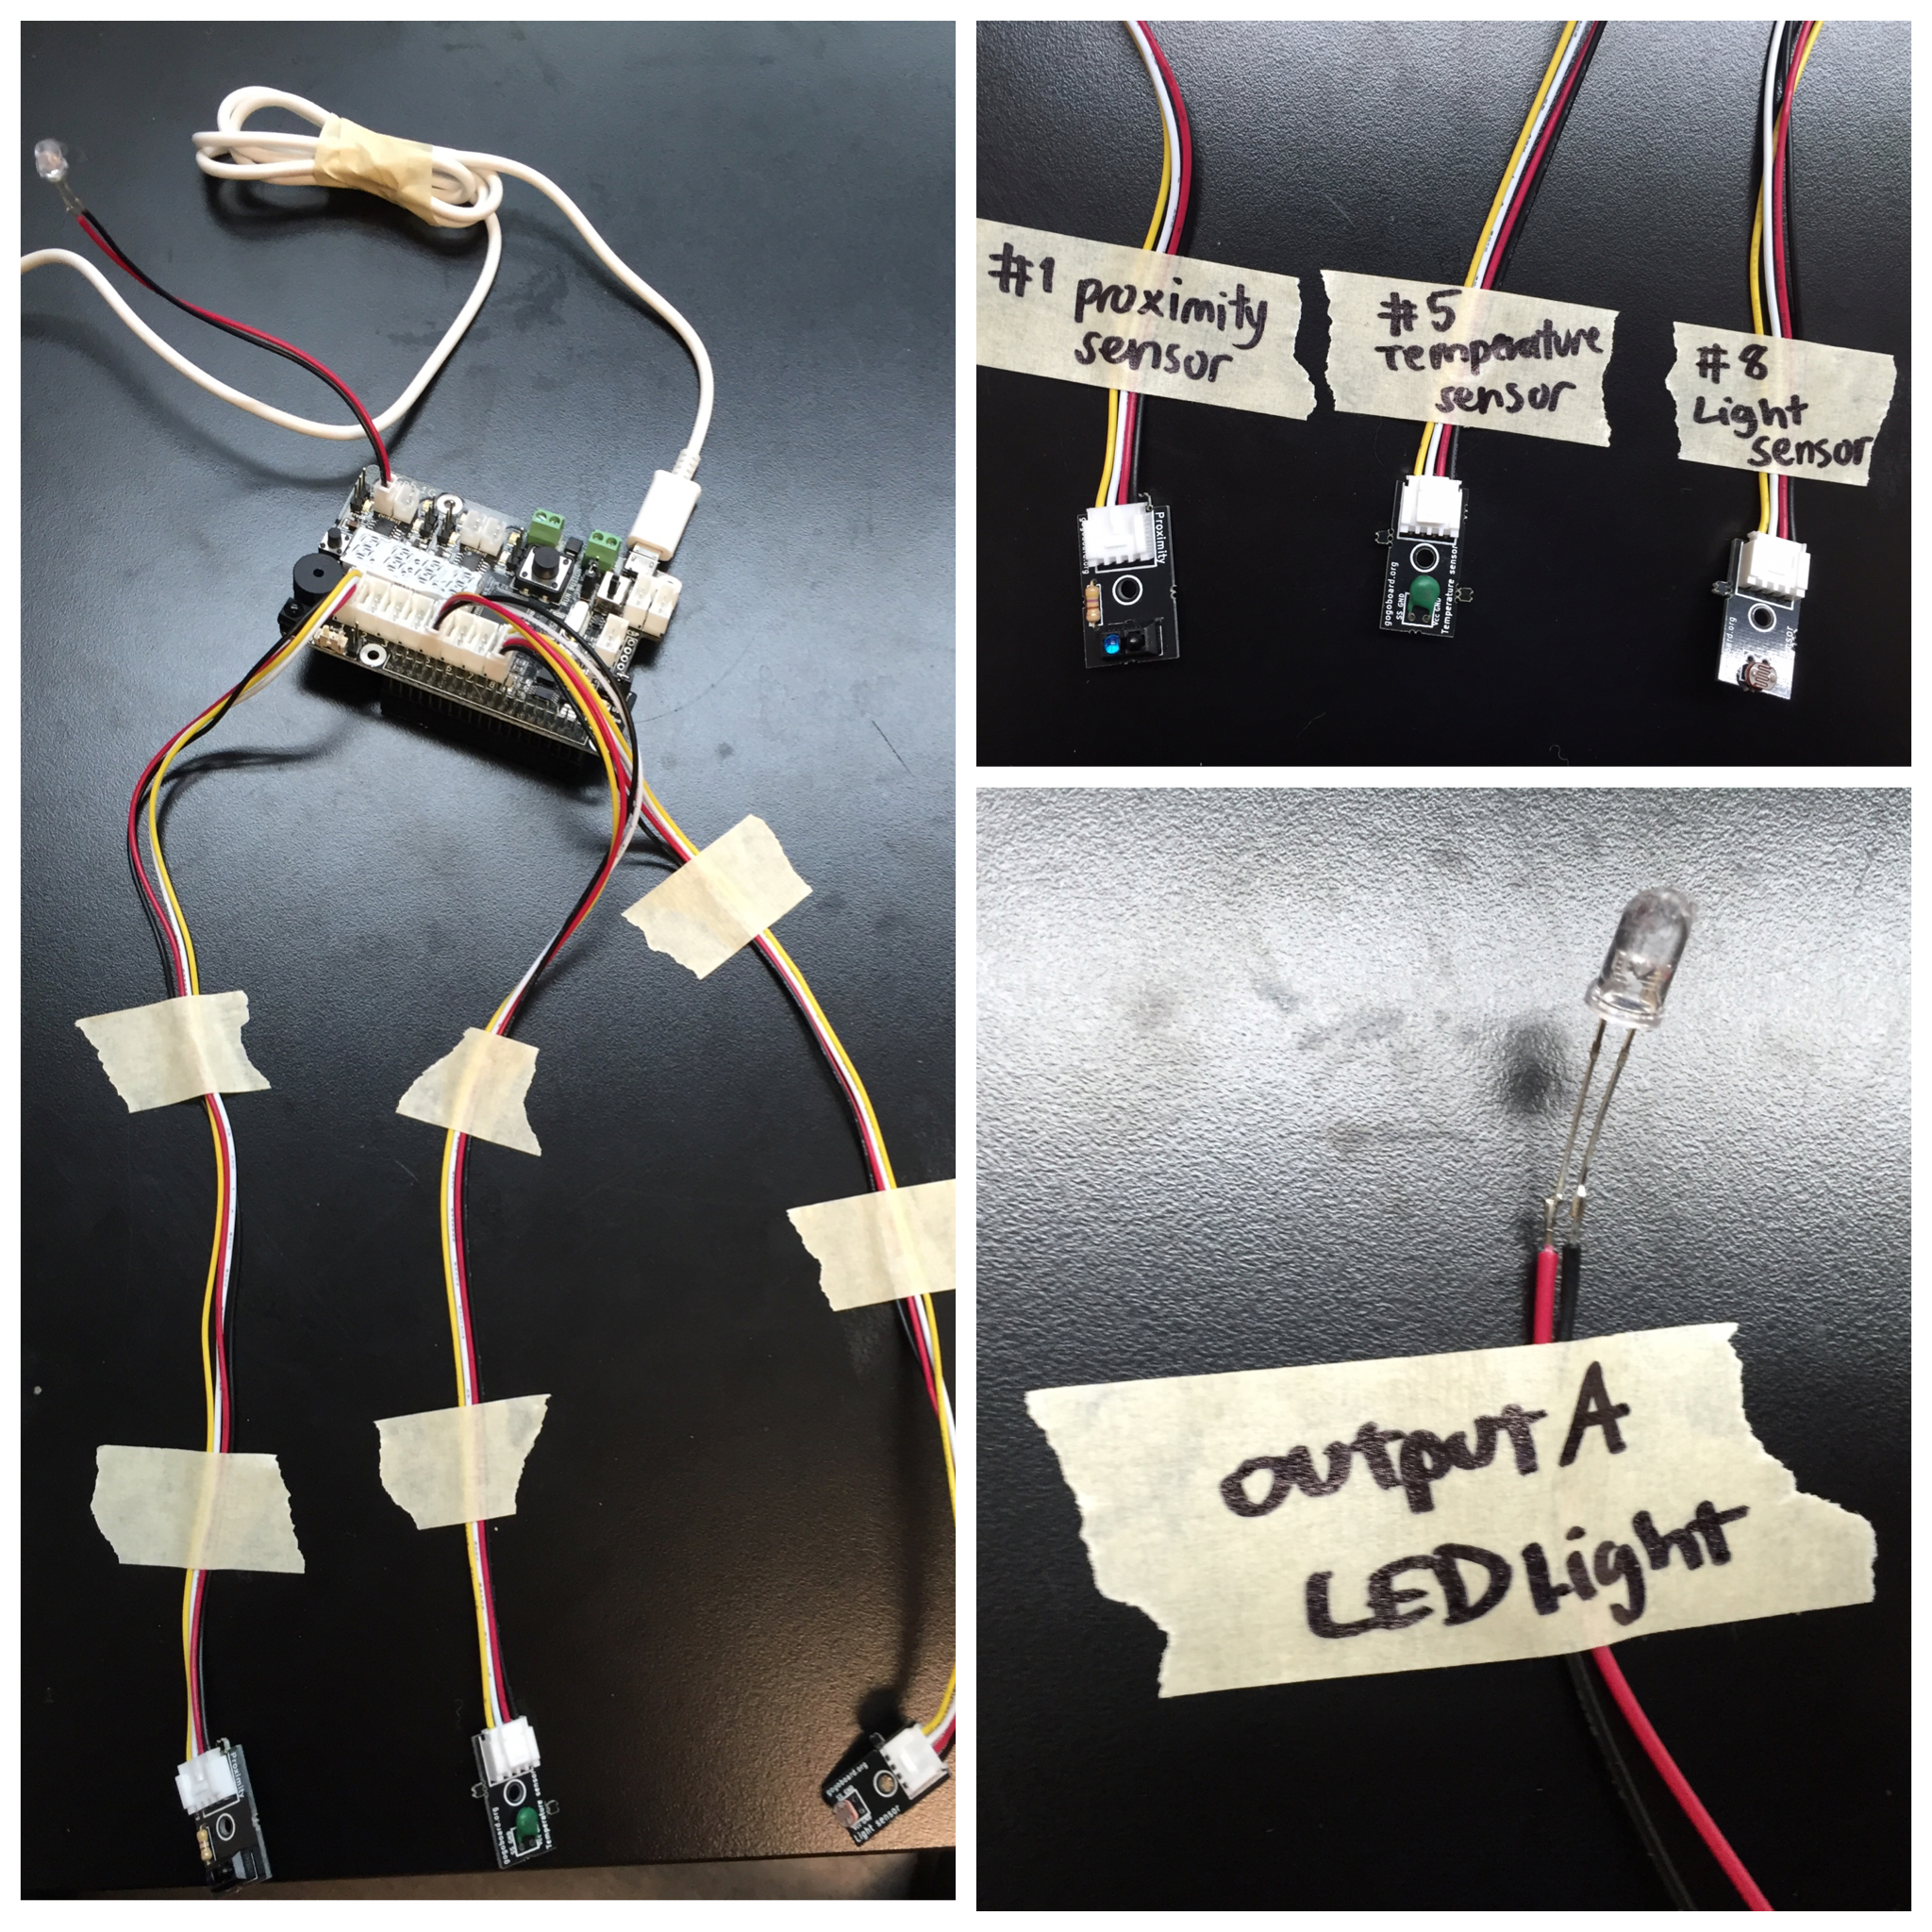
Step 3: Go to Tinker: Learning Inventions and code like a photo below. Once you are done press Write to Gogo Board on the top right of the screen. You will hear a beep sound from the board.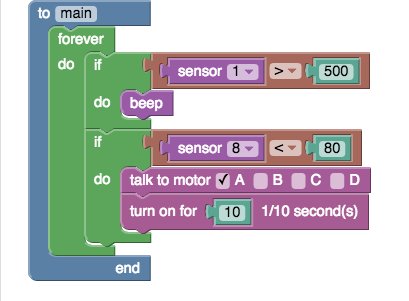
Step 4: Press the run button on the board and test your sensors. You should hear a beep sound when you get your hand closer to the proximity sensor. The LED light should turn on when you cover up the light sensor.
Note that the temperature sensor is not connected to the actuator and it is optional to connect it to the board. We include the temperature sensor so there is more complexity to the interactive story. The children will have more options of sensors to choose in order to help Tommy the rabbit.
Step 5: Watch the video below to see an example of how to make the story interactive and educational for the kids.