 |
|
|
Networking > Apartments >
Apple Airport Extreme Setup
Apple Airport Extreme 802.11n
- After unpacking your Airport Extreme, connect the ethernet cable from
your jack to the leftmost ethernet port on the back of the Airport. This is
the WAN port marked with the small circular image. Next plug the AC adapter
into the power port on the Airport and plug it into the wall.
- Once the Airport Extreme has been plugged into the network and powered
on, the status light on the front will go through a series of colored
flashes. When the status light glows solid green, your Airport has been
initialized and is connected to the network. This may take a few minutes.
If your status light fails to glow solid green, please consult your manual
for status light explanations.
- Make sure the wireless card on your computer is enabled and turned on.
Connect to your Airport Extreme, which will most likely appear as Apple
Network followed by some letters.
- Next install the Airport software from the included CD. After
installation, launch the Airport Utility application. This is located in
the Utilities folder in the Applications folder on a computer using Mac
OS X, and in Start > All Programs > AirPort on a computer using Windows.
Please keep in mind that the Airport Utility is released with a new
version every few months, so the screen shots you see below may not
look exactly like what you see on your computer.
- Select your base station, and then click Continue.
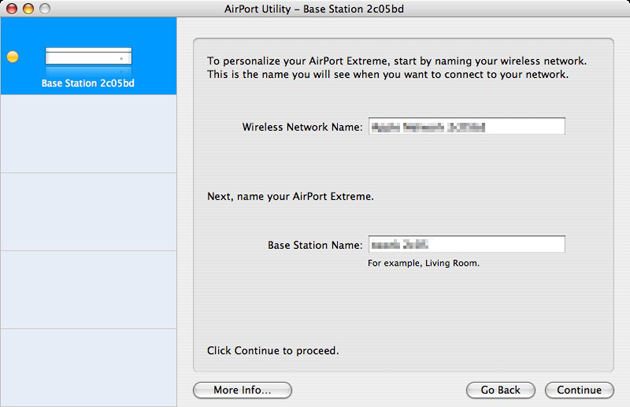
- Enter a Wireless Network Name and a Base Station Name and click Continue. Write these names down for future reference.
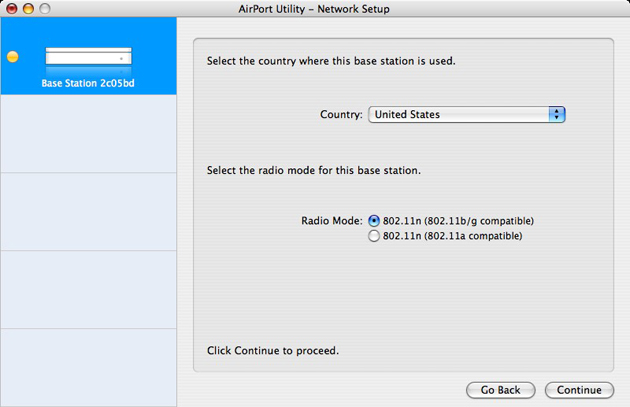
- Enter your Country and Radio Mode on the next screen. Using 802.11n (802.11b/g compatible) is the proper choice in most cases. Click Continue.
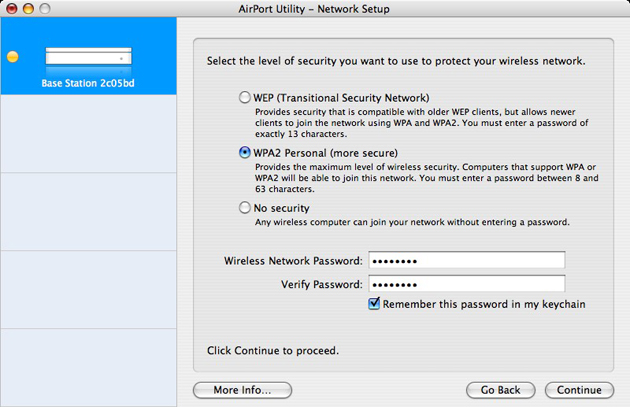
- Select WPA2 Personal security on the next screen, then enter a Wireless Network Password and Verify it. This password must be between 8 and 63 characters. You should write this password down and keep it near your Airport Extreme in case you forget it. Click Continue.
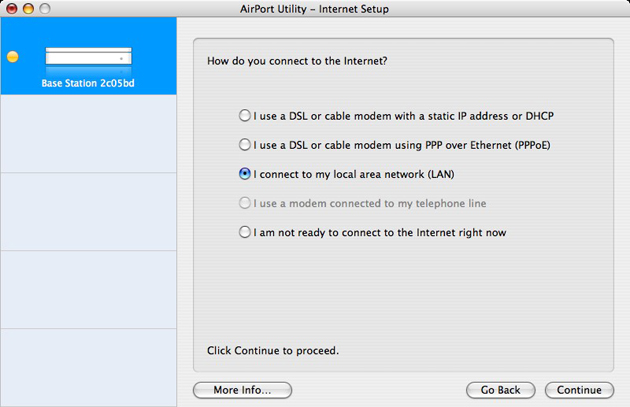
- Select "I connect to my local area network (LAN)" on the next screen and click Continue.
- Leave the default settings (Using DHCP) on the next screen and click Continue.
- If you are interested in connecting USB peripherals to your Airport, consult your manual for additional information. Otherwise leave the default settings and click Continue.
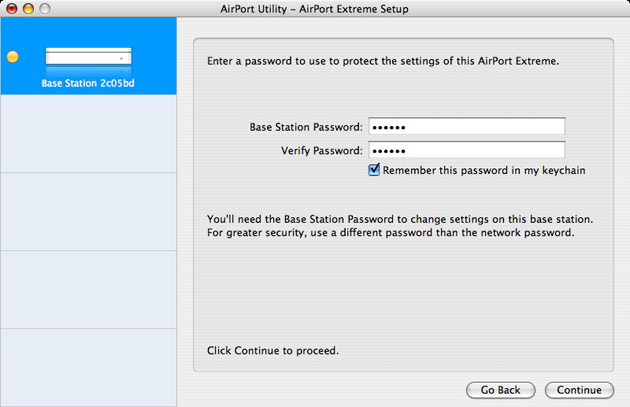
- Enter a Base Station Password and Verify it. Write this password down and keep it near your Airport Extreme. You will need it if you ever want to modify any settings for your base station. Click Continue.
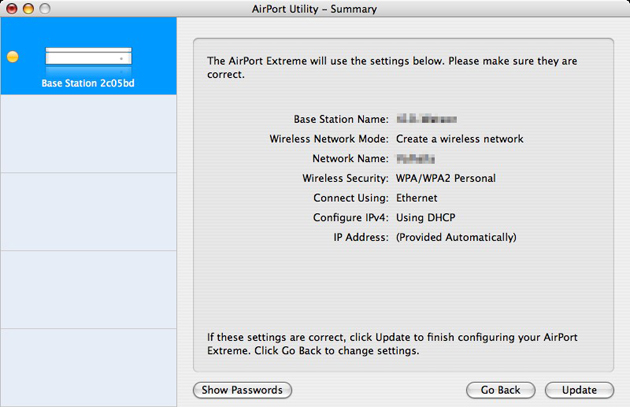
- Click Update. Your Airport Extreme base station has been configured and will now restart. Quit the Airport Utility and connect to your new wireless network.
|
|
|
 |
