 |
|
|
Networking >
Wireless Connection Setup
Connecting to Wireless Using Mac OSX
- When connecting your Mac to a wireless network, one of the first things youll want to do is make sure that the AirPort icon is enabled in your Menu bar. If its already there, please skip down to Step 5.

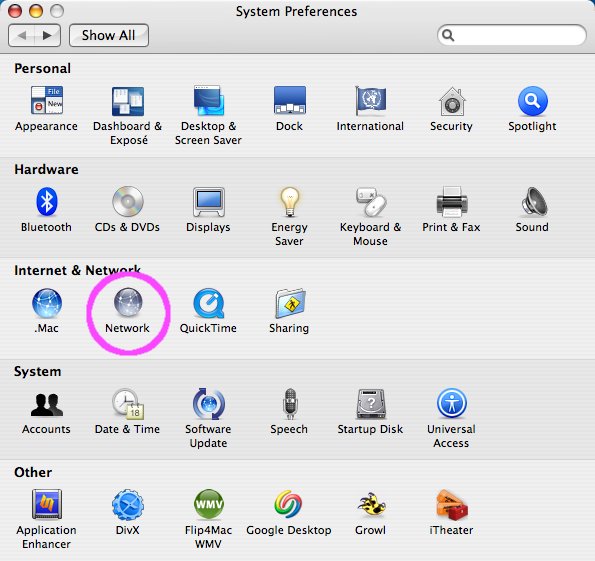
- Select the Apple Button (very upper left corner of your screen) and choose System Preferences from the drop-down list. From there, select Network.
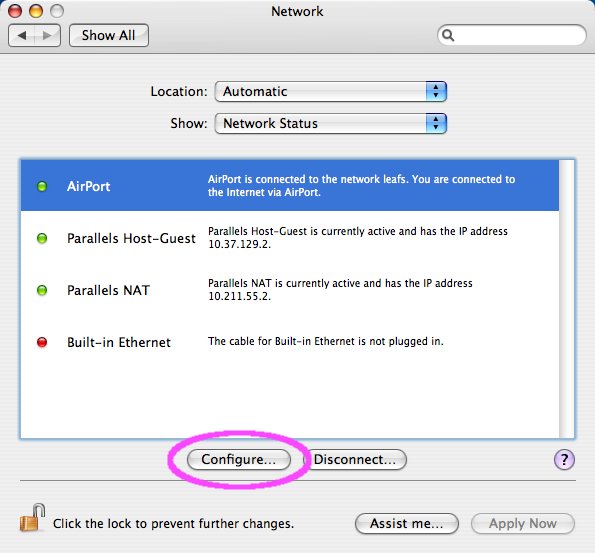
- Select your AirPort entry, and click the Configure button.
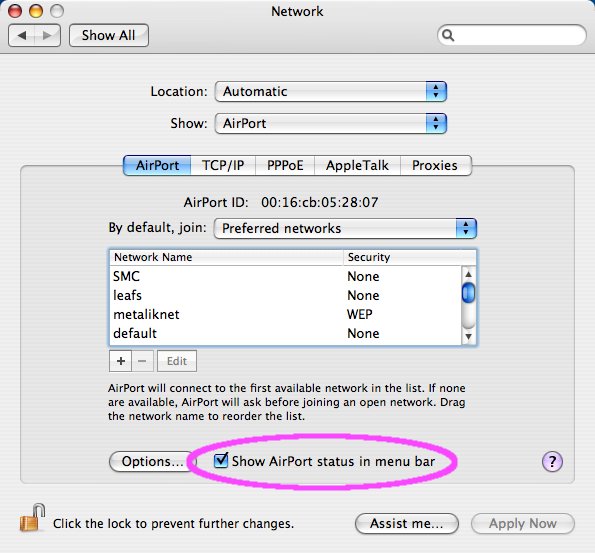
- Make sure the Airport tab is selected from the top menu, and then place a check in the box labelled Show AirPort status in menu bar.
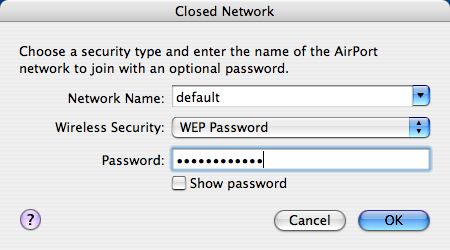
- Now click the AirPort icon in your menu bar, and you should be presented with a list of visible wireless networks. Select the network you want to join.
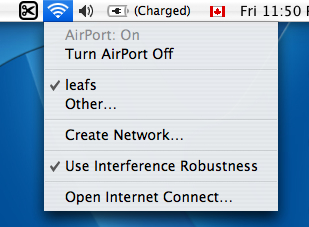
- If the network requires a password, youll be prompted to enter it now. If it doesnt, you should automatically connect.
- When youre connected, the AirPort icon will change from a light grey color to a solid black. The number of solid black lines indicates the signal strength (more black bars = stronger signal).
Connecting using another Operating System:
Connecting to wireless using Windows XP
Connecting to wireless using Windows Vista
|
|
|
 |
