
Academic Information
Systems
![]()

Windows 95/98/Me Network Printing
In order to print to an AcIS printer from your residence hall room, you will need to have Windows configured to use DHCP. You will also need to install the ACITS LPR Client which can be found here (installation and licensing information can be found here).
Adding a Printer
- Choose Control Panel from the Settings submenu under Start.
- Double-click Printers.
- Double-click Add Printer.

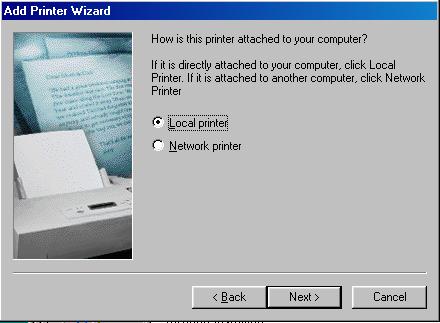
- From the Add Printer Wizard click Next.
- Make sure that you are adding a Local Printer from the Add Printer Wizard and click Next.
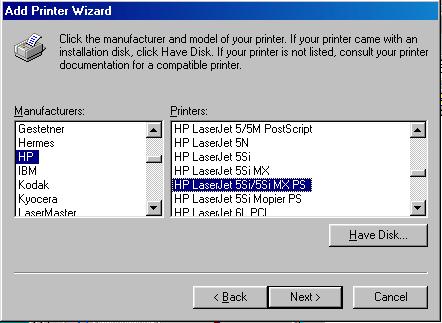
- You will be asked to choose a printer driver for this printer. A list of the manufactures and printers can be found here. Select the Manufacturer and the Printer and click Next.
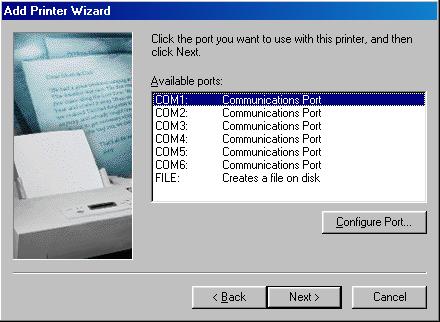
- Select either LPT1 or COM1 as the printer port and click Next.
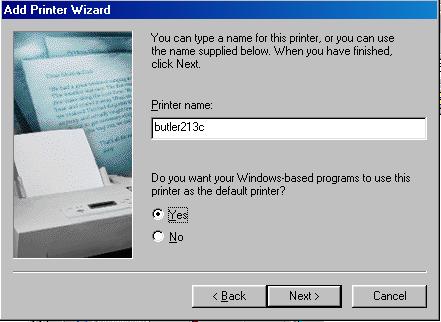
- Enter a printer name that you would like to use and click Next.
Configuring a Printer
- Choose Control Panel from the Settings submenu under Start.
- Double-click Printers.
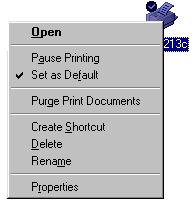
- Right-click on the printer that you would like to configure and select Properties
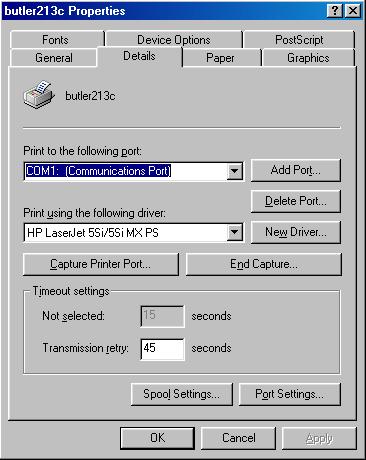
- Select the Details tab and click Add Port....
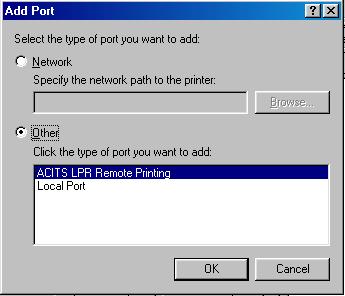
- Select Other and then ACITS LPR Remote Printing. Click OK.
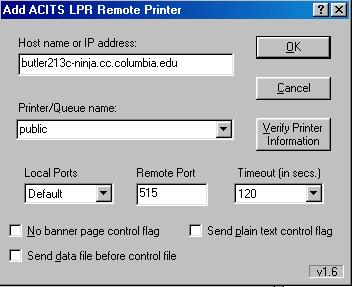
- Enter the LPR Server for the Host name. A list of the lpr servers can be found here. Enter public for the Printer name. Click OK.
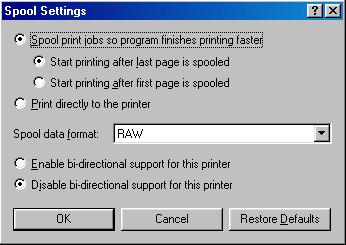
- Select Spool Settings....
- Select Start printing after last page is spooled. Select Disable bi-directional support for this printer. Click OK.
- Click OK to exit the printer properties dialog.
Printing Your File
Once you have configured a printer you must still choose it as your file's destination when printing. Any files you print will be sent to the printer you choose under an application's Print Setup, which is normally found under the File drop down menu.here for more information about NINJa printing.
- Open the file that you plan to print.
- Select Print... from the File menu.
- Pick the printer you wish to print to from the drop down printer name menu.
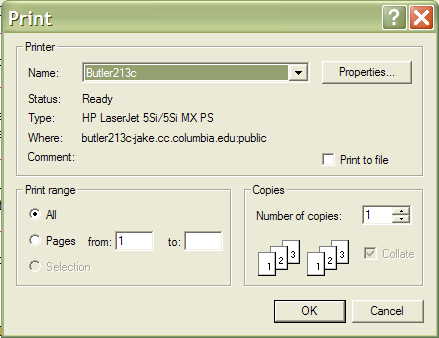
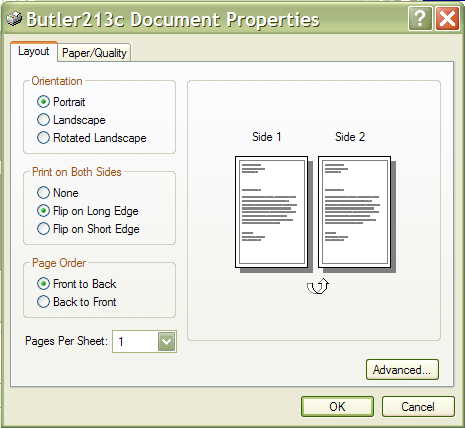
- You may select additional options such as double-sided printing by clicking on Properties.
- Once the print dialog box disappears, you may go to the NINJa printer station and pick up your document. Click
If You Also Have a Local Printer...
If you also have a local printer connected to your PC, you may switch between the local printer and the NINJa printer at any time simply by changing the printer setting under the application's Print Setup dialog usually found under the File drop down menu.
RHNO Home | RHNO Printing | Mobile Network Service
Academic Information Systems
[email protected] - 22 July 2002 - 212 854.1919